Best Tips for Propagating Crassula 'Hobbit' 🧙♂️
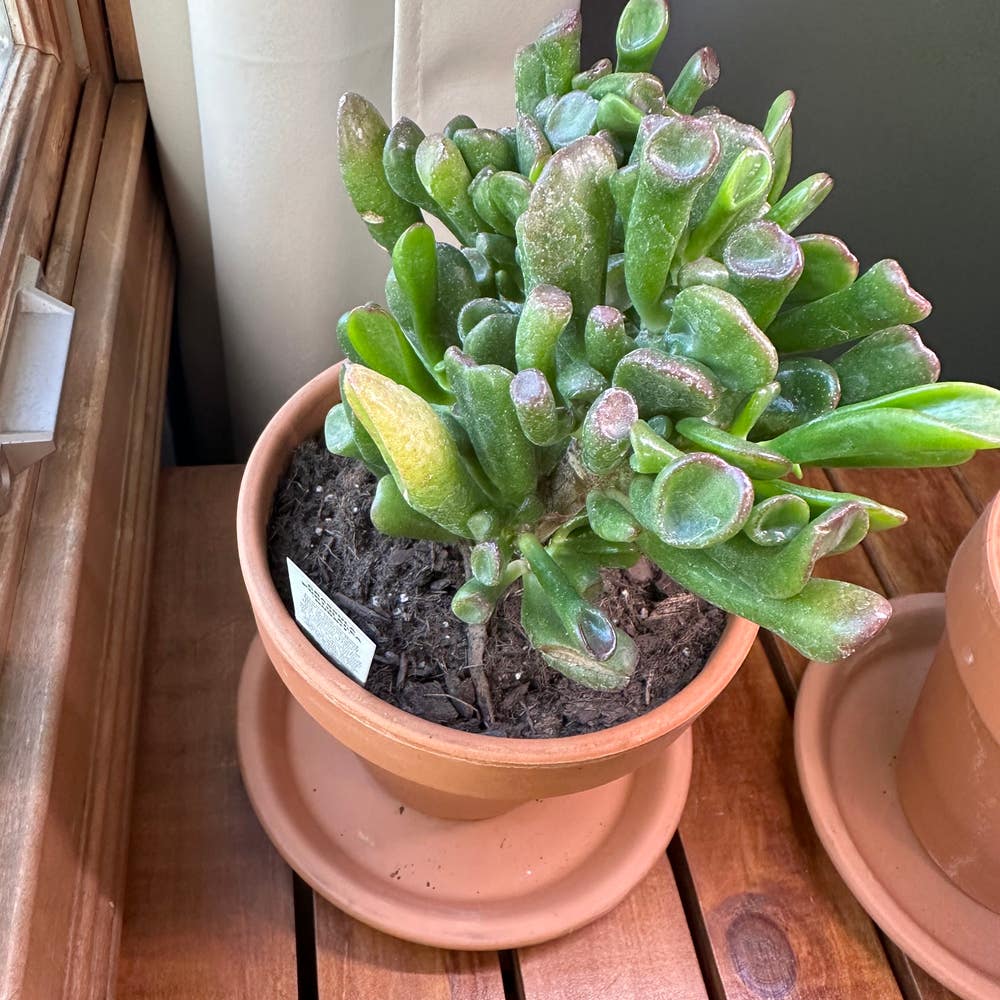
Crassula ovata 'Hobbit'
By the Greg Editorial Team
Nov 24, 2024•6 min read
This article was created with the help of AI so we can cover more plants for you. May contain errors. See one? Report it here.
Unlock a thriving Crassula 'Hobbit' garden 🌱 with these simple and effective propagation techniques! 🌿
- 🌱 Propagate Crassula 'Hobbit' using leaf, stem cuttings, or offsets for best results.
- 🌞 Provide bright, indirect sunlight and warm temperatures for optimal rooting success.
- 🪴 Use well-draining soil and monitor for rot to ensure healthy propagation.
Leaf Cuttings
🪴 Step-by-step guide for taking leaf cuttings
To start propagating Crassula 'Hobbit' through leaf cuttings, select healthy, mature leaves from the base of the plant. These plump leaves are ideal for rooting.
Next, use a clean, sharp knife or scissors to make a precise cut at the base of the leaf. This clean cut is crucial for successful propagation.
After cutting, allow the leaf to callous by placing it in a dry, shaded area for 1-3 days. This step helps prevent rot when the leaf is eventually planted.
☀️ Ideal conditions for rooting leaf cuttings
For optimal rooting, provide bright, indirect sunlight. This prevents leaf scorching while still encouraging growth.
Maintain a warm environment, ideally around 20-25°C (68-77°F). This temperature range is perfect for promoting root development.
Moderate humidity levels are also essential. They help encourage rooting without creating conditions that lead to rot.
⏳ Timeframe for rooting and growth
Typically, you can expect rooting to take about 2-4 weeks. During this time, keep an eye on the cuttings for signs of growth.
New growth may appear within 4-6 weeks after rooting. This is an exciting indicator that your propagation efforts are successful.
With these steps, you're well on your way to successfully propagating Crassula 'Hobbit' through leaf cuttings. Next, let’s explore how to propagate using stem cuttings for even more options!
Stem Cuttings
🌱 How to select and cut stems for propagation
To successfully propagate Crassula 'Hobbit', start by selecting healthy stems. Look for firm, vibrant stems that have at least 2-3 leaves, as these will provide the best chance for rooting.
Next, make a clean cut just below a leaf node, ensuring the stem is approximately 3-4 inches long. This precise cut helps maximize the potential for growth.
✂️ Preparing the cuttings for planting
Once you've made your cut, it's time to prepare the stem for planting. Carefully strip off the lower leaves to expose the stem, which will facilitate rooting when planted.
Allow the cut end to dry and callous for 1-3 days before planting. This step is crucial as it helps prevent rot and encourages healthy root development.
🌍 Best practices for soil and watering
For planting, use a well-draining succulent mix to provide the ideal environment for your cuttings. Alternatively, you can create a custom mix by combining sand and perlite, which enhances drainage.
After planting, lightly water the soil to settle the cutting in place. Be cautious not to overwater, as this can lead to rot and hinder the propagation process.
With these steps, you're well on your way to successfully propagating Crassula 'Hobbit' through stem cuttings. Next, let’s explore how to propagate offsets and division for even more growth opportunities.
Offsets and Division
🌱 Identifying offsets on Crassula 'Hobbit'
Offsets are small rosettes that typically grow at the base of the Crassula 'Hobbit' plant. For the best results, wait until these offsets reach at least 2-3 inches tall before attempting to propagate them.
✂️ How to separate and replant offsets
To separate the offsets, gently pull them apart using your hands. Be careful not to damage the main plant or the roots of the offsets during this process.
Once separated, replant the offsets in small pots filled with well-draining soil. This will provide them with the right environment to thrive.
💧 Care for newly divided plants
After replanting, it's crucial to wait 1-2 weeks before watering the offsets. This allows their roots to settle into the new soil without the risk of rot.
During this settling period, place the pots in bright, indirect sunlight. This light will encourage healthy growth as the offsets acclimate to their new homes.
With the right care, your Crassula 'Hobbit' offsets will flourish and grow into beautiful plants. Next, let’s explore common problems and solutions in propagation to ensure your efforts are successful.
Common Problems and Solutions in Propagation
💧 Issues with rot and overwatering
Rot is a common issue when propagating Crassula 'Hobbit'. Look for signs like blackened, mushy stems or leaves, which indicate that your plant is suffering.
To prevent rot, ensure proper drainage in your pots. Always wait until the soil is dry before watering again; this simple step can save your cuttings from disaster.
🚫 Signs of unsuccessful propagation
Sometimes, despite your best efforts, propagation doesn't go as planned. If you notice a lack of root development after 4-6 weeks, it’s a red flag.
Additionally, yellowing or wilting leaves signal stress or rot. These signs mean it’s time to reassess your propagation strategy.
🐢 Troubleshooting slow growth or no roots
If your cuttings are slow to grow or show no roots, check their environment. Make sure they’re receiving adequate light, temperature, and humidity.
If conditions seem fine but growth is still sluggish, adjust your watering habits. Reducing frequency can help if overwatering is the culprit.
By staying vigilant and responsive to these common issues, you can improve your chances of successful propagation. Now, let’s explore the tools and materials needed to make your propagation journey even smoother.
Tools and Materials Needed for Propagation
🔧 Recommended tools for cutting and planting
To get started with propagating Crassula 'Hobbit', having the right tools is essential. A sharp knife or scissors will ensure clean cuts on leaves and stems, minimizing damage to the plant.
Tweezers are also handy for handling small offsets or delicate cuttings. They allow for precision when you're working with tiny plants, ensuring you don't accidentally harm them during the process.
🌱 Best soil types for Crassula 'Hobbit'
Choosing the right soil is crucial for successful propagation. A cactus mix is an excellent option, as it's specifically designed for succulents and provides the drainage these plants need.
Alternatively, you can create a custom mix by combining equal parts potting soil, perlite, and sand. This blend offers both nutrients and aeration, promoting healthy root development.
🪴 Containers and pots suitable for propagation
When it comes to containers, size matters. Small pots, ideally 2-4 inches in diameter, are perfect for individual cuttings. They provide just enough space for roots to establish without overwhelming the plant.
For those looking to propagate multiple cuttings or offsets, seed trays are a fantastic choice. They allow you to maximize your propagation efforts while keeping everything organized and easy to manage.
With the right tools, soil, and containers, you're well on your way to successfully propagating Crassula 'Hobbit'. Next, let's explore common problems and solutions in propagation to ensure your efforts yield thriving plants.
⚠️ Safety First
This content is for general information and may contain errors, omissions, or outdated details. It is not medical, veterinary advice, or an endorsement of therapeutic claims.
Always consult a qualified healthcare professional before using any plant as food, medicine, or supplement.
Never eat any plant (or feed one to pets) without confirming its identity with at least two trusted sources.
If you suspect poisoning, call Poison Control (800) 222-1222, the Pet Poison Helpline (800) 213-6680, or your local emergency service immediately.
Spotted an error? Please report it here.
Propagate your Crassula 'Hobbit' like a pro 🌿 with Greg's custom care reminders that ensure your cuttings get the perfect light and watering for thriving new plants!