Propagating Catasetum 'Susan Fuchs': The Ultimate Guide
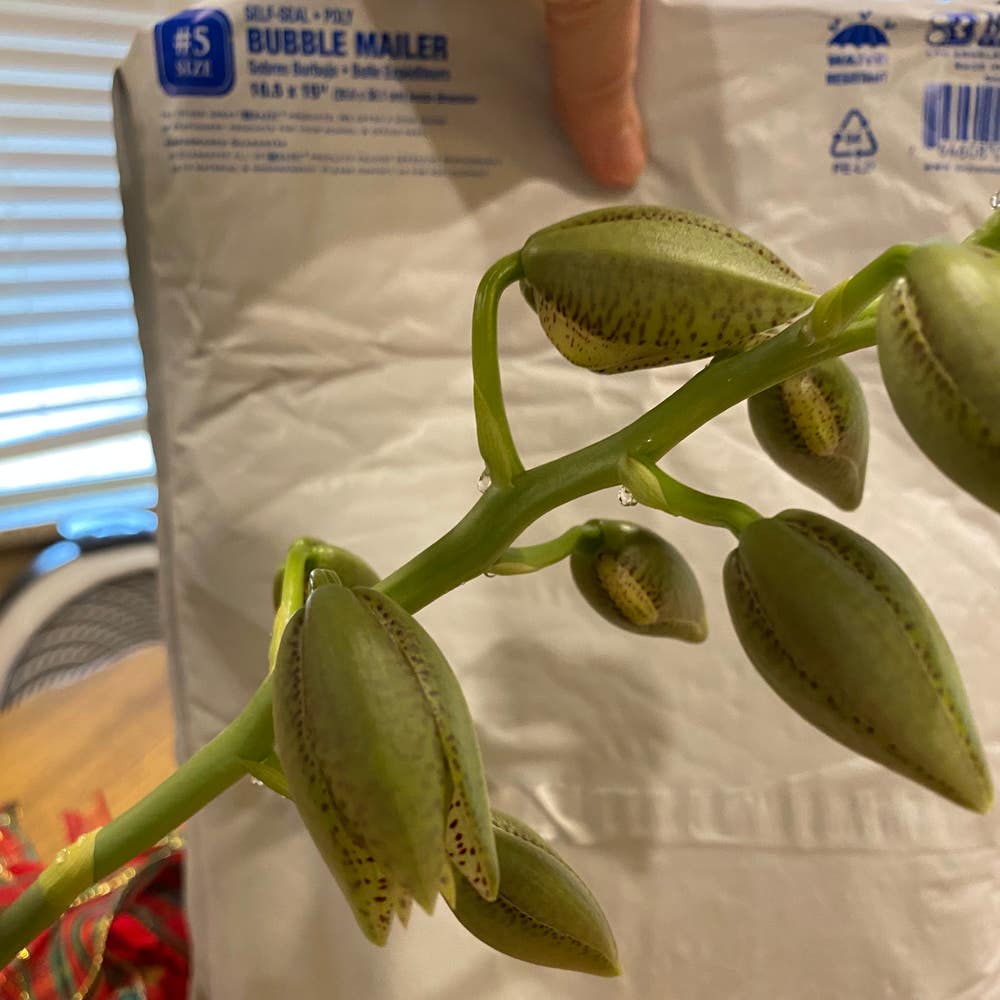
Catasetum 'Susan Fuchs'
By the Greg Editorial Team
Apr 21, 2024•4 min read
This article was created with the help of AI so we can cover more plants for you. May contain errors. See one? Report it here.
Multiply your orchid joy 🌸 with expert tips on propagating Catasetum 'Susan Fuchs'—it's easier than you think!
- 🌱 Spring is best for division propagation; ensure tools are sterilized.
- 💧🌤️ Create humid, bright conditions for new divisions and back bulb sprouts.
- 🌿 Stimulate keiki growth with hormones; separate when roots are 1-3 inches.
Step-by-Step Guide to Division Propagation
🌱 Preparing Your Plant for Division
Spring is the optimal time for division, coinciding with the plant's natural growth spurt. Ensure your Catasetum 'Susan Fuchs' has several pseudobulbs before you even think about dividing.
Sterilize your cutting tools to prevent infection. Gently unpot the orchid, and identify the pseudobulbs ready for separation. Each division should have at least one healthy pseudobulb with roots.
🌿 Post-Division Care
Select a potting mix that boasts excellent drainage for your orchid offspring. The right pot size is crucial; it should comfortably accommodate the roots without being overly spacious.
Create a humid environment with bright, indirect light for your newly potted divisions. Hold off on fertilizer until the plants show signs of growth. Watch for pests and diseases, and address them promptly with targeted treatments.
Back Bulb Propagation: Awakening Dormant Potential
🌱 The Art of Back Bulb Awakening
Back bulbs are the orchid's lifeline for future growth, often overlooked but packed with potential. To select the right candidates, look for plumpness and a healthy, unblemished surface.
Patience is paramount when coaxing dormant back bulbs to sprout. Nestle them in a snug pot with a damp, airy mix, and station them where warmth and light are ample but not harsh. It's a waiting game that can stretch over months, but the reward is a fresh orchid shoot, a testament to your nurturing prowess.
🌿 Caring for New Sprouts
Once your back bulbs have sprouted, it's time to shift focus to their continued growth. The right potting mix is crucial—think well-draining yet moisture-retentive, like a bespoke suit for your orchid's roots.
Create a microclimate that mimics their natural habitat: humid, warm, and bright, but shy of direct sunlight's scorch. Water judiciously, allowing the medium to dry slightly between drinks. It's a delicate dance of care that, when mastered, leads to robust orchid sprouts ready to take on the world.
Keiki Propagation: Growing New Life from the Mother Plant
🌱 Encouraging Keiki Growth
To stimulate keiki growth on your Catasetum 'Susan Fuchs', consider the strategic use of plant hormones. Keiki Power Pro, for instance, can coax out those precious plantlets. Here's the drill: make a shallow cut on a node with a sterile blade, dab on a smidge of keiki paste, and wait. It's a bit like a science experiment—sometimes you'll get flowers, sometimes keikis. If you spot tiny leaves, congrats, you're on your way to cloning your orchid.
🎉 Independence Day: Separating and Potting Keiki
When your keiki has roots about 1-3 inches long, it's ready to fly the coop. Sterilize your tools as if prepping for surgery and gently snip the keiki free. Pot it in a mix that's like a cozy blanket for young orchids, and dial up the humidity. Care for it like the mother plant, but remember, it's still a baby—handle with care. This is the orchid equivalent of a toddler's first steps, so keep your camera ready for those proud plant parent moments.
Troubleshooting Propagation Pitfalls
🌱 Common Hurdles in Catasetum Propagation
In the trenches of Catasetum propagation, rot and fungal infections are the usual suspects. Rot is the silent assassin of orchids, often sneaking in due to overwatering or poor drainage. To combat this, ensure your potting mix is airy and your watering regimen is conservative. Fungal infections love a party, especially in stagnant air. Keep the airflow around your orchids as lively as a bustling street market to prevent unwanted fungal gatecrashers.
🛡️ Ensuring Success
Vigilance is your propagation superpower. Yellowing leaves or stunted growth are your orchids crying out for help. Act swiftly by isolating the problem and considering a fungicide if necessary. Remember, good hygiene is not just for humans; keep your tools as clean as a whistle. And when it comes to pests, be as relentless as a cat on a mouse hunt. Insecticidal soap or neem oil can be your trusty sidekicks. Finally, embrace each setback as a stepping stone to mastery; keep detailed notes, and let every mishap refine your green thumb skills.
⚠️ Safety First
This content is for general information and may contain errors, omissions, or outdated details. It is not medical, veterinary advice, or an endorsement of therapeutic claims.
Always consult a qualified healthcare professional before using any plant as food, medicine, or supplement.
Never eat any plant (or feed one to pets) without confirming its identity with at least two trusted sources.
If you suspect poisoning, call Poison Control (800) 222-1222, the Pet Poison Helpline (800) 213-6680, or your local emergency service immediately.
Spotted an error? Please report it here.
With patience and precision 🌱, you'll master propagating your Catasetum 'Susan Fuchs', and Greg will be there to ensure success with tailored care reminders and a community of experts at your fingertips!