Top 3 Tips for Choosing Lobster Claw Soil 🦞
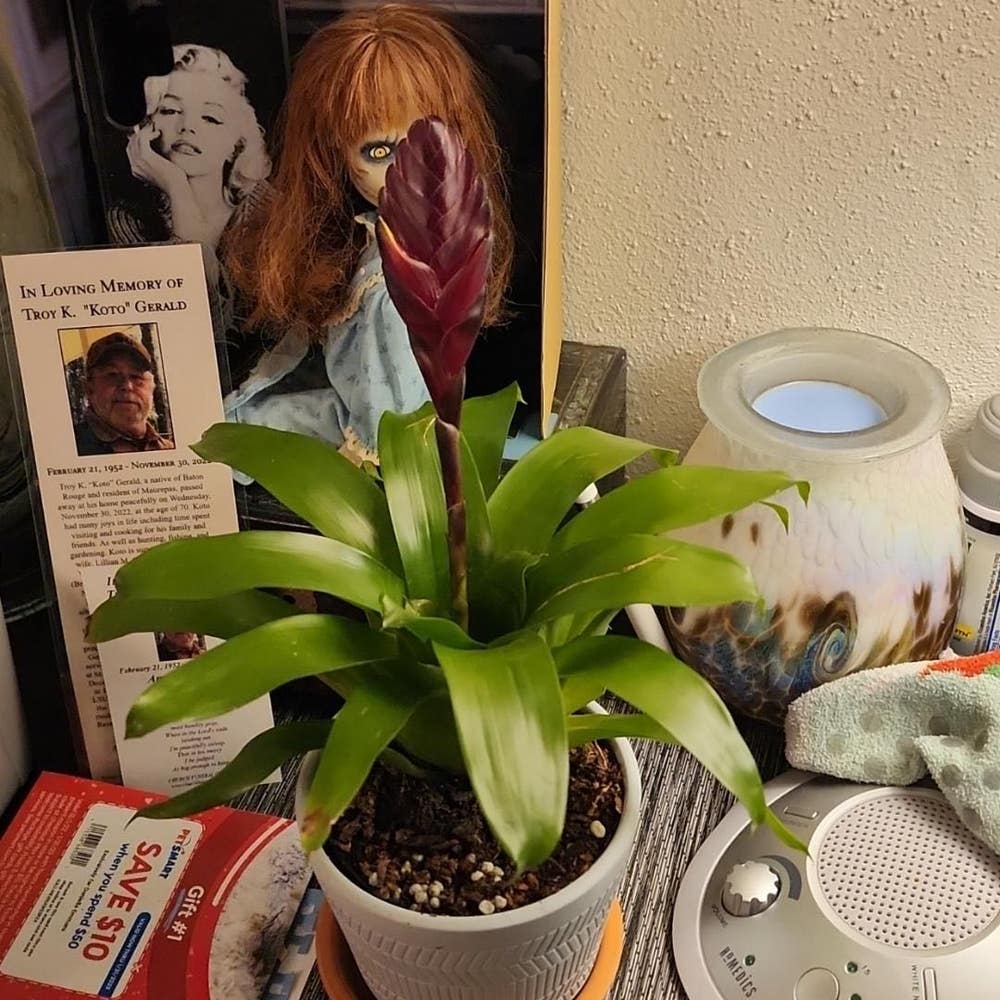
Vriesea carinata
By the Greg Editorial Team
Nov 23, 2024•6 min read
This article was created with the help of AI so we can cover more plants for you. May contain errors. See one? Report it here.
- 🌱 Ideal lobster claw soil: 40% loamy, 30% sand, 30% organic matter for best growth.
- 💧 Well-draining soil prevents overwatering, crucial for healthy lobster claw plants.
- 🔬 Regular pH testing (6.0-7.0) ensures optimal nutrient availability for your plants.
Ideal Soil Composition
Soil Texture 🌱
To keep your lobster claw plants thriving, well-draining soil is a must. The ideal texture combines loamy soil, sand, and organic matter in a ratio of 40% loamy soil, 30% sand, and 30% organic matter, such as compost or peat moss.
Importance of Drainage 🚰
These plants are sensitive to overwatering, so quick drainage is essential. Look for signs of good drainage, like water flowing through the soil without pooling, and consider incorporating perlite or coarse sand into your mix for optimal results.
Recommended Soil pH Levels ⚖️
Aim for a soil pH between 6.0 and 7.0, which is slightly acidic to neutral. This pH range is crucial as it affects nutrient availability and overall plant health, so regularly test your soil using a pH meter or test kit to ensure it stays within this ideal range.
With the right soil composition, your lobster claw plants will have a solid foundation for growth. Next, let’s explore how to identify and resolve unhealthy soil conditions.
Identifying and Resolving Unhealthy Soil
🕵️♂️ Signs of Unhealthy Soil
Recognizing unhealthy soil is crucial for maintaining the health of your plants. Look out for moldy soil, which appears as white or gray growth on the surface, indicating excess moisture.
Compaction is another red flag; if the soil feels hard and doesn’t crumble easily, it may be too dense for roots to thrive. Additionally, poor drainage is evident when water pools on the surface after watering, signaling that the soil isn’t allowing for proper water flow.
🔬 How to Test Soil Health
Testing your soil health can be straightforward and effective. Start with a visual inspection to check for mold, compaction, and the overall texture of the soil.
For a quick soil moisture test, insert a finger into the soil. If it feels soggy, your drainage may be inadequate. Regularly testing pH levels is also essential to ensure they remain within the ideal range for your plants.
🛠️ Solutions for Common Soil Problems
Moldy Soil Solutions
If you encounter moldy soil, act quickly to remedy the situation. Carefully scoop out the affected sections and replace them with fresh soil to eliminate the mold.
Improving air circulation is vital; ensure your pot has drainage holes and avoid overwatering to prevent future mold growth. If the problem persists, consider applying organic fungicides to tackle the issue effectively.
By staying vigilant and addressing these signs of unhealthy soil, you can create a thriving environment for your plants. Next, let’s explore how to create a homemade soil mix that supports robust growth.
Creating a Homemade Soil Mix
🥣 Ingredients for a Nutrient-Rich Soil Mix
Creating the perfect soil mix starts with the right base ingredients. You'll need loamy soil, sand, and organic matter to form a solid foundation for your plants.
For added benefits, consider optional ingredients like coconut coir, which helps retain moisture, and worm castings, known for their nutrient-rich properties. These enhancements can make a significant difference in your soil's health.
🛠️ Step-by-Step Guide to Mixing Soil
Ready to mix your soil? Follow these simple steps:
- Gather materials: Collect loamy soil, sand, organic matter, and any optional ingredients you want to include.
- Combine: In a large container, mix together 40% loamy soil, 30% sand, and 30% organic matter.
- Mix thoroughly: Ensure the mixture is uniform in texture for the best results.
- Test drainage: Pour water into the mixture; it should flow through easily without pooling.
This straightforward process will yield a nutrient-rich soil mix that supports healthy plant growth.
⚖️ Tips for Adjusting Soil pH
Maintaining the right soil pH is crucial for plant health. If you need to lower the pH, incorporate sulfur or peat moss into your mix.
Conversely, to raise the pH, add lime or wood ash. Remember to regularly test the pH after making any amendments to ensure you achieve the desired levels.
With these tips, you’ll be well on your way to creating a thriving environment for your plants. Next, let’s explore soil amendments and enhancements that can further boost your soil's performance.
Soil Amendments and Enhancements
🌱 Recommended Amendments
To create a thriving environment for your lobster claw plants, consider incorporating organic compost. This amendment not only boosts nutrient content but also enhances soil structure, promoting healthier root systems.
Additionally, adding perlite or vermiculite can significantly improve drainage and aeration. These lightweight materials help prevent soil compaction, ensuring that your plants receive the oxygen they need.
🍂 Incorporating Organic Matter
Integrating organic matter into your soil is crucial for optimal growth. Aim to mix it into the top 6-12 inches of soil to maximize its benefits.
Using a garden fork or tiller can make this process easier and more effective. This thorough incorporation allows nutrients to disperse evenly, enriching the entire soil profile.
🌾 Benefits of Using Mulch
Mulch is a game-changer for maintaining soil health. It helps retain moisture, regulates temperature, and creates a stable environment for your plants.
Moreover, mulch acts as a natural weed suppressant, reducing competition for nutrients. Recommended materials include bark mulch, straw, or shredded leaves, each offering unique benefits to your garden.
Incorporating these amendments and enhancements will set the stage for robust growth. As you nurture your soil, you'll be rewarded with healthier plants and a more vibrant garden. Next, let’s explore seasonal soil considerations to keep your garden thriving year-round.
Seasonal Soil Considerations
Adjusting Soil Care 🌧️
During rainy seasons, it's crucial to keep a close eye on soil moisture levels. Excess water can lead to root rot, so adjust your watering schedule accordingly.
In cooler months, reduce your watering frequency to prevent overwatering. Plants are less active in winter, requiring less moisture.
Preparing Soil for Winter Dormancy ❄️
Before winter sets in, amend your soil with compost to boost nutrient levels. This preparation helps your plants thrive when they wake up in spring.
Additionally, applying mulch around the base of your plants protects their roots from frost. It acts as a barrier against extreme temperatures.
Spring Soil Preparation 🌱
As spring approaches, refresh the top layer of your soil with a nutrient-rich compost mix. This gives your plants a solid foundation for growth.
Don't forget to test and adjust the soil pH as needed. Ensuring optimal conditions will set your plants up for success as they enter their active growing phase.
With these seasonal considerations in mind, your lobster claw plants will be well-prepared to flourish throughout the year.
⚠️ Safety First
This content is for general information and may contain errors, omissions, or outdated details. It is not medical, veterinary advice, or an endorsement of therapeutic claims.
Always consult a qualified healthcare professional before using any plant as food, medicine, or supplement.
Never eat any plant (or feed one to pets) without confirming its identity with at least two trusted sources.
If you suspect poisoning, call Poison Control (800) 222-1222, the Pet Poison Helpline (800) 213-6680, or your local emergency service immediately.
Spotted an error? Please report it here.
Ensure your lobster claw plants flourish with perfect soil conditions 🌱 by using Greg's tailored tips and reminders for optimal growth and health!