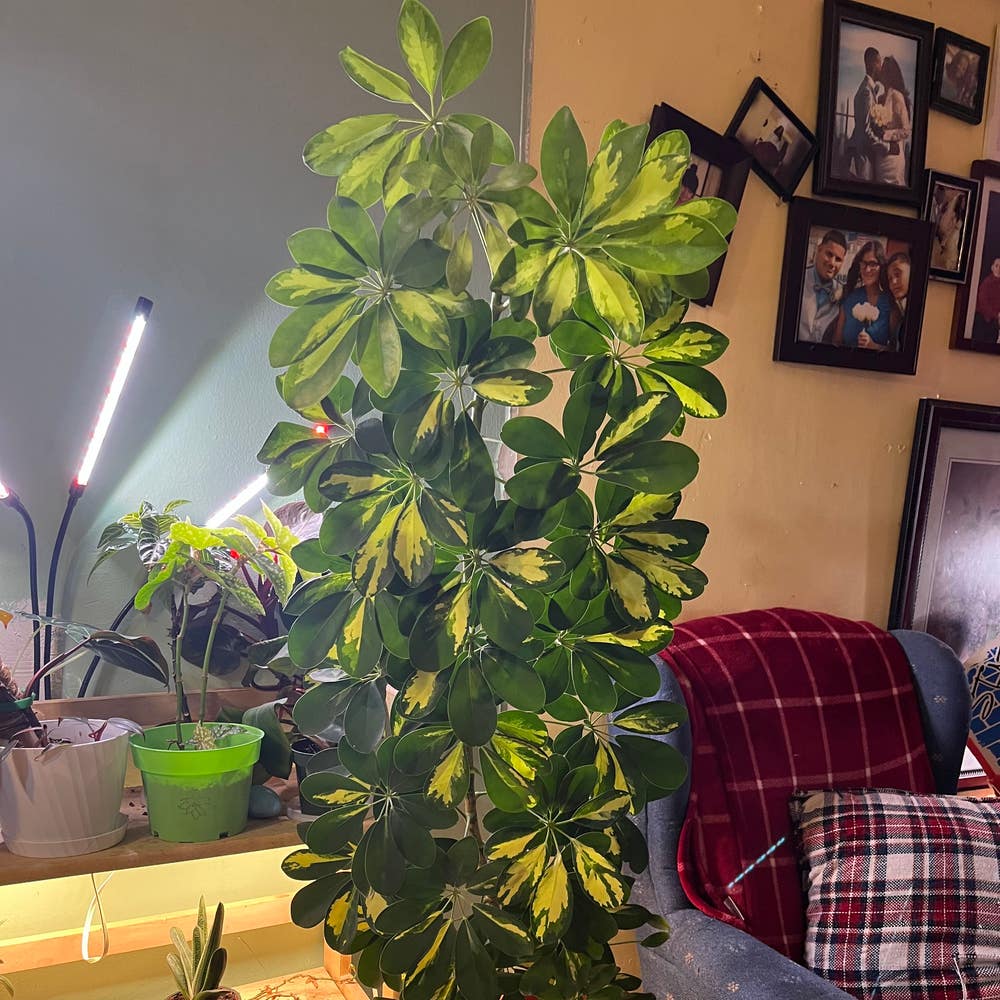
How to Know When to Repot a Variegated Dwarf Umbrella Tree?
Heptapleurum arboricola 'Variegata'
By the Greg Editorial Team
Jun 18, 2024•5 min read
This article was created with the help of AI so we can cover more plants for you. May contain errors. See one? Report it here.
Spot when your Dwarf Umbrella Tree 🌳 needs repotting and master the refresh for lusher growth!
- Roots peeking out? Time to repot your Dwarf Umbrella Tree.
- 🌱 Choose terracotta for breathability, ensuring healthy roots.
- Repot in early spring during the plant's growth phase.
Spotting the Tell-Tale Signs for Repotting
🌱 Root clues: Tangled and peeking roots
Roots on the run are a dead giveaway your Variegated Dwarf Umbrella Tree is ready for a change. When you see roots escaping through drainage holes or forming a dense, tangled mass, it's a clear signal: your plant needs more space. This root rebellion is your cue to upgrade accommodations.
🍃 Above-ground alerts: Slowed growth and unhappy leaves
If your plant's growth has hit a wall, and leaves are less perky than usual, it's not just being dramatic—it's cramped. A top-heavy plant that's more prone to tipping than a carnival game is your visual alert for repotting. Yellowing leaves or a general look of defeat are your plant's way of saying, "I deserve a bigger home."
📆 Seasonal timing: When is the plant ready for a change?
The best time to repot is when your plant's growth phase is in full swing—typically early spring. This is when your plant is most eager to settle into a new pot and flourish. Miss this window, and you might disrupt its natural growth cycle, so keep your calendar marked and your gardening gloves ready.

Choosing the Right Pot and Material
📏 Size matters: Finding the perfect fit
When it comes to repotting your Variegated Dwarf Umbrella Tree, size is non-negotiable. Opt for a pot that's 1-2 inches larger in diameter than the current one—any more, and you risk water retention and root rot.
🏺 Material talk: Terracotta vs. Plastic vs. Ceramic
Terracotta is your plant's breathable best friend, wicking away excess moisture and reducing overwatering risks. Ceramic pots are less porous, offering a middle ground, but they're heavier and can be pricier. Plastic is the lightweight contender, great for moisture retention but a potential hazard for those who tend to overwater.
🚰 Drainage is key: Ensuring your pot's ready for water flow
Regardless of material, ensure your pot has drainage holes. They're like the escape route for excess water—without them, you're basically giving your plant's roots a one-way ticket to Soggy Town. If you're using a saucer, remember to empty it regularly to prevent water from seeping back into the pot.

The Repotting Rundown
🌱 Pre-repot prep: What you'll need
Before you play musical pots with your Variegated Dwarf Umbrella Tree, assemble your tools. You'll need a new pot—one size up from the current one, with a must-have drainage hole. Grab a coffee filter or mesh to prevent a soil jailbreak. Sterilize your scissors or pruning shears; we're not spreading germs here. Get your gloves on, and let's avoid a dirt manicure.
🌿 Step-by-step: Gently transitioning to the new pot
Time to upgrade your plant's living quarters. Start by laying down some newspaper unless you fancy turning your floor into a makeshift garden. Gently hug the pot and coax the plant out. If it's stubborn, a little tap on the bottom should do the trick. Place a welcoming layer of fresh potting mix at the bottom of the new pot. Center your plant like it's the star of the show, ensuring it's not sitting too high or too low. Fill in the sides with more soil, giving the pot a gentle tap to settle things in without compacting. Hold the watering – let the roots breathe for a bit.
🌿 Root care: Inspecting and trimming if necessary
Now, let's inspect the roots. If they look like they've been through a spiralizer, it's time to intervene. Snip away any roots that are dead, rotting, or excessively long. But remember, this isn't a topiary session – we're not here to create root art. Just enough trimming to say, "I care about your growth, buddy." After the trim, settle your plant into its new home, and resist the urge to water immediately. Give it a week to acclimate; patience is a virtue, after all.

Post-Repot Care: Helping Your Plant Settle In
💧 First Watering: When and How Much
After the repotting dance, your plant's parched. Water thoroughly once, then back off. Let the top inch of soil dry out before even thinking about the next watering. Overwatering? Rookie mistake. Keep it on the drier side to avoid a soggy soil saga.
🌞 Light and Temperature: Creating a Cozy Environment
Your plant's new pad should be warm with bright, indirect sunlight. Protect it from harsh rays with a sheer curtain if you must. Consistency is your new best friend; don't play musical chairs with your plant's location. They crave stability like we crave that morning coffee.
👀 Monitoring and Adjusting: Keeping an Eye on Your Plant's Needs
Vigilance is your new hobby. A little droop post-repot is normal, but if your plant is still sulking after a week, it's time to intervene. Yellow or brown leaves? Red flag. Swampy soil? Ease up on the H2O. Sahara vibes? Crank up the watering. Rotate the pot occasionally for an even tan—no one likes a lopsided look. And remember, hold off on the fertilizer. Let your plant settle before hitting it with the nutrient nukes.
⚠️ Safety First
This content is for general information and may contain errors, omissions, or outdated details. It is not medical, veterinary advice, or an endorsement of therapeutic claims.
Always consult a qualified healthcare professional before using any plant as food, medicine, or supplement.
Never eat any plant (or feed one to pets) without confirming its identity with at least two trusted sources.
If you suspect poisoning, call Poison Control (800) 222-1222, the Pet Poison Helpline (800) 213-6680, or your local emergency service immediately.
Spotted an error? Please report it here.
Repot your Dwarf Umbrella Tree effortlessly 🌱 with Greg's timely reminders and precise pot size recommendations, ensuring a happy, healthy plant transition!