🌟 How to Know When to Repot a Star Fruit?
Averrhoa carambola
By the Greg Editorial Team
Jan 21, 2024•4 min read
This article was created with the help of AI so we can cover more plants for you. May contain errors. See one? Report it here.
Revitalize your Star Fruit tree's growth 🌟 with the right repotting know-how!
- Visible roots and quick drainage signal it's time to repot your Star Fruit.
- Choose the right pot size and material for healthy root growth.
- Post-repot care is crucial for recovery and thriving Star Fruit.
Spot the Telltale Signs It's Time to Repot
🌱 Root Revelations
Roots making a break for it through the drainage holes or circling the surface soil are your Star Fruit's way of waving a white flag. It's cramped in there. When roots are more visible than a teenager's phone at dinner, it’s time to give them space.
💧 Water Woes
If watering your Star Fruit feels like pouring liquid into a sieve, take note. When water skedaddles through the pot without mingling with the soil, it's a sign the roots have taken over. It's not just quirky—it's a cry for help.
🌿 Growth Grumbles
A Star Fruit that's stopped growing is like a comedian without an audience: it needs a new stage. Slowed growth or a general look of despair isn't your plant being dramatic—it's stifled. If it's more top-heavy than a bobblehead, it's time to repot.
Picking the Perfect Pot for Your Star Fruit
📏 Size Matters
Choosing the right pot size for your Star Fruit is like picking a new apartment—it needs to be just right. Too small, and the roots get cramped; too big, and the soil stays wet, inviting root rot. Aim for a pot that's 1-2 inches larger in diameter than the current one.
✨ Material Magic
When it comes to materials, it's a showdown between terracotta, plastic, and fabric. Terracotta is the breathable choice, letting roots and soil dry out evenly, but it'll have you watering more often. Plastic is the low-maintenance buddy, lightweight and cost-effective, but watch out for soggy soil. Fabric pots are the new kids on the block, offering great aeration but drying out faster than you can say "thirsty."
🚰 Drainage and Aeration
The golden rule: never skimp on drainage. Your Star Fruit's roots despise waterlogged conditions. Ensure your pot has ample drainage holes, and consider adding a layer of gravel or broken pottery at the bottom for an extra escape route for water. Aeration-wise, your Star Fruit will thank you for a pot that lets its roots breathe, reducing the risk of diseases and ensuring a happy, healthy plant.
The Repotting Rundown
🛠️ Prep Work
Before diving into the repotting process, assemble your tools. You'll need a new pot with drainage holes, a suitable soil mix, sharp scissors or pruning shears, and gloves to keep your hands clean. Clear a workspace and consider laying down newspaper to catch any spills.
🌟 The Main Event
Lifting the Star Fruit
First, water your Star Fruit lightly to ease the transition. Tilt the pot and gently coax the plant out. If it resists, slide a knife around the inside edge to separate the roots from the pot.
Pruning the Roots
Inspect the root ball. Snip away any damaged or circling roots to promote healthy growth. Be judicious – over-pruning can harm your plant.
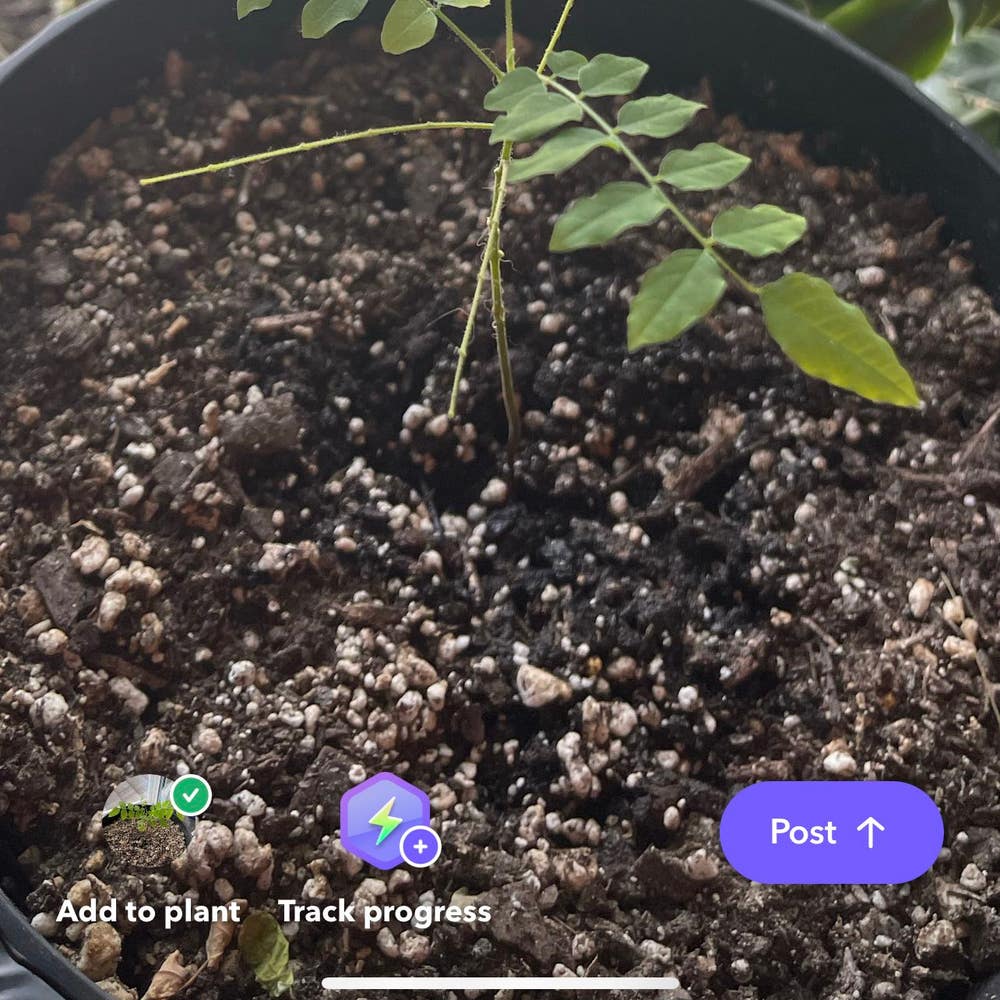
Potting the Star Fruit
Place a layer of fresh soil in the new pot. Set your Star Fruit in, ensuring it's at the same depth as before. Fill in with more soil, tapping the pot to settle it. Avoid compacting the soil too much.
🌱 Soil Selection
Choose a well-draining soil mix, rich in organic matter, to give your Star Fruit the best shot at thriving. A mix of peat, pine bark, and perlite or sand works well. Remember, the right soil is like a tailored suit – it should fit the plant's needs perfectly.
Immediate Aftercare: The First Weeks Post-Repot
💧 Watering Wisdom
After repotting your Star Fruit, watering becomes a high-stakes game of balance. Initially, aim for soil that's moist but shuns the extremes of a swamp. Overwatering is a one-way ticket to root rot city, and underwatering? That's just neglect. Keep the soil's moisture consistent, but let it dry slightly between waterings to avoid drenching your plant's roots.
🌞 Light and Location
Location is key. Your Star Fruit craves light like a cat craves a warm lap, but direct sunlight? That's a no-go. Find a spot that offers bright, indirect light. It's like putting your plant in witness protection—it needs to lay low from the harsh sun while still catching those rays.
📈 Monitoring Milestones
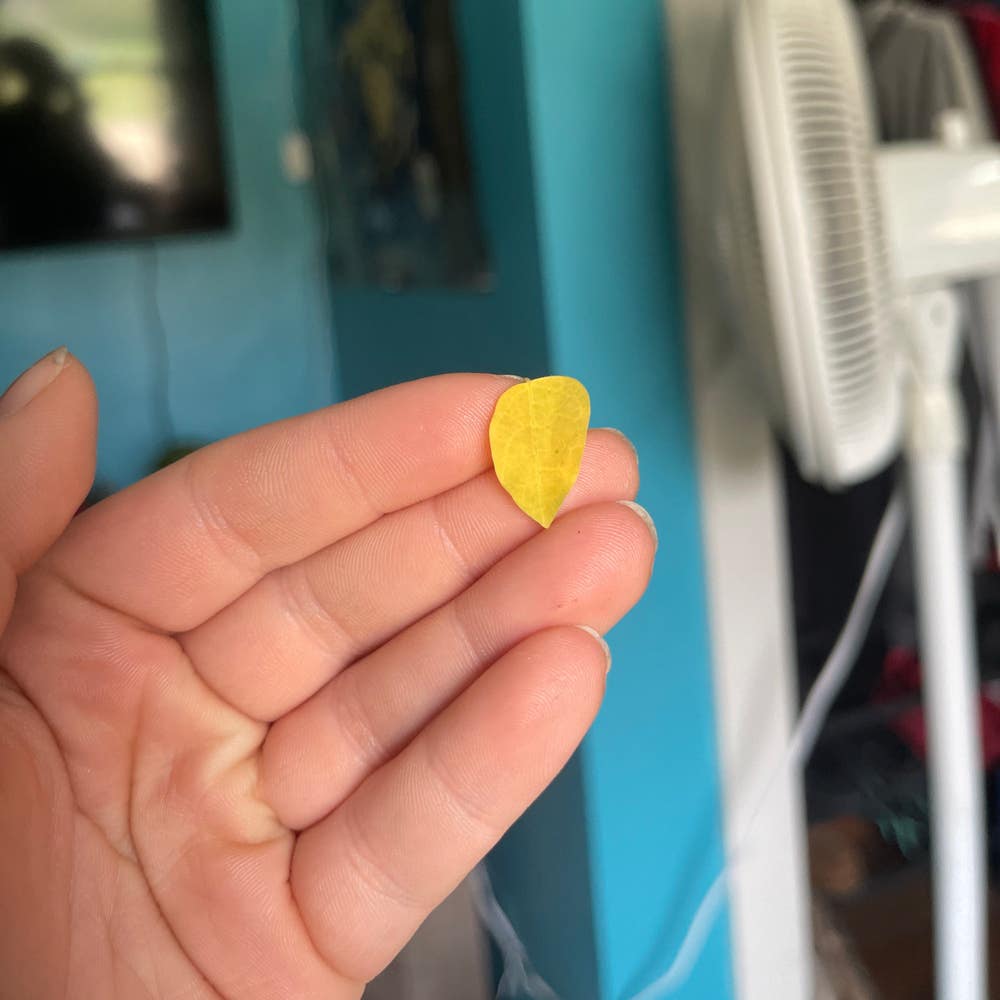
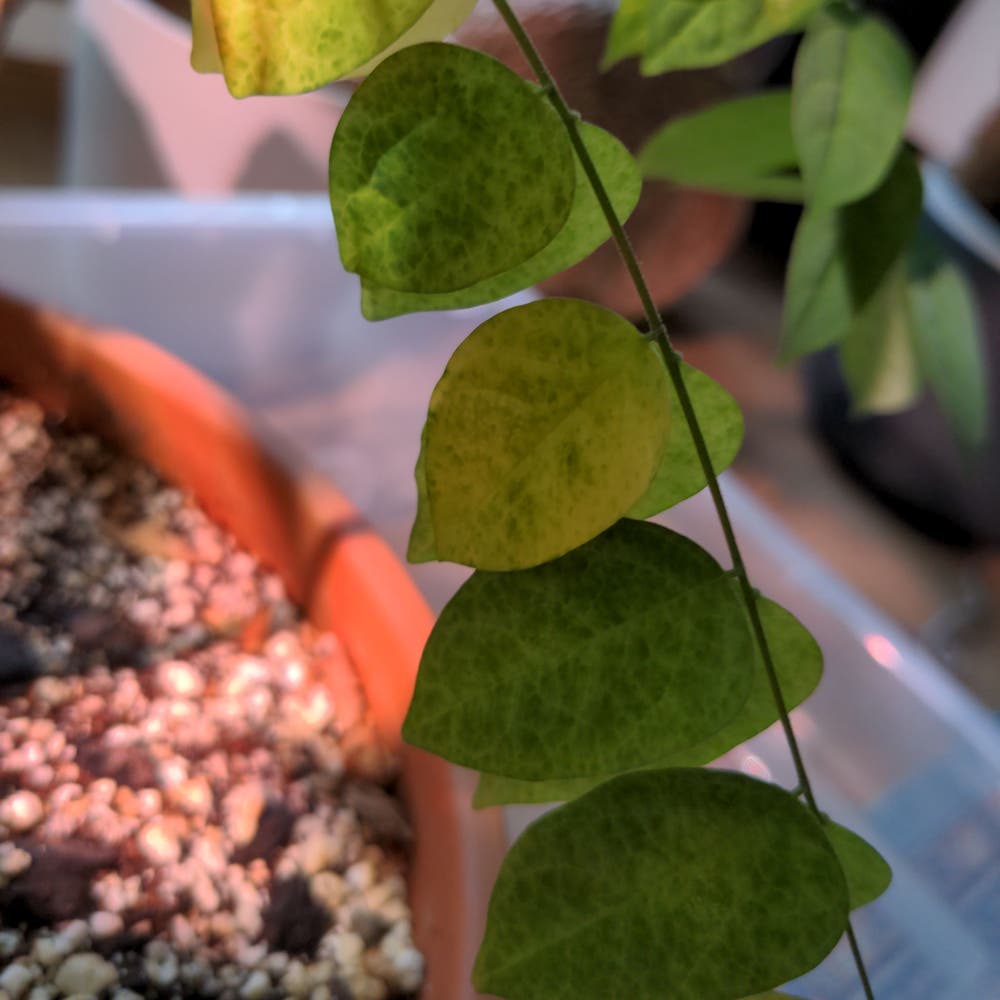
Be vigilant. New growth is your plant's way of giving you a thumbs up, while yellowing leaves are a distress signal. If your Star Fruit starts looking more like a wilted salad, reassess your care strategy. Adjust the light and water, but keep it out of direct sunlight—it's not trying to get a tan. Watch for any signs of fungal party crashers, especially if your place is more humid than a sauna. Spot trouble? Ease up on the water and consider a fungicide if things get dire. Remember, patience is your new best friend—your Star Fruit won't bounce back overnight, but with the right care, it'll be reaching for the stars again soon enough.
⚠️ Safety First
This content is for general information and may contain errors, omissions, or outdated details. It is not medical, veterinary advice, or an endorsement of therapeutic claims.
Always consult a qualified healthcare professional before using any plant as food, medicine, or supplement.
Never eat any plant (or feed one to pets) without confirming its identity with at least two trusted sources.
If you suspect poisoning, call Poison Control (800) 222-1222, the Pet Poison Helpline (800) 213-6680, or your local emergency service immediately.
Spotted an error? Please report it here.
With Greg's personalized care reminders, you'll know exactly when your Star Fruit needs a new home 🌱, ensuring it continues to grow healthy and strong.