⚾ Should I Repot My Baseball Plant?
Euphorbia obesa
By the Greg Editorial Team
Jun 18, 2024•5 min read
This article was created with the help of AI so we can cover more plants for you. May contain errors. See one? Report it here.
Score a green thumb victory by spotting the perfect time to repot your Baseball Plant for peak health! 🏆🌿
- Roots peeking out? Time to repot your Baseball Plant.
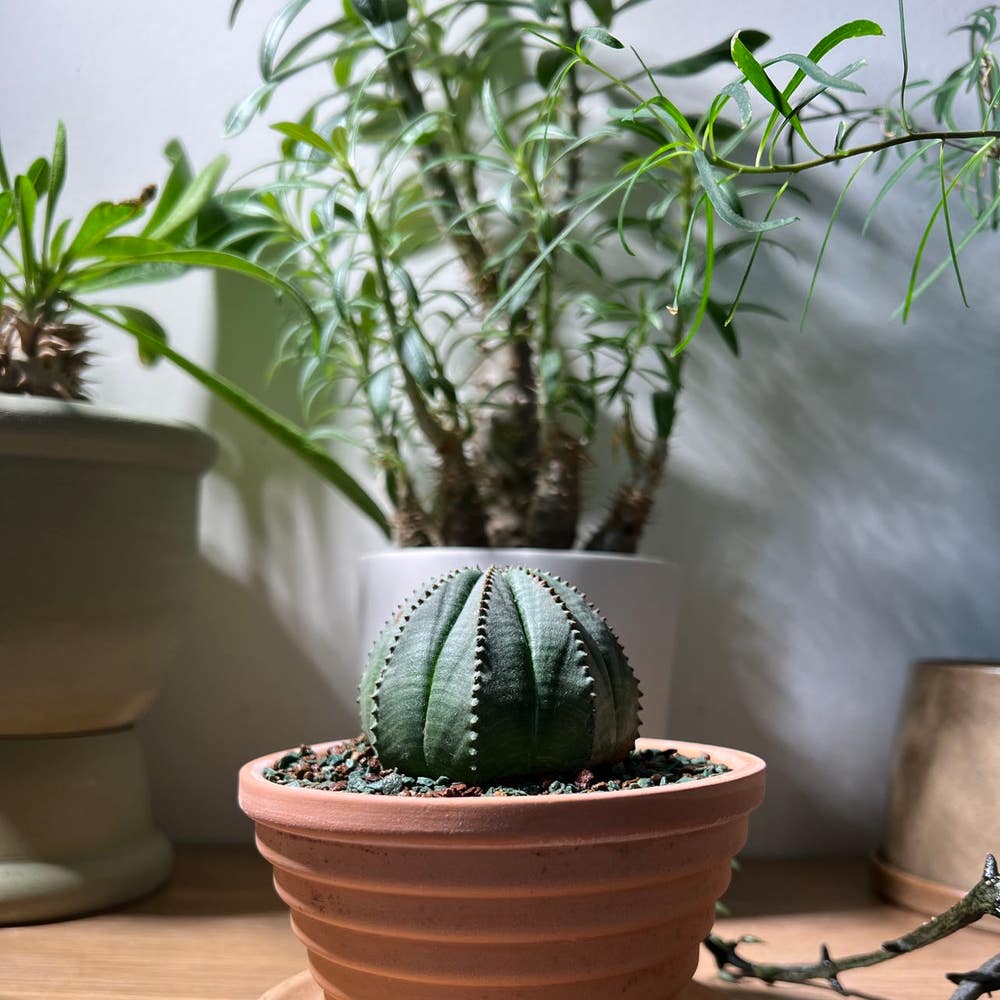
- 🌱 Choose terracotta, plastic, or ceramic pots with proper drainage.
- Repot every 2-3 years, using a well-draining soil mix.
When to Swing into Action: Recognizing Repotting Time
🌱 Root Rundown
Roots peeking out of drainage holes? That's your Baseball Plant's version of a white flag. It's time to give it a new, roomier home base.
📦 Growth and Weight
If your plant's growth has slowed or it's become top-heavy, it's not just being lazy or overindulgent. It's constrained and needs a change of scenery.
⏰ Time Check
Euphorbia obesa generally requires a repotting every two to three years. Mark your calendar; this isn't a high-maintenance relationship.

Choosing the Right Pot for Your Plant MVP
🏺 Material Matters
Terracotta, plastic, and ceramic are your main contenders when selecting a pot. Terracotta is the breathable choice, letting soil dry out quickly, perfect for the Baseball Plant's dislike of wet feet. Plastic is the budget-friendly, lightweight option that retains moisture longer, which can be a pro or con depending on your watering habits. Ceramic offers a middle ground, often glazed for moisture retention but still heavier and more breakable than plastic.
📏 Size and Drainage
Size is crucial; a pot too large can drown your Baseball Plant's roots in soil and water, while too small can cramp and stunt its growth. Aim for a pot 1-2 inches wider than the current one. Drainage is non-negotiable; without holes, you're setting up your plant for a soggy demise. If a pot lacks them, grab a drill or choose another. Remember, a matching saucer is handy to catch excess water, but don't let your plant sit in it.

The Perfect Soil Pitch
🌱 Soil Composition
Creating the ideal soil mix for your Baseball Plant is like tailoring a custom suit—it needs to fit just right. Gritty and well-draining are the keywords here. Start with a base of all-purpose potting soil, which provides structure and nutrients. Then, mix in perlite for aeration; think of these as the white, popcorn-like bits that keep your soil from suffocating. Add coarse sand to the mix to improve drainage and mimic the plant's natural rocky environment. For a touch of organic matter, a sprinkle of compost or worm castings will enrich the soil, giving your Baseball Plant the nutrient boost it needs.
🚀 Prepping for the Big Move
Before the repotting begins, ensure your new pot and soil are ready for action. Sanitize your tools and containers to prevent any unwanted microbial guests. Combine your soil ingredients in a large container, tossing them like a salad to ensure even distribution. Fill your pot with the mix, leaving enough space at the top to prevent water from spilling over. Water the soil thoroughly and let it drain completely—this is like a spa day for your mix, setting the stage for your plant's new home.

Step Up to the Plate: The Repotting Process
🌱 Out with the Old
Gently coax your Baseball Plant out of its old confines. If it resists, give the pot a squeeze and a few taps on the bottom. Once it's out, shake off the old soil and inspect the roots. Snip any that look like they've seen better days.
🌿 In with the New
Next, place a layer of well-draining soil in the new pot. Think of it as making a cozy bed for your plant. Center the plant in the pot, ensuring it's not leaning like a drunk on a Friday night.
🌷 Final Touches
Backfill with more soil, pressing down to eliminate air pockets. Water just enough to settle the soil, avoiding a flood. Your plant isn't going on a water slide. Place it in a spot where it can adjust to its new home without the stress of a harsh sunburn or a gloomy cave.
Post-Repotting Game Plan
🌱 Initial Care
After repotting your Baseball Plant, it's time to play it cool with the watering can. Wait a day or two before you introduce water to give any damaged roots a chance to heal. When you do water, make it count—thoroughly drench the soil, then let it drain completely. This isn't a time for soggy soil; you want to encourage new root growth, not a fungal rave.
Bright, indirect sunlight is the sweet spot for your plant's new digs. Direct sun is a no-go; think of it as putting your plant in the spotlight after a stage fright episode. And keep the temperature consistent—your plant's no fan of surprise weather changes.
Monitoring Your Plant
Now, you're on plant patrol. Keep an eye out for the good signs, like new growth—it's like your plant sending you a thumbs-up. But also be on the lookout for the SOS signals: drooping, discoloration, or leaf drop. These are your cues to tweak your care routine, whether that means adjusting the light or rethinking your watering schedule.
Remember, no fertilizers just yet. Your plant's still settling in, and you wouldn't want to overwhelm it with a nutrient-packed buffet. It's like expecting someone to run a marathon right after they've moved into a new house.
Keep your care consistent, and with a bit of patience, your Baseball Plant will be back in the game, ready to knock it out of the park.
⚠️ Safety First
This content is for general information and may contain errors, omissions, or outdated details. It is not medical, veterinary advice, or an endorsement of therapeutic claims.
Always consult a qualified healthcare professional before using any plant as food, medicine, or supplement.
Never eat any plant (or feed one to pets) without confirming its identity with at least two trusted sources.
If you suspect poisoning, call Poison Control (800) 222-1222, the Pet Poison Helpline (800) 213-6680, or your local emergency service immediately.
Spotted an error? Please report it here.
Watch your Euphorbia obesa thrive 🌿 with Greg's timely repotting reminders and post-transplant care tips, ensuring a smooth transition to its new home.