How to Propagate Your Umbrella Sedge
Cyperus eragrostis
By the Greg Editorial Team
Mar 12, 2024•4 min read
This article was created with the help of AI so we can cover more plants for you. May contain errors. See one? Report it here.
- 🌱 Divide in spring with care—sharp knife, intact root ball, and proper depth.
- Seed and rhizome propagation—harvest dry seeds, callus rhizomes before planting.
- Troubleshoot for success—adjust soil conditions, watch for pests, and be patient.
Dive into Division: Multiplying Your Sedge
🌱 When to Divide Your Plant
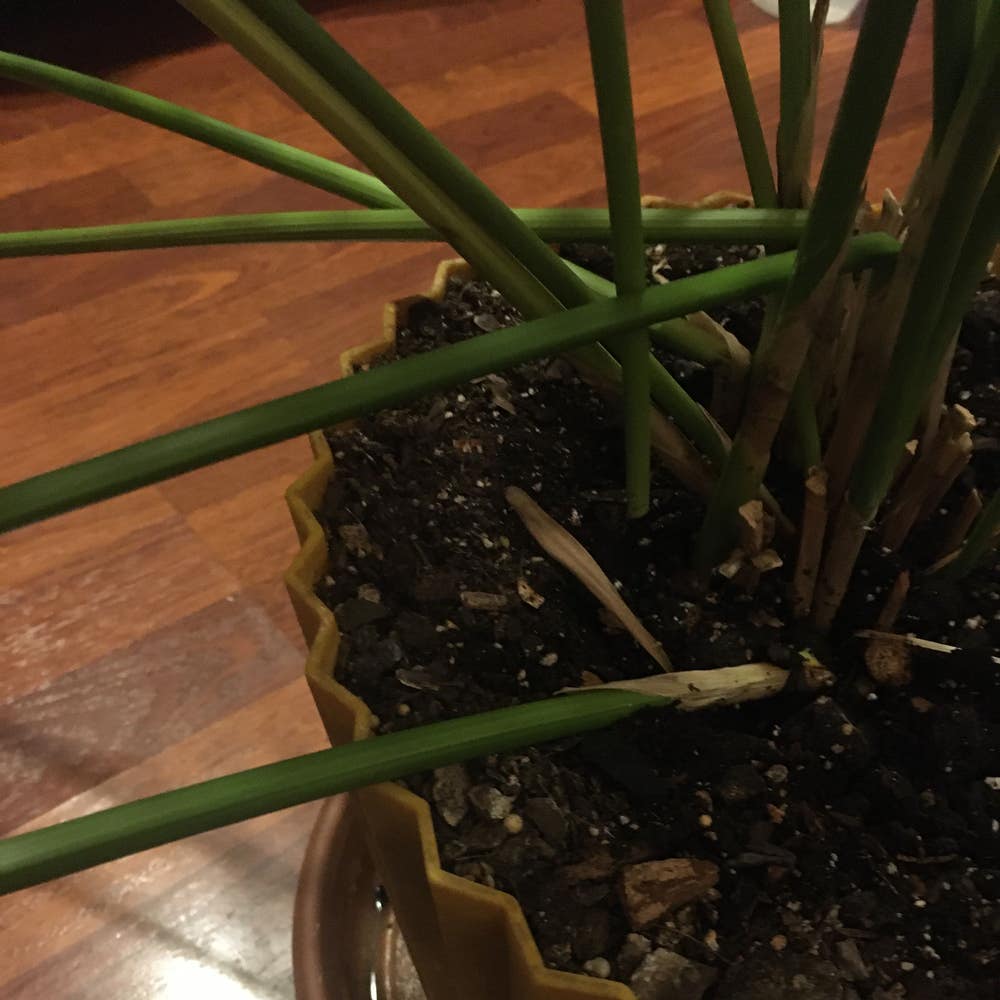
Springtime is prime time for division. Look for overcrowding—roots peeking out of the pot is a dead giveaway. A sedge that's stopped its upward stride is another sign it's time to intervene.
The Division Process Step-by-Step
🔪 Tools and Prep
Grab a sharp knife and some gloves. You're about to get dirty, so prep your space accordingly.
Digging In
Gently excavate around your sedge. Aim to keep the root ball's dignity intact.
The Art of Separation
It's like a plant puzzle. Tease apart the clumps, ensuring each has roots and shoots. Some may play hard to get—stay firm, use your knife.
Potting the Progeny
Get those divisions into fresh soil, stat. Plant them at their original depth—no deeper, no shallower.
After Division: Ensuring Success
Initial Care
Moist soil is your new mantra. But don't drown the darlings—soggy is the enemy.
The Waiting Game
Bright, indirect light is the sweet spot. Hold off on the fertilizer—let the roots find their footing first. New growth means you've nailed it. Keep pests at bay with a swift swipe of insecticidal soap if needed.
Remember, it's not just about dividing—it's about conquering the propagation game.
From Tiny Seeds to Lush Sedges
👩🌾 Harvesting and Prepping Seeds
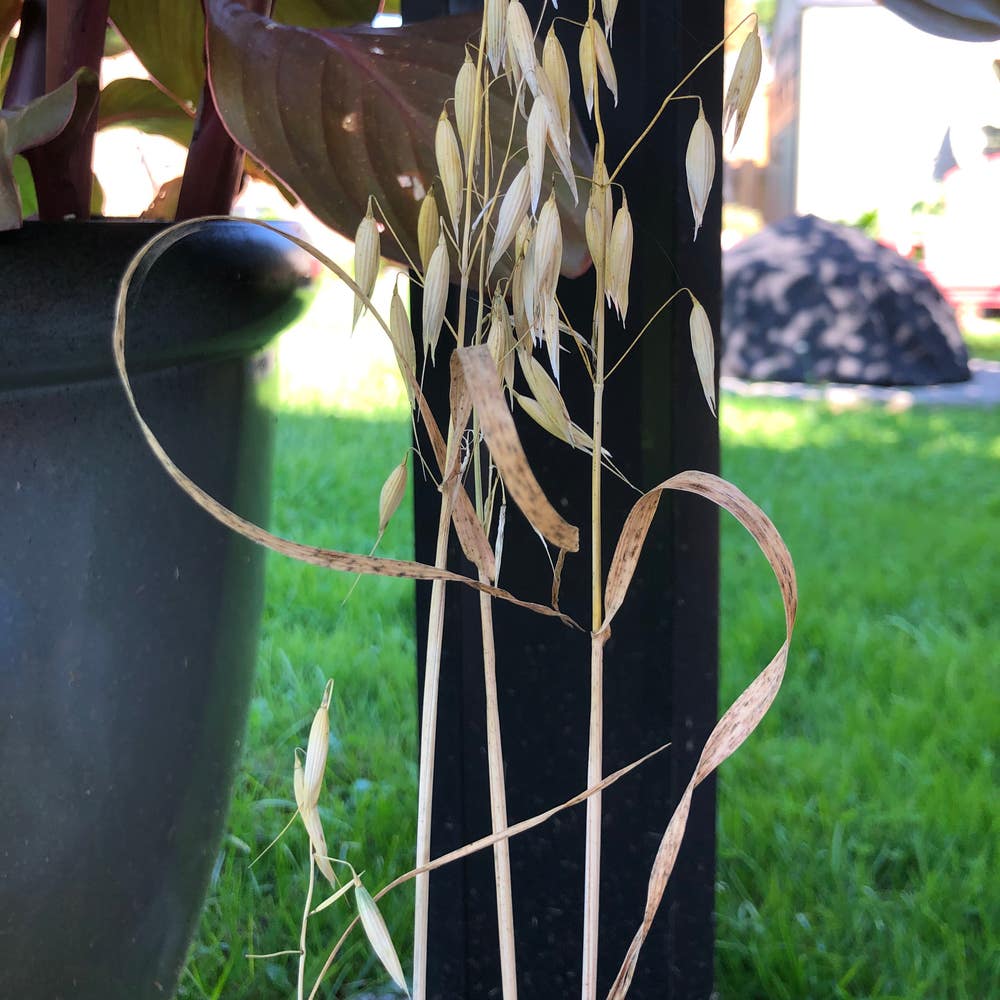
Harvesting seeds from your Umbrella Sedge is like hitting the jackpot in the plant propagation casino. First, wait for the seed umbels to dry out on the plant. Then, with the precision of a jeweler, pluck the seeds gently, ensuring they're free of pulp and plant debris. It's crucial to keep them dry and store them in a cool, dark place until you're ready to sow. This isn't just about being tidy; it's about giving your seeds the best shot at life.
🌱 Sowing and Caring for Seedlings
When it's time to sow, think of each seed as a potential green masterpiece. Spread them on a well-draining soil mix, barely covering them with soil. They're not fans of the limelight, so avoid direct sunlight. Once they sprout, treat them like tiny green babies. Feed them with a half-strength liquid fertilizer; they're not picky eaters but respond well to gentle nutrition. Keep the soil consistently moist but not waterlogged, because nobody likes soggy feet, not even seedlings. With some patience and a bit of luck, you'll soon have a troupe of young sedges ready to take on the world.
Rhizome Cuttings: A Shortcut to New Sedgies
🌱 The Right Cut: Harvesting Rhizome Cuttings
Rhizome propagation is like a cheat code for plant multiplication. Select rhizomes with at least one growth point for a head start. Sterilize your cutting tool to ward off any unwanted microbial guests. Once you've made the cut, let the rhizome callus over for a day or two; it's like equipping your plant with armor against rot.
🌱 Planting and Initial Care for Cuttings
Planting rhizome cuttings is straightforward: nestle them into a well-draining, peat-based potting mix with perlite for breathability. Keep the humidity generous but not overbearing; think tropical, not swampy. Aim for a cozy 25°C (77°F) to make your cuttings feel right at home. Water to maintain consistent moisture without creating a bog, and provide indirect light to avoid sunburn on your new plant babies.
Troubleshooting Your Propagation Efforts
🌱 Common Propagation Pitfalls
When your Umbrella Sedge seeds are more stubborn than a toddler in a toy store, it's likely a soil issue. Temperature and depth are key—seeds crave warmth and hate being buried deep. Adjust your setup and give it another go.
For divisions that wilt faster than a fresh salad in the sun, check for overwatering or poor drainage. Keep the soil moist but not soggy, and make sure those pots have drainage holes that could make a colander jealous.
🌿 Ensuring Your Cuttings Take Root
Rhizome cuttings can be finicky, but they're not trying to give you a hard time. Nodes are the hotspot for root growth, so cut with precision. And cleanliness? Non-negotiable. Sterilize those tools like you're prepping for surgery.
If your cuttings are as lifeless as a flat tire, a rooting hormone might just be the jumpstart they need. No roots still? Shine a light on them—literally. Proper lighting and a cozy temperature can work wonders.
Remember, patience is more than a virtue in propagation—it's a requirement. Keep an eye out for fungus gnats and other party-crashing pests, and show them the door with a spritz of insecticidal soap. And if all else fails, remember that every failed cutting or seed is just a stepping stone to becoming a propagation guru.
⚠️ Safety First
This content is for general information and may contain errors, omissions, or outdated details. It is not medical, veterinary advice, or an endorsement of therapeutic claims.
Always consult a qualified healthcare professional before using any plant as food, medicine, or supplement.
Never eat any plant (or feed one to pets) without confirming its identity with at least two trusted sources.
If you suspect poisoning, call Poison Control (800) 222-1222, the Pet Poison Helpline (800) 213-6680, or your local emergency service immediately.
Spotted an error? Please report it here.
Propagate your Umbrella Sedge like a pro this spring with Greg's tailored reminders to keep soil moisture just right and community advice at your fingertips 🌱.