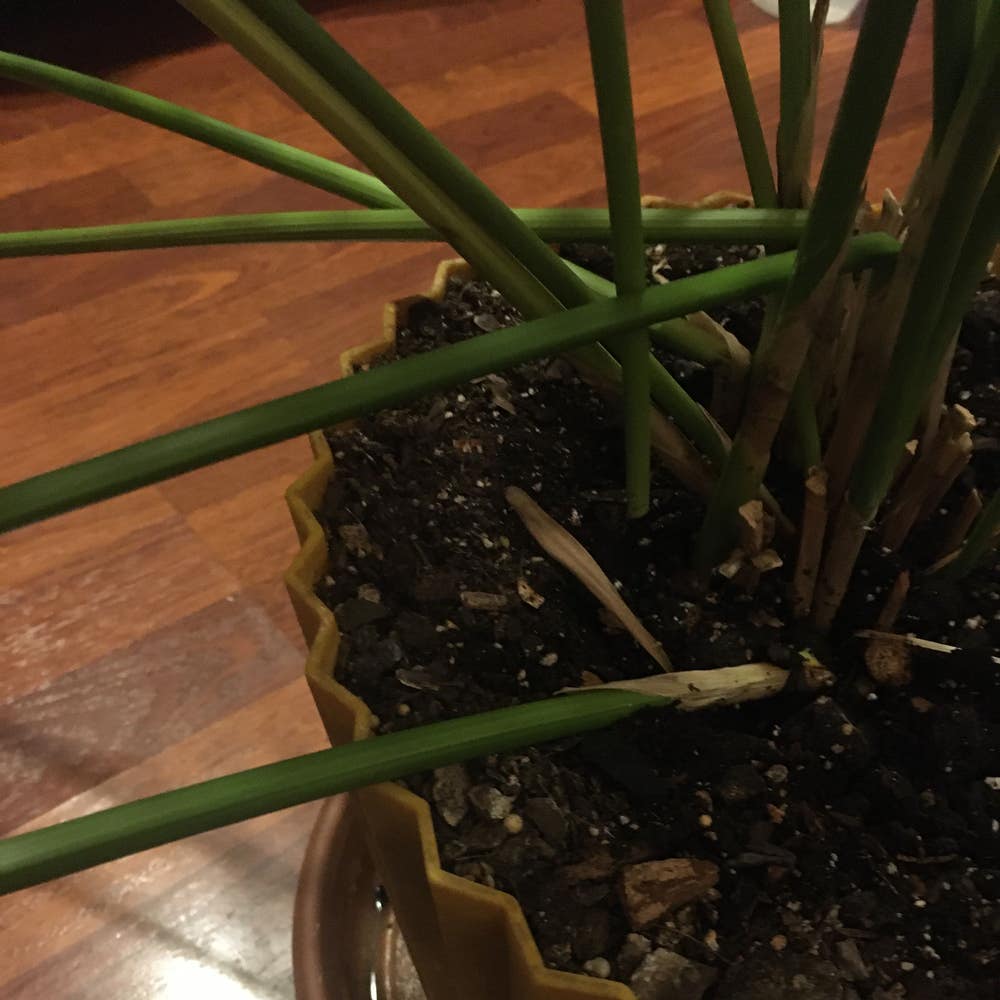
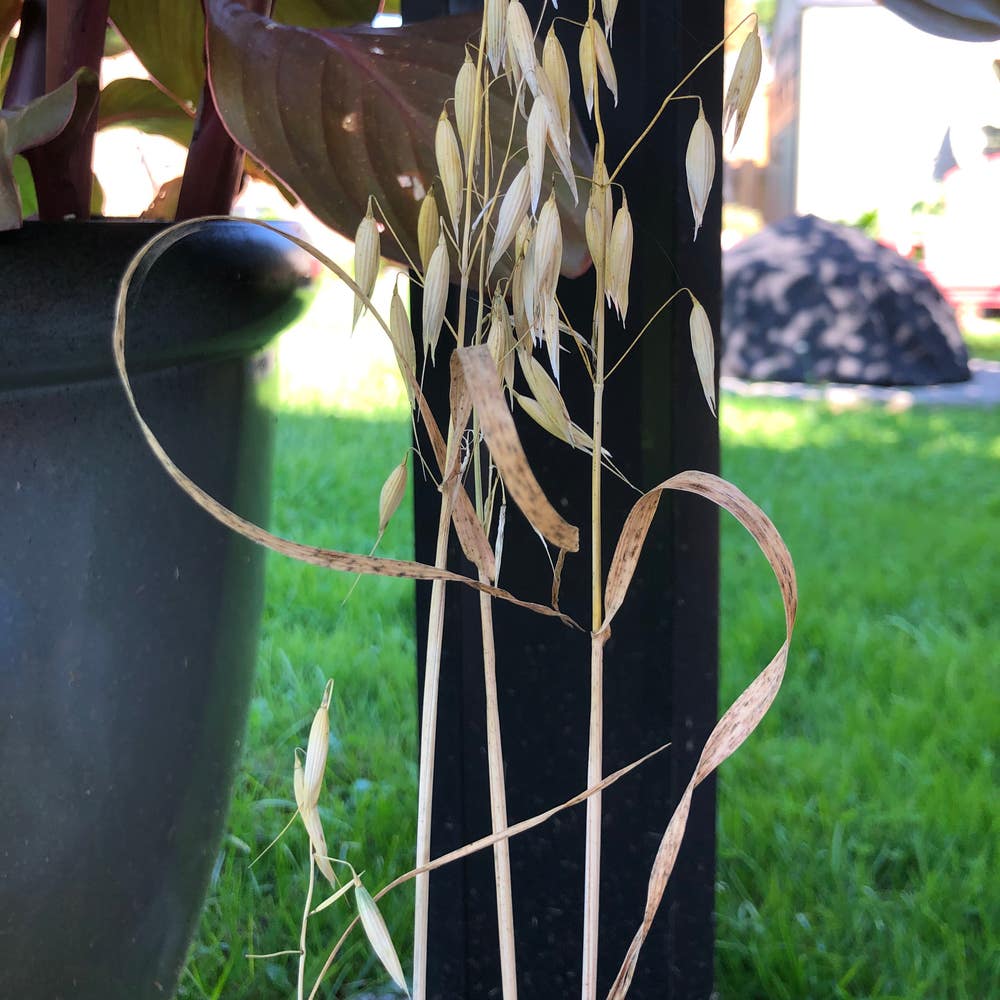
Should I Repot My Umbrella Sedge?
Cyperus eragrostis
By the Greg Editorial Team
Mar 12, 2024•5 min read
This article was created with the help of AI so we can cover more plants for you. May contain errors. See one? Report it here.
- Roots peeking out? Time to repot your Umbrella Sedge.
- Terracotta pots are best for breathability and drainage.
- Post-repotting care is crucial for plant health.
Spotting the Telltale Signs for Repotting
🌱 Root Tango: When Roots Outdance the Pot
Roots peeking out of the pot's drainage holes or circling the topsoil are more than a quirky dance move; they signal a desperate plea for space. If your plant's roots are staging a breakout, it's repotting time.
💧 Water Woes: Poor Drainage as a Red Flag
When water zips through the pot faster than a kid on a waterslide, it's not a win for efficiency—it's a drainage disaster. Soil that repels water isn't playing hard to get; it's suffocating amidst a root takeover.
🌿 Growth Grind: When Your Plant Hits a Plateau
A growth halt isn't a sign of a lazy plant; it's a red flag that your green buddy is cramped. If your plant's upward ambition seems to have hit a ceiling, consider giving it a new, roomier residence.
The Repotting Rundown
🌱 Prepping Your Plant: A Gentle Approach
Before repotting, water your plant gently to ease the transition. Ensure you have all your tools on hand: a new pot, fresh potting mix, a trowel, and scissors.
🏺 Choosing a New Home: Pot Size and Material Matters
🏺 Terracotta vs. Plastic vs. Ceramic: Weighing the Pros and Cons
Terracotta pots are porous, offering breathability that prevents root rot but may dry out quickly. Plastic pots are lightweight and retain moisture longer, yet they can restrict airflow. Ceramic pots are often glazed, balancing moisture retention with style, but they can be heavy and pricey.
🌿 The Main Event: Step-by-Step Repotting Guide
- Lay the groundwork with a layer of fresh potting mix at the bottom of the new pot.
- Ease out the plant from its current pot, being mindful of the roots.
- Inspect the root ball, trimming away any dead or circling roots.
- Position the plant in the center of the new pot, filling in with potting mix.
- Tap the pot to settle the mix and eliminate air pockets.
- Water thoroughly to help the plant settle in its new abode.
Pot Talk: Selecting the Best Material for Umbrella Sedge
💦 Breathability and Drainage: Why They're Key
Terracotta is the MVP of pot materials for your Umbrella Sedge. Its porous nature is like a built-in moisture management system, wicking away excess water and letting the roots breathe. This is critical because your plant's roots are about as fond of waterlogging as cats are of water.
Material Showdown: Finding the Perfect Pot
When it comes to choosing the right pot, think of it as a matchmaking exercise for your plant's roots. Terracotta pots are the go-to for their breathability, which helps prevent overwatering by allowing soil to dry out more evenly. They're also great for those living in humid climates, as they help combat moisture buildup.
Plastic pots are lightweight champions, ideal for those who tend to forget watering. They retain moisture longer, which can be a blessing or a curse, so keep an eye on your watering habits. They're also easy to move around, but don't let their convenience make you complacent about drainage.
Ceramic pots are the stylish middle ground. They offer a balance between breathability and moisture retention and come in a variety of designs to suit any decor. Just make sure they have drainage holes, or you'll need to play handyman with a drill.
Fabric pots are the new kids on the block, boasting excellent aeration and promoting healthy root growth. However, they can dry out quickly and may not have the staying power of terracotta or plastic.
Avoid metal or glass pots; they're more about looks than functionality. Metal can heat up too much and rust, while glass is as breathable as a sealed jar, which is to say, not at all.
Remember, no matter the material, drainage holes are non-negotiable. They're the safety net that keeps your plant from drowning in its own home.
Post-Repotting Care: Helping Your Plant Settle In
💦 The First Few Days: Watering and Light
After a repotting session, your Umbrella Sedge is like a toddler in new shoes – it needs time to adjust. Water it thoroughly once, then back off. Let the top inch of soil dry out before even thinking about another drink. This isn't a watering contest; soggy soil is the enemy here.
Light is another critical factor. Find a spot that offers bright, indirect sunlight. Direct rays? Forget about it. You're not trying to bake your plant; you're nurturing it back to health.
🌱 Long-Term Love: Monitoring and Adjusting Care
As the days roll into weeks, keep a vigilant eye on your green buddy. If it's throwing a fit with droopy leaves or a sad demeanor, it's time to switch things up. Adjust the watering schedule or shuffle it to a new location – it's like plant parenthood, with all the trial and error.
Remember, patience is your best friend during this time. Your Umbrella Sedge won't thank you with words, but with lush, vibrant growth. Keep the soil consistently moist, and resist the urge to fertilize. Think of it as a detox period; your plant's getting back to its roots, quite literally.
⚠️ Safety First
This content is for general information and may contain errors, omissions, or outdated details. It is not medical, veterinary advice, or an endorsement of therapeutic claims.
Always consult a qualified healthcare professional before using any plant as food, medicine, or supplement.
Never eat any plant (or feed one to pets) without confirming its identity with at least two trusted sources.
If you suspect poisoning, call Poison Control (800) 222-1222, the Pet Poison Helpline (800) 213-6680, or your local emergency service immediately.
Spotted an error? Please report it here.
Ensure your Umbrella Sedge thrives in its new home by using Greg to identify 🌱 the perfect pot and get tailored reminders for when it's time to repot based on your plant's specific needs!