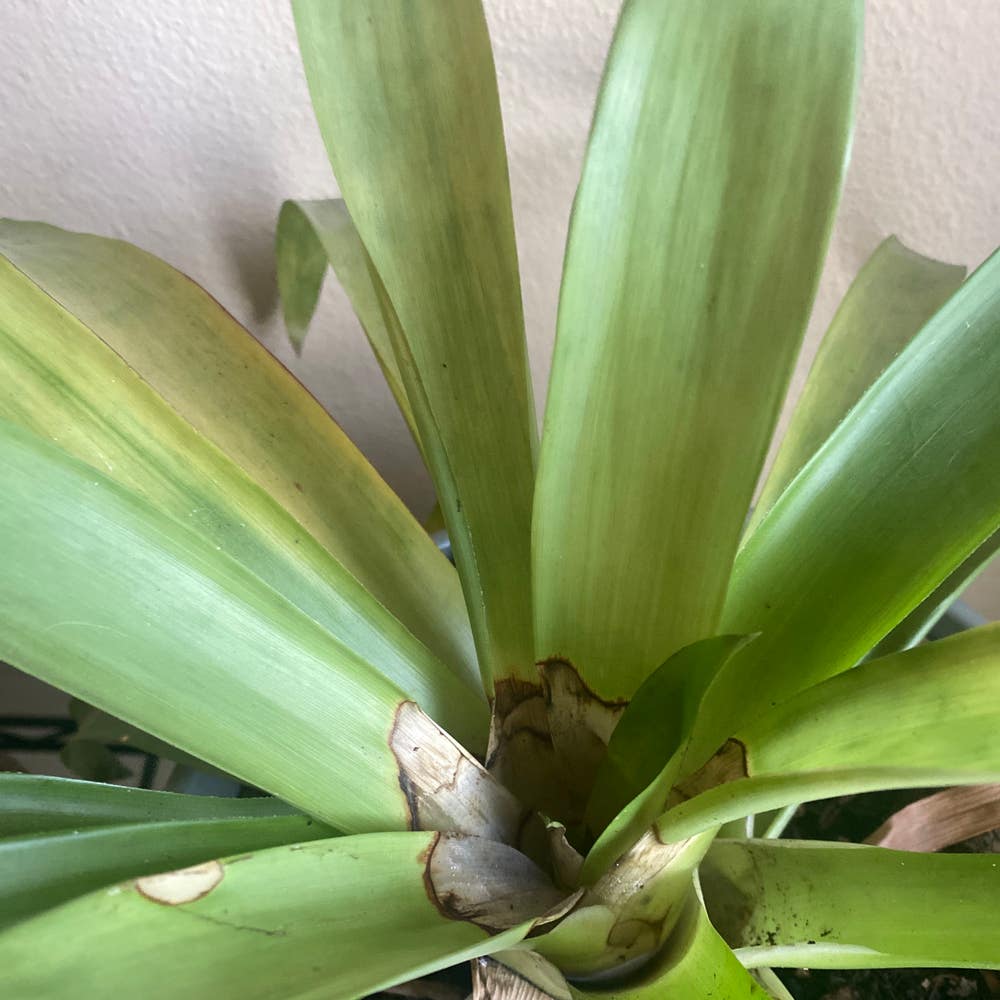
Propagating My Neoregelia laevis: Step-by-Step Guide
Neoregelia laevis
By the Greg Editorial Team
Apr 14, 2024•4 min read
This article was created with the help of AI so we can cover more plants for you. May contain errors. See one? Report it here.
Propagate your Neoregelia laevis 🌿 effortlessly with our step-by-step guide, and watch your garden flourish! 🌱
- Divide offsets with care, ensuring they have roots and resemble the parent.
- Seed or tissue culture: Choose your propagation adventure.
- Post-propagation care is crucial for Neoregelia laevis' thriving future.
Getting Started with Offsets
🌱 Spotting the Right Time to Divide
To ensure your Neoregelia laevis offsets are ready to stand on their own, look for a few roots and a resemblance to the parent plant. Size is crucial—too small, and they might not survive; too large, and they could deplete shared resources. Patience is key, as premature division can spell disaster.
🕺 The Division Tango
When it's time to separate, gently remove the mother plant from its pot. Lay it on its side, and tease apart the root ball to isolate the offsets. If they're stubborn, use a clean, sharp tool to make the cut. Ensure each offset has a good chunk of roots to start its independent life.
🌱 Prepping Your Offsets for Success
After the division, let the offsets dry for a day to callous over, which helps fend off rot. Pot them in a well-draining mix—soggy soil is a no-go. Place them in bright, indirect light and water sparingly. Keep an eye out for uninvited guests like pests or mold, and evict them promptly.
Sowing the Future: Seed Propagation
👩🌾 Harvesting Seeds Like a Pro
Harvesting seeds from your Neoregelia laevis is about nailing the timing. Look for mature fruit, which houses the tiny black seeds. Handle with care; they're not just seeds, they're your future plant babies.
🌱 Germination Station Setup
Setting up your germination station is like prepping a backstage area for a rock concert, except for seeds. You'll need a mix of potting soil, coarse sand, and perlite for that perfect drainage. Sow the seeds on the surface, and just barely cover them with a sprinkle of soil. Warmth and moisture are your best friends here, but avoid creating a miniature swamp. Keep it moist, not drenched.
The Science of Propagation: Tissue Culture
🧫 Tissue Culture 101
Tissue culture, the high-tech propagation method, lets you clone thousands of plants from a tiny tissue sample. It's like photocopying plants, but with petri dishes and nutrient solutions instead of toner. Micropropagation is the game's name, and it's all about precision and control.
🏡 The Laboratory in Your Home
Setting up a home lab for tissue culture isn't your typical weekend DIY project. Sterility is the watchword; think surgical scrub levels of clean. You'll need a few essentials: a scalpel for those delicate cuts, petri dishes as plant cribs, and a tissue culture medium—your plant cells' hormone-rich happy juice.
- Sterilize everything. Your workspace, tools, and even your hands need to be squeaky clean.
- Snip a small piece of plant tissue. We're talking tiny, like the plant equivalent of a crumb.
- Nestle the tissue into the tissue culture medium, and wait. This isn't instant gratification; it's a slow dance over 8 to 16 weeks.
- Once you've got a mini forest of leafy growth, it's time to move your plantlets to a more typical growing medium.
Remember, tissue culture is the plant world's Olympics—not for the faint of heart but worth the gold for the persistent.
Aftercare: The First Steps Post Propagation
🌱 The First Days of Independence
Your Neoregelia laevis offsets are flying solo now. Immediate care is crucial. Begin by ensuring they're in a stable environment—consistent temperature and indirect light are your best friends here. Water them just enough to keep the soil moist, but not soggy; think of it as a nurturing hug for their roots.
🛠 Troubleshooting Common Hiccups
Yellow leaves or a wilted appearance are your plant's way of saying, "Help!" Adjust the light or water intake before these whispers become screams. Remember, overwatering is a common misstep, so let the top inch of soil dry out before going in with your watering can again. And hold off on the fertilizer—these babies are still too tender for a full meal. When in doubt, less is more. Keep a vigilant watch; early detection of issues can save you a world of hurt.
⚠️ Safety First
This content is for general information and may contain errors, omissions, or outdated details. It is not medical, veterinary advice, or an endorsement of therapeutic claims.
Always consult a qualified healthcare professional before using any plant as food, medicine, or supplement.
Never eat any plant (or feed one to pets) without confirming its identity with at least two trusted sources.
If you suspect poisoning, call Poison Control (800) 222-1222, the Pet Poison Helpline (800) 213-6680, or your local emergency service immediately.
Spotted an error? Please report it here.
Propagate Neoregelia laevis 🌱 effortlessly with Greg's custom care plans, ensuring your offsets and seeds thrive in their new environment.