💧 Propagating Cascade: The Ultimate Guide
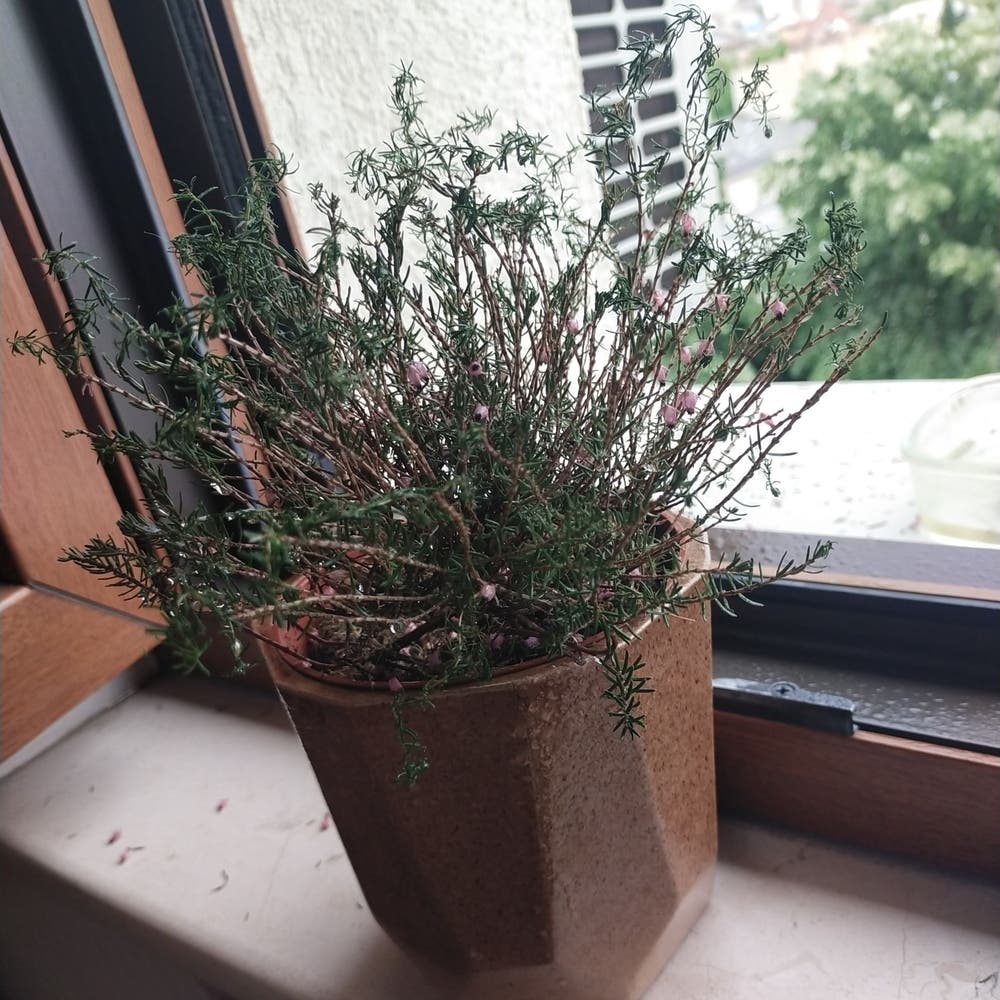
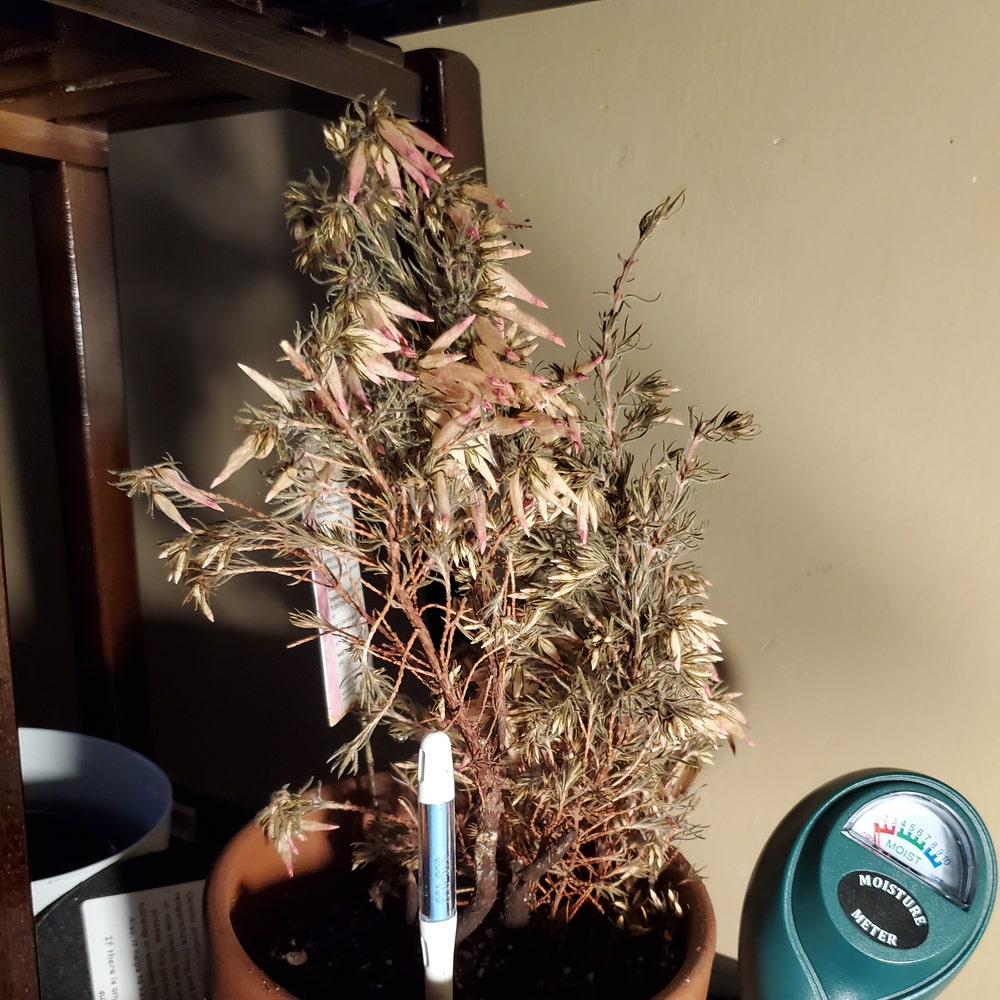
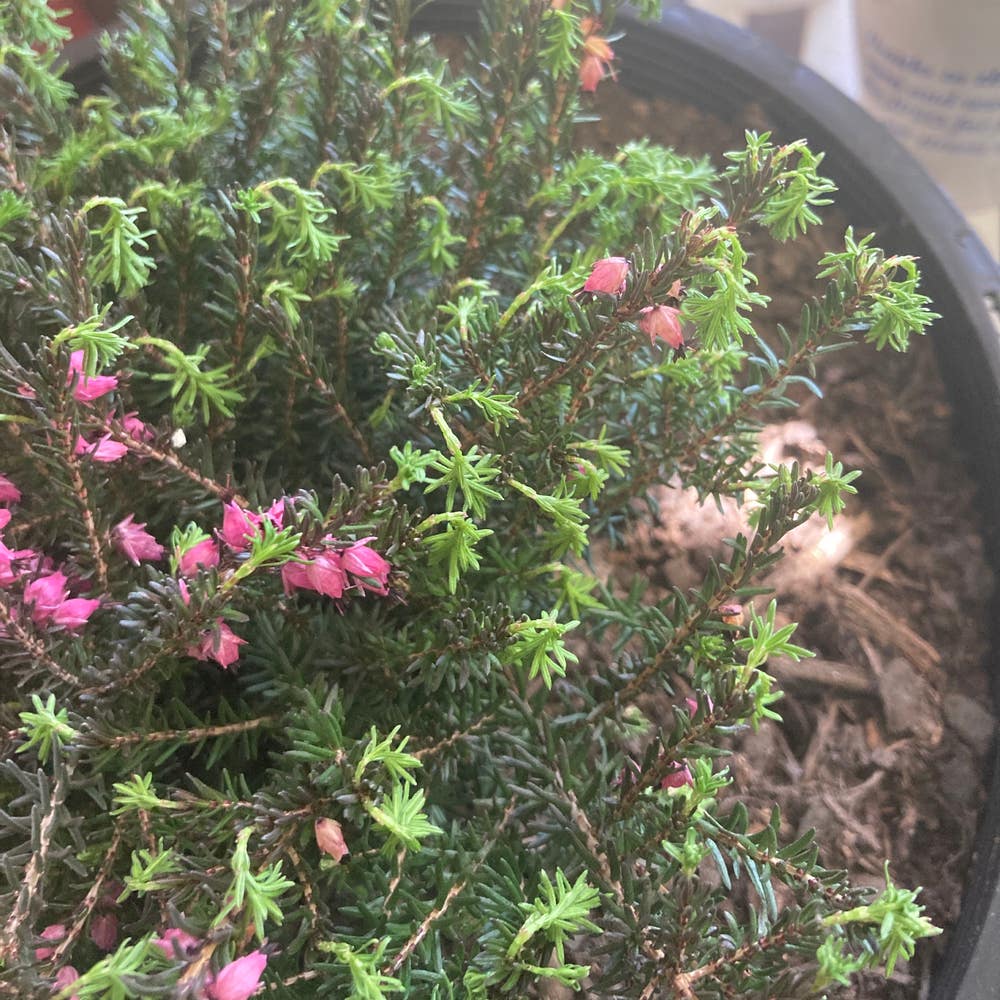
Erica manipuliflora
By the Greg Editorial Team
Nov 07, 2024•5 min read
This article was created with the help of AI so we can cover more plants for you. May contain errors. See one? Report it here.
Transform your garden with simple cutting propagation techniques for thriving plants! 🌱
- 🌱 Select healthy cuttings and trim leaves to prevent rot for successful propagation.
- ⏰ Best time for cuttings is early morning when plants are hydrated.
- 💧 Maintain moisture and humidity for optimal root growth and seed germination.
Cutting Propagation
🌱 Selecting the Right Cutting
To start your cutting propagation journey, aim for cuttings that are 4-6 inches long from healthy stems. The best time to take these cuttings is early morning when the plant is well-hydrated, ensuring the stems are firm and ready for action.
When choosing stems, look for those that are vibrant green and free from any signs of disease. Healthy cuttings are crucial for successful propagation.
✂️ Preparing the Cutting
Before planting, it's essential to prepare your cuttings properly. Begin by removing the lower leaves, trimming them from the bottom 2 inches to prevent rot in the soil.
Next, make sure to clean your tools. Using sterilized scissors or shears helps prevent any infections that could hinder root development.
🌿 Rooting Hormone Application
Rooting hormones can significantly boost your success rate. They come in various forms: powder, gel, or liquid, each designed to stimulate root growth.
To apply, simply dip the cut end of your cutting into the rooting hormone before planting. This step is vital as it enhances the chances of your cutting developing strong roots.
🌍 Planting the Cutting
Choosing the right soil is key for your cuttings. Opt for a well-draining potting mix or a propagation medium like perlite to ensure proper moisture levels.
When planting, insert the cutting about 2 inches deep into the soil. Also, make sure to space your cuttings adequately to allow for airflow, which is essential for healthy growth.
💧 Care for Cuttings During Rooting
Once your cuttings are planted, proper care is crucial for their success. Keep the soil consistently moist but avoid making it soggy, as excess water can lead to rot.
To maintain humidity, cover your cuttings with a plastic bag or dome. Additionally, place them in bright, indirect light to promote growth without the risk of scorching.
With these steps, you’re well on your way to successful cutting propagation. Next, let’s explore seed propagation and how to collect and prepare seeds from your cascade plants.
Seed Propagation
🌱 Collecting Seeds from Cascade
The best time to collect seeds from your Cascade plants is after the flowers have dried and turned brown. To gather the seeds, gently shake or cut the seed heads to release them.
🧼 Preparing Seeds for Planting
Before planting, it's essential to clean the seeds by removing any debris or chaff. For certain varieties, stratification—a cold treatment—can enhance germination, although it's optional.
🌍 Sowing Seeds
Start by preparing a light and well-draining seed-starting mix. Scatter the seeds on the surface and lightly press them into the soil, ensuring they have good contact.
🌡️ Germination Conditions for Cascade Seeds
For optimal germination, maintain a temperature between 70°F and 75°F (21°C to 24°C). Provide bright light but avoid direct sunlight until the seedlings are established, which usually takes about 7-14 days.
🌿 Transplanting Seedlings
Transplant your seedlings when they have developed 2-3 true leaves. Space them 6-12 inches apart in larger pots or garden beds to allow for growth.
☀️ Hardening Off
Before moving seedlings outdoors, gradually acclimate them to the conditions over 7-10 days. This process helps them adjust and thrive in their new environment.
With these steps, you're well on your way to successfully propagating Cascade plants from seeds. Next, let’s explore division propagation, another effective method for expanding your garden.
Division Propagation
🌱 When to Divide Cascade Plants
The best time to divide Cascade plants is during early spring or fall when they are actively growing. Look for signs that division is needed, such as crowded roots, reduced vigor, or poor flowering.
🛠️ Tools Needed for Division
To successfully divide your plants, gather essential tools like a sharp spade, garden fork, and sterilized cutting tools. Gloves are optional but can protect your hands during the process.
📋 Step-by-Step Division Process
- Water the plant thoroughly a day before division to soften the soil.
- Carefully dig around the plant to expose the root ball.
- Gently separate the root ball into sections, ensuring each section has roots and stems.
- Trim any damaged roots before replanting to promote healthy growth.
💧 Post-Division Care
After dividing, keep the new plants well-watered for the first few weeks to help them establish. Provide indirect light to reduce stress, and wait 4-6 weeks before applying fertilizer to allow the roots to settle in.
Dividing Cascade plants can rejuvenate their growth and enhance flowering. With the right timing and care, your plants will thrive and bring beauty to your garden. Next, we’ll explore hydroponic propagation methods for those looking to innovate their gardening techniques.
Hydroponic Propagation
🌊 Setting Up a Hydroponic System for Cascade
Hydroponic systems offer a soil-free way to grow your Cascade plants. The most popular types include deep water culture, nutrient film technique, and aeroponics.
Each system has its unique setup, but all require essential components: a reservoir for nutrient solution, a pump to circulate water, an air stone for oxygenation, and net pots to hold your plants. Choosing the right system depends on your space and preference.
🧪 Choosing the Right Nutrient Solution
Selecting a nutrient solution is crucial for healthy growth. A balanced NPK solution with micronutrients is recommended for optimal plant health.
Always follow the manufacturer's instructions for dilution to ensure your plants receive the right concentration. This step is vital for preventing nutrient burn or deficiencies.
👀 Monitoring Growth in Hydroponics
Keeping an eye on your hydroponic setup is essential for success. Maintain pH levels between 5.5 and 6.5 to promote optimal nutrient uptake.
Additionally, regularly check and adjust the electrical conductivity (EC) levels. This ensures your plants are receiving the right amount of nutrients for robust growth.
🌱 Transferring to Soil After Hydroponics
Timing is key when transitioning your plants from hydroponics to soil. Wait until the roots are about 2-3 inches long before making the switch.
Gradually acclimate your plants to soil conditions over a week to minimize shock. When planting, use a well-draining potting mix and water thoroughly to help them settle in.
With these steps, you can successfully propagate Cascade plants hydroponically, setting the stage for vibrant growth and flourishing blooms. Next, let’s explore the exciting world of division propagation!
⚠️ Safety First
This content is for general information and may contain errors, omissions, or outdated details. It is not medical, veterinary advice, or an endorsement of therapeutic claims.
Always consult a qualified healthcare professional before using any plant as food, medicine, or supplement.
Never eat any plant (or feed one to pets) without confirming its identity with at least two trusted sources.
If you suspect poisoning, call Poison Control (800) 222-1222, the Pet Poison Helpline (800) 213-6680, or your local emergency service immediately.
Spotted an error? Please report it here.
Propagate your Cascade plants like a pro 🌱 with Greg's tailored reminders and expert tips, ensuring your cuttings thrive from the moment you take that perfect cutting!