Propagating California Sunset: Step-by-Step Guide
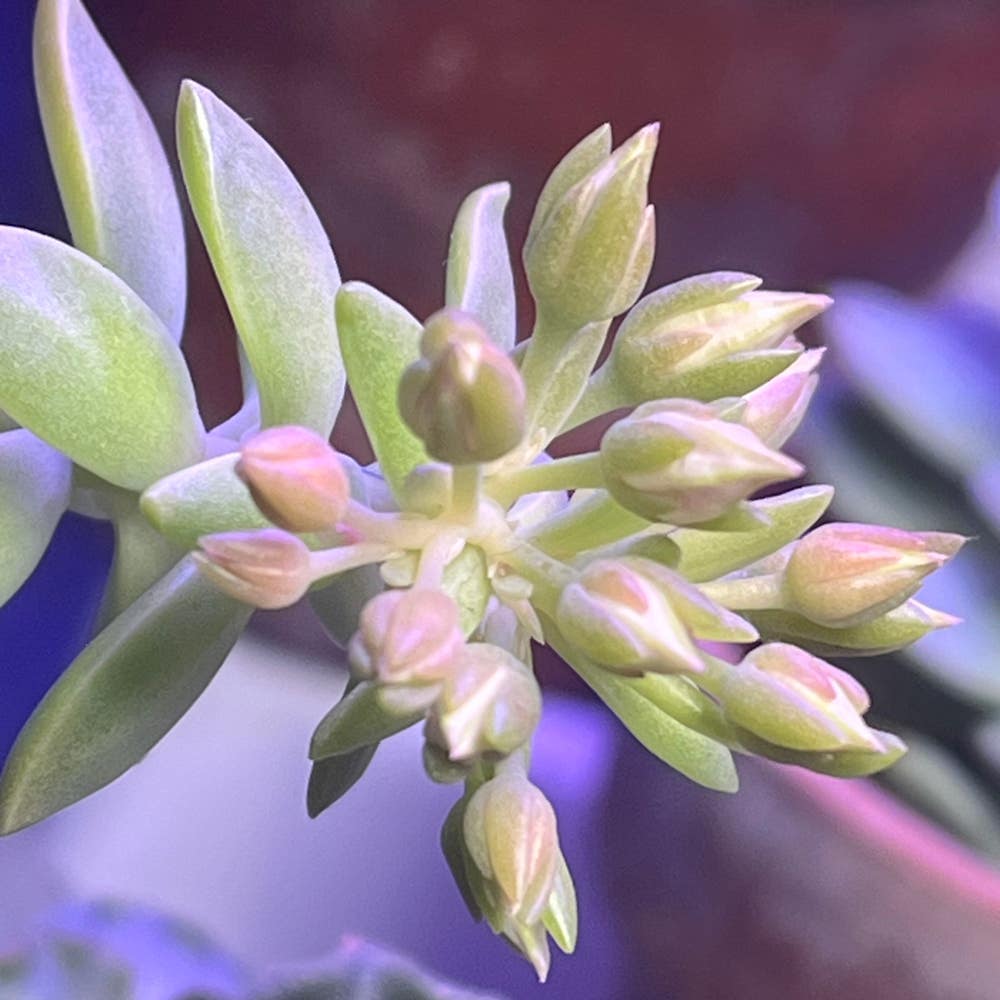
Graptosedum 'California Sunset'
By the Greg Editorial Team
Jun 18, 2024•6 min read
This article was created with the help of AI so we can cover more plants for you. May contain errors. See one? Report it here.
- Choose healthy stems or leaves for successful California Sunset propagation.
- Perfect environment: Bright, indirect light and 65-75°F for rooting.
- Transition carefully to permanent pots with well-draining mix after successful rooting.
Choosing Your Propagation Method
🌱 Stem Cuttings
Selecting the right stem is the first step in propagation. Look for stems that are healthy, with no signs of stress or disease. Use a clean, sharp tool to make your cut just below a leaf node, and strip off any lower leaves to prevent rot. For an extra boost, consider dipping the cut end in rooting hormone before planting.
Rooting Your Stem Cuttings: Water vs. Soil Debate
Rooting can be done in water or soil. Water allows you to watch the roots develop, but soil can be a set-and-forget method. If you choose soil, keep it moist but not soggy to dodge rot. Some folks swear by the mini greenhouse effect of a plastic bag over the pot to keep humidity high.
🍃 Leaf Cuttings
When it comes to leaves, pick the plump and healthy ones. Gently twist the leaf from the stem, ensuring you get a clean pull. Let the leaf callus over for a few days to prevent rot, then lay it on top of well-draining soil or press the cut end slightly into the soil.
The Rooting Process for Leaf Cuttings
Patience is key with leaf cuttings. It may take time, but soon, tiny roots and a new plant will emerge from the calloused end. Keep the soil lightly moist and provide bright, indirect light.
🌿 Division
Division is ideal for mature plants that have become too crowded. Gently separate the plant into smaller sections, making sure each has a good amount of roots attached. Replant promptly in well-draining soil, and water them in to help settle any disturbed roots.
Planting Your Divisions for Success
When planting your divisions, give them the same care you would a mature plant. Place them in a spot with bright, indirect light and water when the top inch of soil feels dry. Watch as your new plants take on a life of their own, ready to grow and flourish.

Setting the Stage for Propagation Success
🌱 Creating the Perfect Environment
Light is crucial. Your cuttings and divisions need that sweet spot of bright, indirect sunlight. Direct rays? A definite no—think of a sunburn, but for plants. Aim for a temperature range of 65-75°F, the plant equivalent of a comfortable sweater.
🌿 Caring for Your Propagating Plants
Watering is more art than science. Moist soil is good, soggy is a death sentence. Let the soil dry out a bit between waterings to keep roots eager for more. Hold the fertilizer until the roots are established; it's like waiting for dessert until after the main course. Patience is key—watch for new growth as your sign of victory.

Overcoming Propagation Pitfalls
🦠 Spotting Common Propagation Problems
Root rot is the grim reaper of propagation. If your cuttings' roots resemble overcooked spaghetti, it's time for surgery. Snip the bad parts and let the good bits air out before replanting in fresh soil. Overwatering is your enemy here; it's a one-way ticket to rot town.
🌱 Ensuring Thriving Propagated Plants
Vigilance is key. Watch for yellowing leaves or growth that's more sluggish than a Monday morning. Catching issues early lets you stop them before they escalate into a full-blown plant crisis. And remember, healthy cuttings and sterile tools are your best friends in the propagation game.
🌿 Addressing Common Challenges
Overwatering? Dial it back. Soil should be moist, not a mini swamp. Pests and diseases are like those annoying party crashers—inspect regularly and act swiftly if they show up. Stagnant growth can be frustrating, but it's often a sign to adjust your care routine. Patience is a virtue, especially in the world of propagation.
🌱 Recognizing Successful Root Development
When roots emerge, it's like a silent high-five for your efforts. Look for white and firm roots; they're a green light that your plant is ready to go solo. Using a clear container can be like a front-row seat to the rooting show, giving you a clear indication of when it's time to transition.
🌟 Proactive Propagation Practices
Prevention is better than cure. Keep your propagation station bright but not sunburnt, humid but not jungle-like, and at a consistent temperature to avoid the cold shoulder. Too much direct sunlight and your cuttings will wither; too little and they'll pout. Aim for that sweet spot of bright indirect light.
📈 Monitoring and Tweaking
It's a marathon, not a sprint. Stay on your toes, keep everything clean, and give those plants the TLC they crave. If your plant looks a bit down, it might be time for a care routine check-up. Adjustments may be needed, but don't forget, sometimes plants just like to be dramatic.

Transitioning to Permanent Pots
Once your California Sunset cuttings or divisions have established roots, it's time to give them a more permanent home. Here's how to navigate this crucial stage.
⏰ When to Pot
Timing is key. Wait until the roots are robust enough to handle the transition—typically a few weeks after they've started to grow. This is the sweet spot where they're eager for more space but still adaptable.
🌱 Choosing the Right Pot
Opt for a pot that's snug, yet offers room for growth. Avoid massive pots; they can overwhelm your plant's roots with too much soil, leading to moisture issues. And remember, drainage holes are non-negotiable.
🌿 Potting Mix Matters
A well-draining potting mix is your best friend here. Consider a blend like Ocean Forest or Happy Frog, or whip up your own succulent and cactus mix. Your California Sunset's roots will thank you.
🏺 The Potting Process
Gently place your plant in the new pot and fill around it with your chosen mix. Press lightly to secure it, but don't compact the soil—roots need to breathe.
🌞 Acclimating to New Surroundings
Ease your plant into its new environment. Start with partial shade to prevent leaf burn and gradually introduce it to brighter conditions. This helps your plant harden off without the shock of full sun.
💧 Post-Potting Care
Keep the soil consistently moist but not soggy in the early days. Hold off on fertilizing for a few weeks to let the roots settle. Watch for signs of distress and adjust care as needed.
Remember, your propagated plants are like young adults moving into their first apartment—they need the right balance of support and independence to flourish.
⚠️ Safety First
This content is for general information and may contain errors, omissions, or outdated details. It is not medical, veterinary advice, or an endorsement of therapeutic claims.
Always consult a qualified healthcare professional before using any plant as food, medicine, or supplement.
Never eat any plant (or feed one to pets) without confirming its identity with at least two trusted sources.
If you suspect poisoning, call Poison Control (800) 222-1222, the Pet Poison Helpline (800) 213-6680, or your local emergency service immediately.
Spotted an error? Please report it here.
Turn your propagation into a success story by letting Greg monitor your environment 🌡️ and send you custom care reminders, ensuring your California Sunset thrives from cutting to full bloom.