Propagating Acalypha chamaedrifolia: Step-by-Step Guide
Acalypha chamaedrifolia
By the Greg Editorial Team
Jul 23, 2024•5 min read
This article was created with the help of AI so we can cover more plants for you. May contain errors. See one? Report it here.
Transform your garden into a green sanctuary by mastering Acalypha propagation 🌿—it's simpler than you think!
- 🌱 Choose green, healthy stems for successful stem cutting propagation.
- 🌿 Air layering and division are great for mature Acalypha chamaedrifolia plants.
- 🚫 Troubleshoot issues promptly with proper care and quick action.
Stem Cutting Propagation
🌱 Selecting Stems
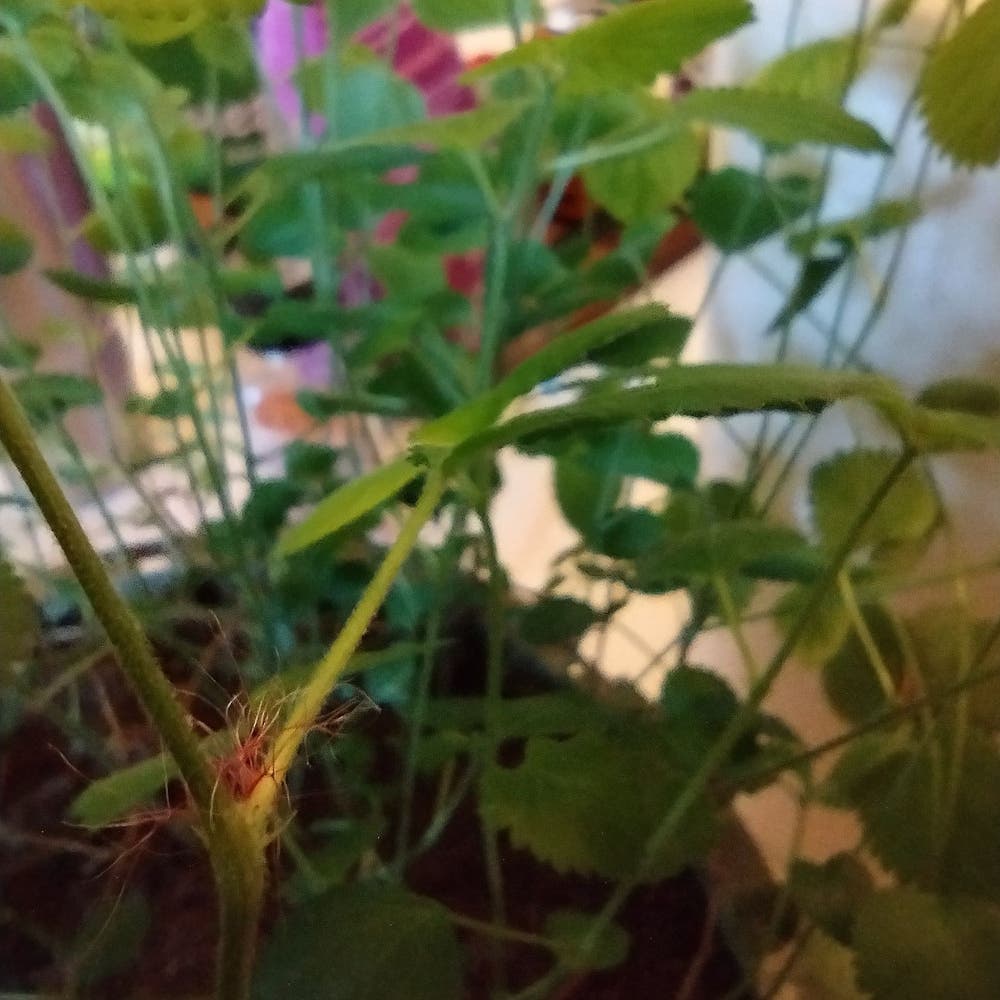
To kick off stem cutting propagation, zero in on stems that exhibit vitality and health. Here's what to look for:
- Stems should be green, firm, and free of any distress signals like discoloration or pests.
- Choose stems with several leaves, ensuring they are mature but not woody, as they root more effectively.
- Timing matters; opt for a period post-flowering when the plant is less vulnerable, typically during active growth phases.
🛠 Preparing Cuttings
Once you've identified the champion stems, it's time to prepare them for rooting:
- Sterilize your shears with alcohol to prevent infection.
- Make a clean, angled cut below a leaf node to increase the potential rooting surface.
- Remove the lower leaves to minimize moisture loss and prevent rot.
- Consider dipping the cut end in rooting hormone to boost root formation.
🌿 Rooting Conditions
Creating the right environment is essential for your cuttings to thrive:
- Plant the cutting about an inch deep in well-draining soil, with at least one node buried.
- Keep the soil consistently moist, but be wary of overwatering to avoid soggy conditions.
- Let the cutting callous for a few days before planting if you're in a particularly humid climate to prevent rot.
Air Layering Method
🪴 Understanding Air Layering
Air layering is a fantastic way to propagate Acalypha chamaedrifolia, especially for mature plants that may not respond well to other methods. This technique allows for the growth of a new plant directly from a section of the parent plant, bypassing the seedling stage and resulting in a more substantial plant from the get-go.
🌱 Creating Air Layers
To begin air layering Acalypha chamaedrifolia, follow these steps:
- Select a healthy stem on the parent plant.
- Make two circular cuts about an inch apart around the stem and remove the bark between them.
- Surround the exposed area with moist sphagnum moss, ensuring it's in direct contact with the wound.
- Wrap the moss with plastic to retain humidity, and secure it with twist ties or tape.
- Monitor the moisture level of the moss, adding water if it begins to dry out.
🌿 Separation and Planting
After a few months, when a healthy root system has developed within the moss:
- Carefully remove the plastic and check the roots.
- Cut the stem below the rooted section.
- Plant the new Acalypha chamaedrifolia in a pot with a well-draining soil mix.
- Keep the newly potted plant in a bright, indirect light location and maintain consistent moisture as it establishes itself.
Division Propagation
🌱 When to Divide
Dividing Acalypha chamaedrifolia is like giving the plant room to breathe when it's outgrown its space. Look for signs like crowded growth or roots that seem to be searching for an escape through the drainage holes. The best time to divide is during the plant's active growth phase, typically in the spring.
🌿 Division Process
To divide your Acalypha chamaedrifolia, follow these steps:
- Gently remove the plant from its pot, taking care not to damage the roots.
- Examine the root ball and look for natural separations where the plant can be divided with minimal stress.
- Use clean, sharp tools to separate the plant into sections, ensuring each has a fair share of roots and shoots.
- Plant each new section in its own pot filled with fresh, well-draining soil, mimicking the original planting depth.
🌱 Post-Division Care
After the division, your Acalypha chamaedrifolia's new starts need a little TLC:
- Water the soil to keep it moist, akin to a damp sponge, but steer clear of waterlogging.
- Shield the divisions from direct sunlight to prevent the equivalent of a plant sunburn.
- Hold off on fertilizing for the first few weeks to allow the roots to settle in.
- Keep an eye out for new growth, which signals a successful division, and be vigilant for any signs of distress.
Seed Propagation Steps
🌱 Seed Collection and Prep
Seed propagation begins with a treasure hunt for mature Acalypha chamaedrifolia seeds. Once you've got your bounty:
- Gently remove seeds from the dry pods.
- Clean the seeds thoroughly, discarding any plant residue to prevent fungal diseases.
- Consider a brief soak or scarification if necessary to enhance germination.
🌿 Sowing and Germination
Now, let's get those seeds into the soil:
- Use a well-draining seed starting mix in shallow trays.
- Plant seeds at a shallow depth, approximately twice the size of the seed itself.
- Cover lightly with soil or a sprinkle of vermiculite to protect them.
- Maintain a warm, humid environment, mimicking a tropical getaway for your seeds.
- Keep the soil moist with a fine mist, avoiding overwatering to prevent damping off.
🌱 Seedling Care
Once your seeds have sprouted, the nurturing continues:
- Provide bright, indirect light to encourage strong growth.
- Thin out seedlings if they're too crowded, giving each one its space to thrive.
- Gradually reduce humidity to acclimatize them to normal conditions.
- Keep the soil consistently moist, but not soggy, to foster healthy roots.
Remember, patience is a gardener's virtue—enjoy watching each seedling's journey to becoming a lush Acalypha chamaedrifolia.
Troubleshooting Propagation
🌱 Common Propagation Issues
Propagation isn't always a walk in the park. Sometimes, Acalypha chamaedrifolia cuttings might not root, or seedlings could appear sluggish. Here's a rundown of typical hiccups:
- Root Rot: Overwatering is often the culprit, leading to mushy stems and discolored leaves.
- Pest Infestations: Mealybugs, aphids, and spider mites might invite themselves to the feast.
- Fungal Diseases: Gray mold or other fungi could show up if conditions are too damp.
- Nutrient Deficiencies: Yellowing leaves might signal a cry for a better diet.
🛠 Solutions and Prevention
Now, let's turn those problems into growth opportunities:
- Root Rot: Ease up on the watering. Let the soil dry out a bit between waterings.
- Pest Control: Insecticidal soap or neem oil can be your best friends here.
- Fungal Issues: Improve air circulation and consider a fungicide if things get out of hand.
- Feeding: A balanced fertilizer can green up those yellow leaves.
Remember, vigilance is key. Regular checks can catch issues early, and quick action can keep your propagation on track.
⚠️ Safety First
This content is for general information and may contain errors, omissions, or outdated details. It is not medical, veterinary advice, or an endorsement of therapeutic claims.
Always consult a qualified healthcare professional before using any plant as food, medicine, or supplement.
Never eat any plant (or feed one to pets) without confirming its identity with at least two trusted sources.
If you suspect poisoning, call Poison Control (800) 222-1222, the Pet Poison Helpline (800) 213-6680, or your local emergency service immediately.
Spotted an error? Please report it here.
Achieve successful propagation of your Acalypha chamaedrifolia by using Greg for tailored care reminders 🌿, ensuring your plant babies thrive from stem to leaf!