Step-by-Step Guide to Repotting Dwarf Chenille Plant
Acalypha chamaedrifolia
By the Greg Editorial Team
Jul 23, 2024•6 min read
This article was created with the help of AI so we can cover more plants for you. May contain errors. See one? Report it here.
Spot the signs 🌱 and repot your Dwarf Chenille Plant in time to ensure its lush, vibrant growth! 🌿
- 🌱 Recognize repotting signs: root-bound symptoms, watering issues, and stunted growth.
- 📏 Choose the right pot: 1-2 inches larger, with drainage for root health.
- 🛠️ Follow repotting steps: prepare tools, handle roots gently, and monitor post-care.
Recognizing Repotting Time
It's like a silent alarm—your Dwarf Chenille Plant will show unmistakable signs when it's time to move to a new pot. Here's what to watch for:
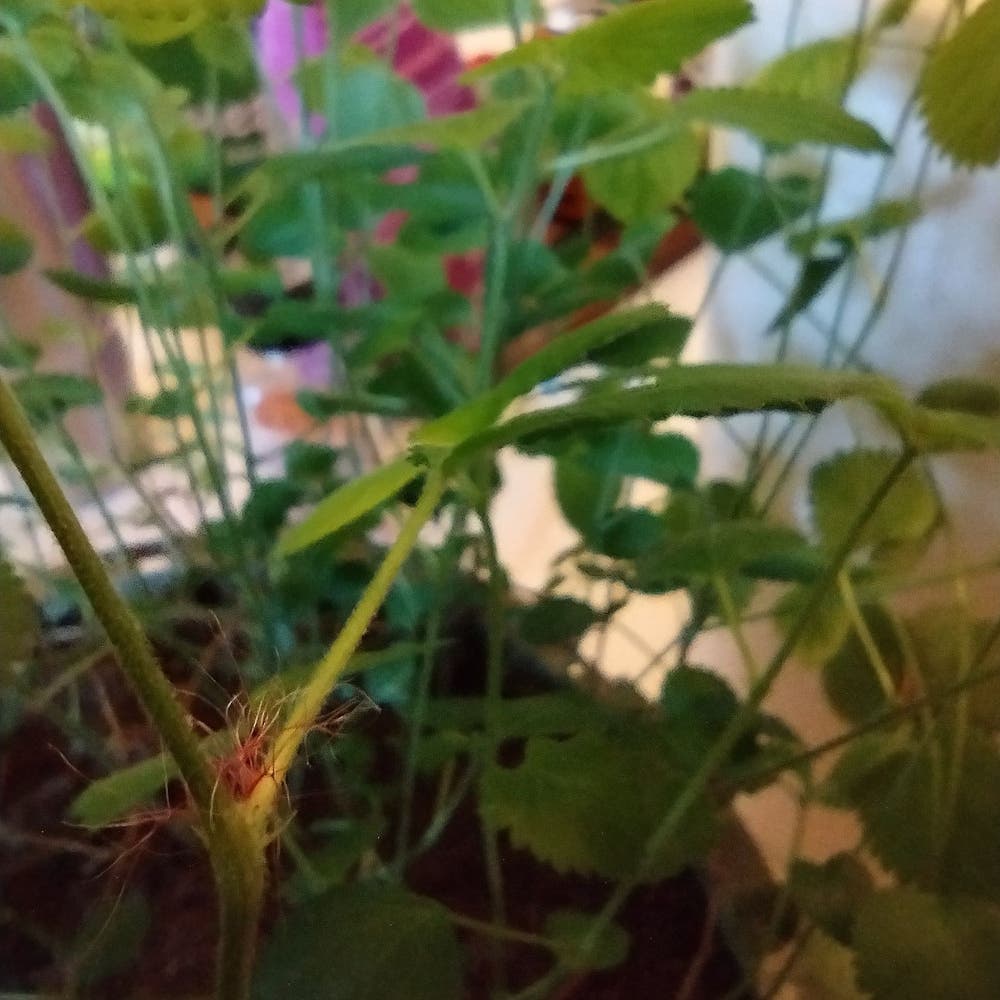
- Root-Bound Red Flags: If you see roots peeking through drainage holes or circling the surface soil, it's a clear SOS. These tangled roots are a plant's way of saying it's outgrown its current space.
- Watering Woes: When water zips through the pot, barely touching the sides, or if the soil level has dropped, exposing roots, it's a sign the plant is too big for its britches.
- Stunted Growth: A Dwarf Chenille Plant that's stopped growing or looks less vibrant is likely cramped. It's not just taking a break—it needs more room to thrive.
- Leafy Alerts: Yellowing or wilting leaves can be a distress signal, especially if you're confident in your watering routine. It's not just drama; it's a plant's way of communicating its discomfort.
🌱 Understanding your plant's growth patterns and the limitations of its current pot size is crucial. A pot that's more roots than soil is a ticket to a stressed plant. Keep these signs in mind to ensure your Dwarf Chenille Plant stays healthy and continues to flourish.
Selecting a Suitable Pot
When it's time to repot your Dwarf Chenille Plant, choosing the right pot is crucial for its future health and happiness. Let's dive into the best materials and size considerations.
🌿 Best Pot Materials
- Terracotta: The MVP for its breathability, terracotta wicks away excess moisture, helping prevent root rot.
- Plastic or Glazed Clay: These are viable alternatives if they come with drainage holes. They're lighter than terracotta and can be easier to move around.
- Avoid Non-Breathable Materials: Some pots look stunning but may retain too much moisture, which is not ideal for the Dwarf Chenille Plant.
Remember, regardless of material, the pot must have drainage holes. This is non-negotiable as it's the escape route for excess water.
📏 Size Considerations
- Just Right: Aim for a pot that's 1-2 inches larger in diameter than the current one. This gives your plant room to grow without the risk of waterlogging.
- Avoid Overpotting: A pot that's too large can lead to uneven soil drying and potential root decay. Think comfort, not a mansion.
- Proportionate Growth: As your plant grows, so should the pot size, but always in moderation to maintain balance and encourage healthy growth.
Repotting Steps
🌱 Preparing for Repotting
Before you begin, ensure you have all the necessary tools and materials for a smooth repotting experience:
- A new pot with a drainage hole, ideally 1-2 sizes larger than the current one.
- Fresh, well-draining potting mix suited for Dwarf Chenille Plants.
- Porous material to cover the drainage holes, like mesh or coffee filters.
- Trowel, gloves, and pruning shears for trimming roots.
- Watering can for post-repotting hydration.
🌿 The Repotting Process
Follow these steps to repot your Dwarf Chenille Plant:
- Gently remove the plant from its current pot, tapping the sides and bottom if needed.
- Carefully shake off old soil and inspect the roots, trimming any that are dead or overly tangled.
- Place a layer of new soil in the bottom of the new pot.
- Center the plant in the new pot and spread out the roots.
- Fill in around the plant with more soil, pressing lightly to remove air pockets.
- Water the plant to help settle the soil and eliminate any remaining air gaps.
🌿 Root Care During Repotting
When handling the roots, be gentle and attentive:
- Loosen the root ball with care, using fingers or a fork if necessary.
- Trim away any roots that are dead, rotted, or excessively long.
- Make light slashes on the root ball to encourage new growth, using a clean, sharp knife.
- Ensure the roots are spread out and not circling the bottom of the new pot to prevent future root-bound issues.
Immediate Aftercare
After repotting your Dwarf Chenille Plant, the immediate aftercare will set the stage for its recovery and growth. Here’s how to nail it:
- Water the plant thoroughly to settle the soil around the new roots, but be cautious not to overdo it. Aim for moist soil, not a soggy environment.
- Let the soil dry out somewhat before the next watering. This encourages the roots to grow and seek moisture, which is vital for the plant's health.
🌳 Environmental Adjustments
The right environment is crucial for your plant to bounce back:
- Keep the Dwarf Chenille Plant in a spot with bright, indirect sunlight. Direct sun can be too intense right after repotting.
- Maintain a consistent temperature. Avoid placing your plant in drafty areas or where temperature swings are common.
👀 Monitoring Plant Response
Keep a close eye on your plant to ensure it's adjusting well:
- Look for signs of new growth or perky foliage, which indicate a successful repotting.
- If you notice drooping leaves or other stress indicators, assess the plant's environment and care routine, and make adjustments as needed.
Repotting Pitfalls
Avoiding common mistakes during repotting can make the difference between a thriving Dwarf Chenille Plant and one that struggles to adapt. Here are the pitfalls to steer clear of:
- Overhandling the Roots: Treat the roots with the utmost care. Rough handling can lead to damage, which in turn may cause the plant to suffer. If any roots are damaged, trim them with sterile scissors to prevent rot.
- Wrong Timing: Timing is crucial. Repot during the plant's growth phase, avoiding the blooming or dormant periods to reduce stress.
- Inadequate Pot Size: Overpotting can be as harmful as underpotting. Choose a pot that's just one size larger than the current one to give the roots enough room to grow without overwhelming them.
- Ignoring Pot Material: The right pot material is vital. For Dwarf Chenille Plants, opt for pots with good drainage like terracotta or breathable plastic to prevent waterlogging.
🌱 Addressing Transplant Shock
Transplant shock can manifest as wilting or leaf drop. To minimize this:
- Maintain Consistency: Keep the plant's environment as consistent as possible post-repotting. Same light, same watering routine.
- Gentle Transition: Move the plant carefully and ensure the new soil is similar in composition to the old one to avoid shocking the plant's system.
- Monitor and Adjust: Watch your plant's response closely and be ready to adjust care as needed. Patience is key during this adjustment period.
⚠️ Safety First
This content is for general information and may contain errors, omissions, or outdated details. It is not medical, veterinary advice, or an endorsement of therapeutic claims.
Always consult a qualified healthcare professional before using any plant as food, medicine, or supplement.
Never eat any plant (or feed one to pets) without confirming its identity with at least two trusted sources.
If you suspect poisoning, call Poison Control (800) 222-1222, the Pet Poison Helpline (800) 213-6680, or your local emergency service immediately.
Spotted an error? Please report it here.
Ace your Dwarf Chenille's repotting with our guide and let Greg's custom reminders 📅 keep transplant shock at bay by ensuring the perfect post-potting care.