Propagating Dwarf Chenille Plant: The Ultimate Guide
Acalypha chamaedrifolia
By the Greg Editorial Team
Jul 23, 2024•5 min read
This article was created with the help of AI so we can cover more plants for you. May contain errors. See one? Report it here.
Propagate lush Dwarf Chenille Plants 🌱 effortlessly with these proven, easy-to-follow methods!
- 🌱 Choose healthy stems with leaves for better propagation success.
- 💦🌿 Rooting hormone and humidity are key for faster root development.
- 🔄 Transition water-rooted cuttings to soil to avoid shock.
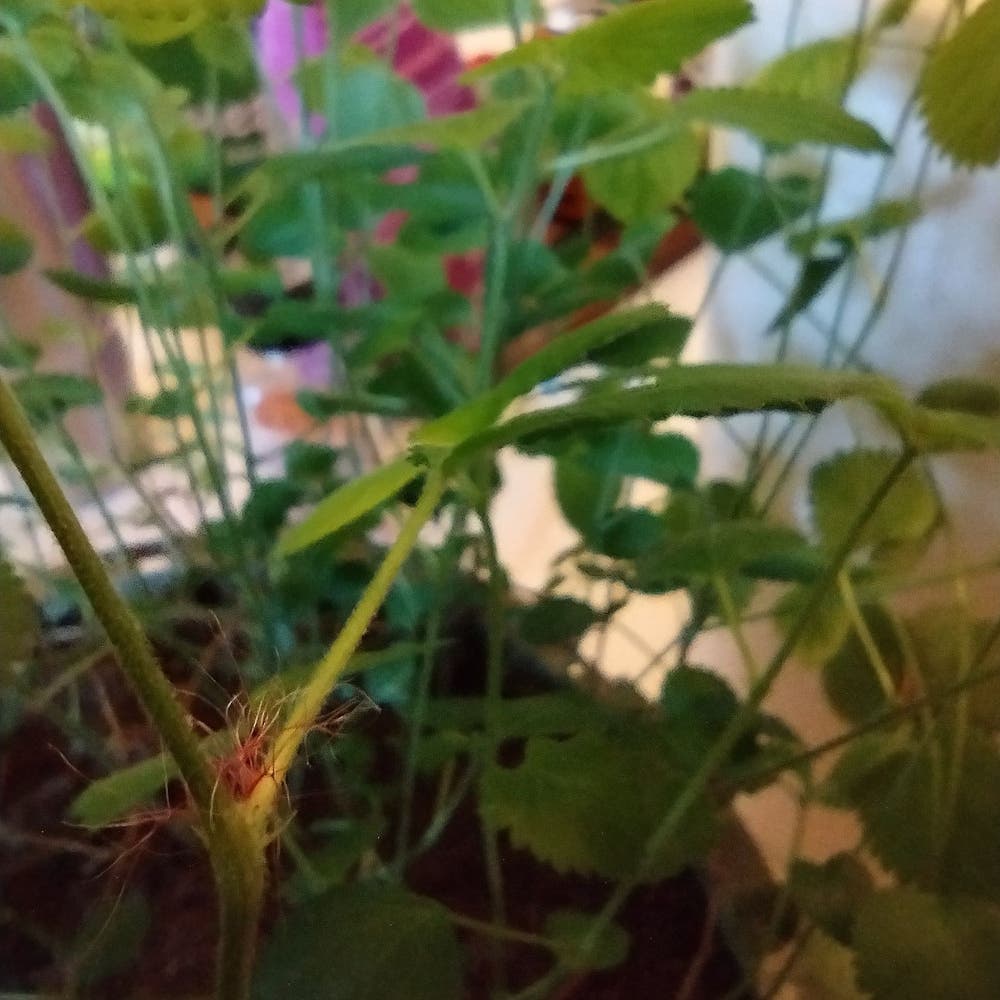
Stem Cutting Propagation
🌱 Selecting Stems
Choosing the right stem is the first step in propagation. Look for stems that are:
- Healthy and vigorous
- Free from pests and diseases
- Having several sets of leaves, especially near the nodes
🛠 Preparing Cuttings
Once you've selected a promising stem, here's how to prepare it:
- Use sterilized shears to make a clean cut below a leaf node.
- Remove the lower leaves to minimize moisture loss and potential rot.
- Allow the cutting to callous for a day or two to reduce the risk of rot when planted.
🌿 Rooting and Planting
For rooting and planting your cuttings:
- Dip the calloused end into rooting hormone to encourage faster root development.
- Plant the cutting in moist, well-draining soil, ensuring at least one node is buried where roots can sprout.
- Keep the soil consistently moist but not waterlogged to prevent rot.
Water Propagation Steps
💧 Preparing for Water
Water propagation offers a front-row seat to root development. Here's how to prep your Dwarf Chenille cuttings for their aquatic journey:
- Select a healthy stem, 4-6 inches long, with several leaf nodes.
- Snip the stem at a 45-degree angle just below a node to maximize water absorption.
- Strip the bottom leaves to prevent rot, leaving the top ones for photosynthesis.
- Choose a clear vessel for easy root monitoring, ensuring it's spacious enough for growth.
👀 Root Monitoring
Keeping an eye on your submerged cuttings is key to successful water propagation:
- Maintain the water level to cover the nodes but not the leaves.
- Change the water every few days to keep it clear and oxygen-rich.
- Watch for root growth; ideal roots are 3-5 cm long or show branching.
🌱 Transition to Soil
When roots are ready, it's time for the big move to soil:
- Wait for substantial roots before transitioning to prevent shock.
- Gently rinse the roots to remove any slimy film.
- Plant the cutting in moist, well-draining soil, covering the roots completely.
- Keep the soil consistently moist as the plant acclimates to its new home.
Air Layering Method
🌱 Choosing and Incising
Select a healthy stem on your Dwarf Chenille Plant, ideally one that's pencil-thick and free from flowers or fruit. This ensures the plant's energy is directed towards root development. Here's how to start:
- Make two parallel cuts about an inch apart around the stem.
- Remove the bark between these cuts to expose the cambium layer.
- Keep the incision open with a toothpick or similar object.
🌿 Moss Wrapping
Once you've made your incisions, it's time to create a conducive environment for roots to develop.
- Soak sphagnum moss in water and then squeeze out the excess moisture.
- Apply rooting hormone to the exposed cambium.
- Wrap the moist sphagnum moss around the incision site.
- Secure the moss with clear plastic wrap, ensuring it stays in place and retains humidity.
🌳 Rooting and Separation
Patience is key in this stage as you wait for roots to appear through the moss.
- Monitor the moss, keeping it moist over the weeks.
- Look for roots to emerge, which typically happens within a few months.
- Once a robust root system is visible, cut the stem below the new roots to separate your new Dwarf Chenille Plant.
- Plant your new specimen in well-draining soil and care for it as you would any young plant.
Division Technique
🌱 Identifying Division Points
Dividing a Dwarf Chenille Plant starts with a keen eye and gentle hands. Look for natural separations where the plant has begun to form its own sections, each with a healthy distribution of leaves, stems, and roots. This is where you'll make your move.
- Water the plant a couple of days before to ease the roots.
- Gently remove the plant from its pot and brush off excess soil.
- Use your fingers to feel for firm yet pliable sections ideal for division.
🌿 Separating Sections
Now, it's time to play plant surgeon. With sanitized, sharp tools, carefully separate the plant into self-sufficient sections. Precision is key—each division should be a mini version of the mother plant, complete with roots and shoots.
- Aim for sections with multiple growth points for a higher success rate.
- Trim any damaged or old parts that won't contribute to growth.
🌱 Replanting Divisions
After the division, it's all about giving your new plants the best start in life. Plant each section at the same depth it was growing before, in fresh potting mix with good drainage.
- Choose pots that allow room for growth.
- Maintain consistent moisture without waterlogging, and place in bright, indirect sunlight.
- Watch for signs of new growth as confirmation of a successful division.
Propagation Care Tips
🌿 Humidity Control
Maintaining the right humidity level is crucial for the success of propagating Dwarf Chenille Plants. Here's how to get it just right:
- Aim for consistent humidity that's not too high to avoid fungal problems, and not too low to prevent drying out.
- Use tools like humidity domes for cuttings at different stages or humidifiers for a uniform environment.
- Monitor with a hygrometer to maintain that perfect balance, and adjust as needed.
🛠 Troubleshooting Propagation
When things don't go as planned, here's how to address common issues:
- Yellowing leaves could signal overwatering or nutrient deficiency. Adjust water and consider a balanced fertilizer.
- Drooping plants may need more water or less sun. Tweak your care routine accordingly.
- For root rot, trim the affected parts and repot with fresh, well-draining soil.
- Combat mold by improving airflow and, if needed, applying a fungicide.
- If growth is stunted, ensure the temperature and lighting are optimal.
- Regularly inspect for pests and treat with insecticides or natural remedies when necessary.
- Spotty leaves often mean more humidity is needed—try a pebble tray or misting the air, not the plant.
- Wilting cuttings can be revived by moving them to a warmer spot.
⚠️ Safety First
This content is for general information and may contain errors, omissions, or outdated details. It is not medical, veterinary advice, or an endorsement of therapeutic claims.
Always consult a qualified healthcare professional before using any plant as food, medicine, or supplement.
Never eat any plant (or feed one to pets) without confirming its identity with at least two trusted sources.
If you suspect poisoning, call Poison Control (800) 222-1222, the Pet Poison Helpline (800) 213-6680, or your local emergency service immediately.
Spotted an error? Please report it here.
Ensure your Dwarf Chenille cuttings thrive 🌱 with Greg's tailored reminders for watering and transitioning, making propagation a breeze from our comprehensive guide.