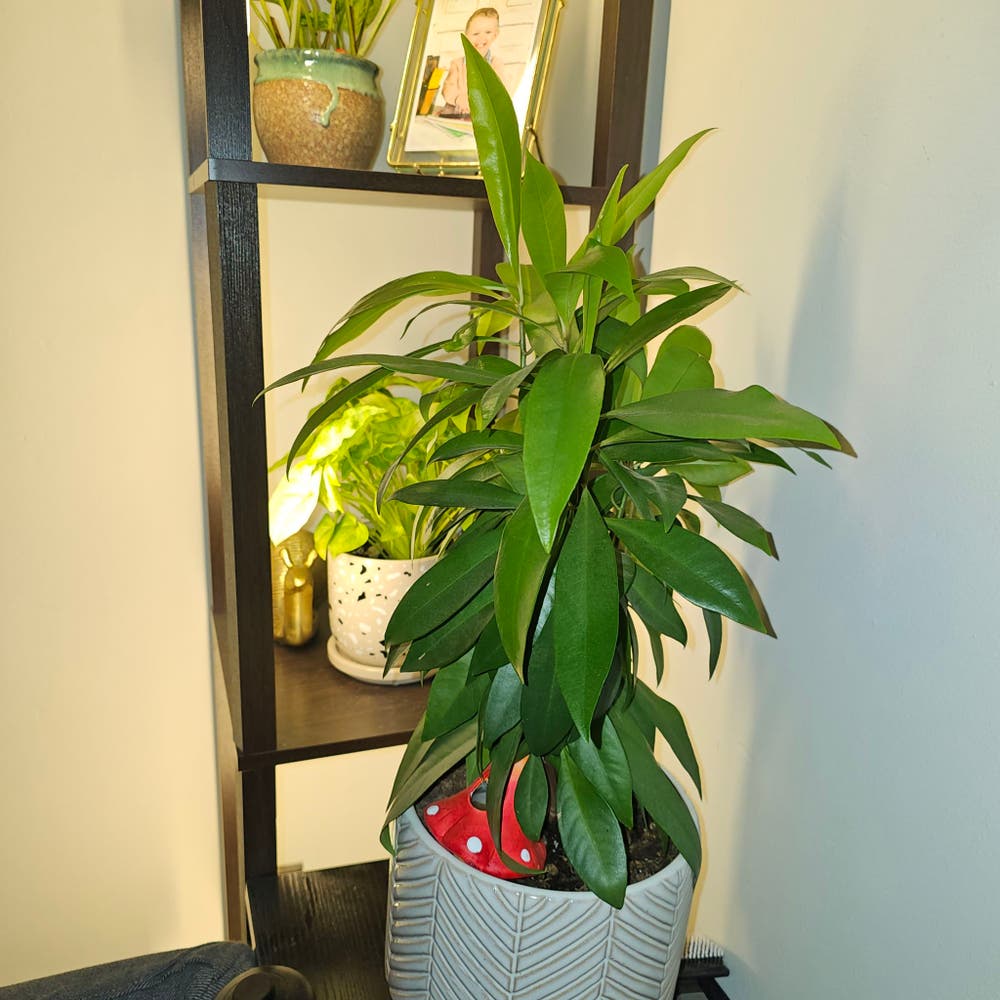
Should I Repot My Japanese Ardisia?
Ardisia japonica
By the Greg Editorial Team
Apr 15, 2024•5 min read
This article was created with the help of AI so we can cover more plants for you. May contain errors. See one? Report it here.
Discover the secret to a thriving Japanese Ardisia 🌿—master the timely art of repotting with our guide!
- Roots peeking out? Time to repot your Japanese Ardisia.
- 🌱 Choose the right pot: Slightly larger, with drainage holes.
- Post-repot care: Shade, delay watering, and monitor for stress.
Spotting the Telltale Signs Your Japanese Ardisia Needs a New Pot
🌱 Root Tango: When Roots Out-Dance the Pot
If your Japanese Ardisia's roots are peeking out of the drainage holes, it's not being nosy—it's cramped. A root tangle at the bottom of the pot isn't a sign of a good party; it's a distress signal for more space.
💧 Thirsty Much? Water Drainage Woes
When watering your plant feels like pouring water down a drain, take note. If the soil dries out faster than you can refill your watering can, it's a clear sign the roots have taken over. Too little soil means too little water retention.
🌱 Growth Grind to a Halt? It Might Be Time
A Japanese Ardisia that's stopped growing is a Japanese Ardisia that's silently pleading for help. If you've been waiting for new leaves longer than you'd wait for a bus, consider repotting. Stunted growth often means it's time for a new pot.
The Art of Repotting Your Japanese Ardisia
🌱 Prepping the Stage: Choosing the Right Pot and Soil Mix
Size matters when selecting a new pot for your Japanese Ardisia. Opt for a container that's just a couple of inches larger in diameter than the current one. Drainage holes are non-negotiable; they prevent waterlogged roots, a fast track to plant demise.
The soil mix should be a well-drained, acidic blend. Consider a mix of peat, pine bark, and sand, which caters to the Ardisia's love for moisture without the risk of sogginess. Remember, the right soil is like a good bed—comfortable and supportive.
🌿 The Main Event: Step-by-Step Repotting Guide
- Water your plant a day before the move to reduce stress and ease extraction.
- Gently coax the plant out by tipping the pot and supporting the stem.
- Inspect the roots. Trim any that are dead or circling, but don't get scissor-happy.
- Place a layer of fresh soil in the new pot. Position the plant so it sits at the same level it did in its old home.
- Backfill with soil, tapping the pot to settle it. Avoid compacting; roots breathe, too.
- Give it a light watering to help the roots settle in and say cheers to a job well done.
🌳 Settling In: Ensuring a Smooth Transition
Post-repotting, your Japanese Ardisia will need some TLC. Keep it in a shaded spot for a few days to recover. Resist the urge to fertilize; the plant's dealing with enough as it is. Monitor the soil moisture—it should be like a wrung-out sponge, moist but not wet.
Watch for droopy leaves or other signs of distress. These are your plant's way of saying, "Hey, I'm struggling here!" But with the right care, it'll bounce back, ready to flourish in its new digs.
Picking the Perfect Pot: Material Matters
🌱 Terracotta vs. Plastic: The Great Debate
Terracotta pots are the breathable choice, letting soil dry out more quickly and reducing the risk of root rot. They're the go-to for over-waterers or plants that prefer drier conditions. On the flip side, plastic pots retain moisture, making them ideal for plants that like to stay hydrated or for those who occasionally forget to water. Choose based on your plant's needs and your watering habits.
🚫 The Downside of Chic: When to Skip Glass and Metal
Glass and metal pots may look trendy, but they're about as useful for plants as a chocolate teapot is for making tea. Glass is a no-go for breathability, and metal can overheat or rust, leading to a horticultural horror show. Avoid these materials unless you're going for a decorative outer pot with proper drainage.
📏 Size and Drainage: Bigger Isn't Always Better
The size of the pot should match the plant's root system; too large, and you risk soggy soil and root rot. Drainage holes are non-negotiable – they're the escape route for excess water. Whether you opt for terracotta, plastic, or another material, make sure those holes are there to keep your plant's roots from drowning.
First Aid for Freshly Potted Plants
💧 Watering Wisdom: Keeping Roots Happy After the Move
After repotting, hold off on watering your Japanese Ardisia for a day or two. This gives any disturbed roots time to recover from the shock. When you do water, go for a thorough soaking but avoid waterlogging. Good drainage is crucial; think of it as your plant's lifeline.
🌞 Light and Location: Helping Your Ardisia Adjust
Your Ardisia craves bright, indirect light—too direct, and you'll have a sunburnt situation on your hands. Keep it in a cozy spot with a temperature between 60-90 degrees Fahrenheit. If you're moving it to a new location, do it gradually. Sudden changes are like a slap in the face for your green buddy.
👀 Spotting Stress Signals: What to Watch Out For
Be on high alert for droopy leaves or a general look of despair; it's your plant's cry for help. Overwatering is a common post-repotting sin, leading to root rot. If the soil feels like a wet sponge, ease up on the H2O. Keep an eye on your plant like it's the last slice of pizza at a party—coveted and crucial.
⚠️ Safety First
This content is for general information and may contain errors, omissions, or outdated details. It is not medical, veterinary advice, or an endorsement of therapeutic claims.
Always consult a qualified healthcare professional before using any plant as food, medicine, or supplement.
Never eat any plant (or feed one to pets) without confirming its identity with at least two trusted sources.
If you suspect poisoning, call Poison Control (800) 222-1222, the Pet Poison Helpline (800) 213-6680, or your local emergency service immediately.
Spotted an error? Please report it here.
Repot your Japanese Ardisia with confidence as Greg guides you to the ideal pot and soil mix 🌿, ensuring your plant's roots have the perfect environment to flourish.