Should I Repot My Bell Heather?
Erica cinerea
By the Greg Editorial Team
Apr 14, 2024•4 min read
This article was created with the help of AI so we can cover more plants for you. May contain errors. See one? Report it here.
Revitalize your Bell Heather's growth 🌿 with the transformative power of repotting!
- Cramped roots and stunted growth signal it's time to repot.
- Choose terracotta, plastic, or ceramic pots based on moisture needs.
- Post-repotting care: wait to water, then provide bright, indirect light.
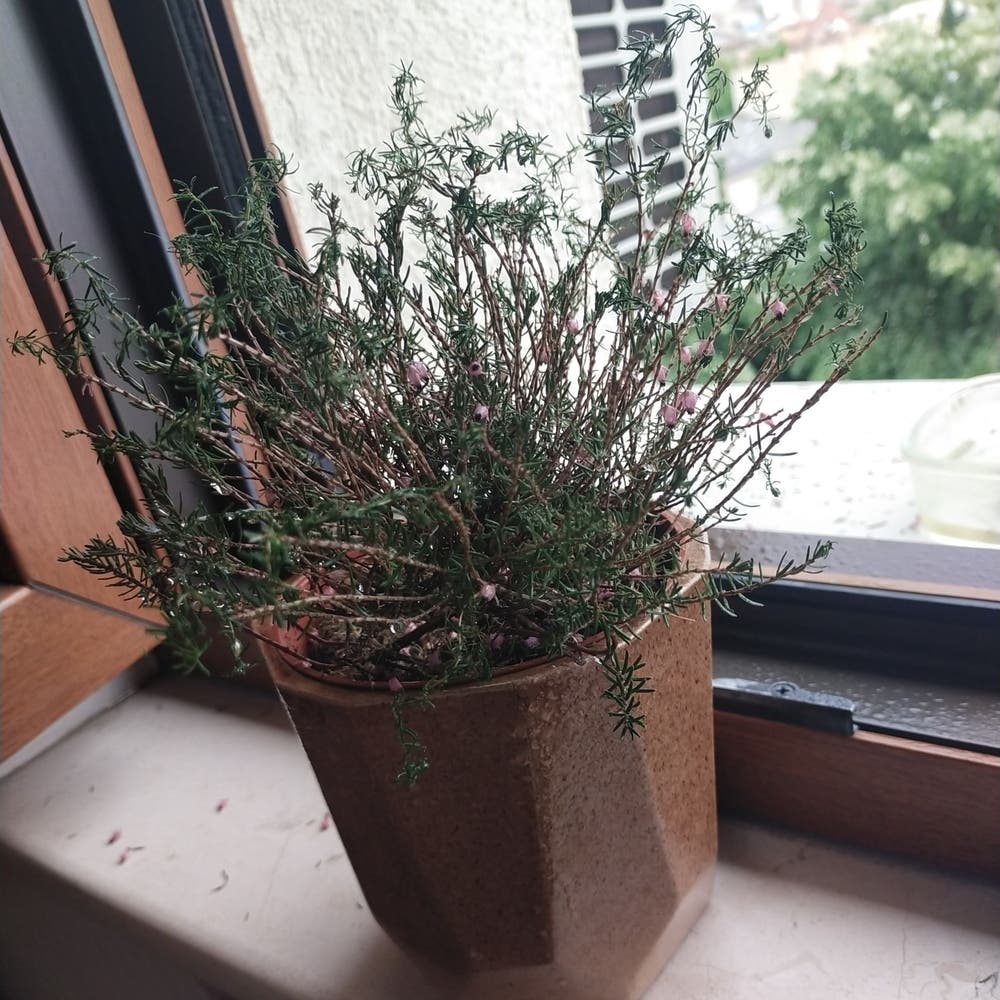
When Bell Heather Outgrows Its Home
Recognizing cramped roots and stunted growth is crucial when assessing if your Bell Heather has outgrown its current pot. These symptoms suggest that the plant's roots lack the space to expand, which can lead to a host of growth issues.
🕵️ Spotting the Tell-Tale Signs
If you notice roots escaping through the drainage holes or surfacing at the top of the soil, it's a clear signal that your Bell Heather is pleading for more room. Similarly, a plant that's stopped growing or is producing smaller leaves than usual is likely feeling the pinch of its confined quarters.
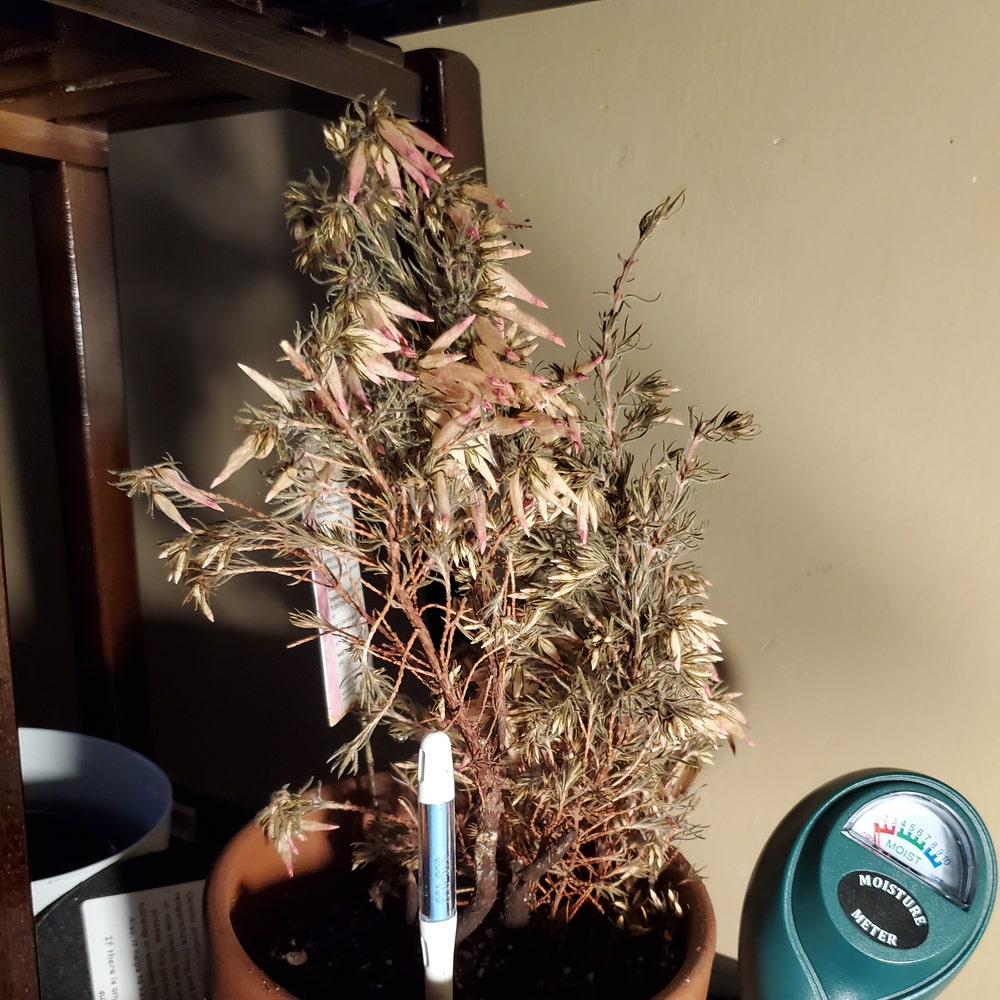
🚰 The Watering Dilemma
Overwatering can be a deceptive issue; it's not always a result of generous watering habits but can also be a sign of inadequate drainage. When water sits in the pot like a stagnant pond or if the soil dries out faster than you'd expect, it's a red flag that the roots may be too cramped to retain moisture effectively. This imbalance in water retention can lead to a stressed plant and is a strong indicator that it's time for a new pot.
The Repotting Rundown
🌱 Prepping for the Big Move
Gather your tools: a new pot, fresh potting mix, and a pair of sharp scissors. Don a pair of gloves unless you're fond of earthy manicures. Clear a workspace and spread out newspaper to catch any runaway soil. It's like setting the stage for a plant's new act.
🌿 The Transplant Tango
Step 1: The Gentle Uproot. Water your Bell Heather a day before to make the roots more compliant. Tilt the pot and coax the plant out with a supportive hand. If the roots are circling, they're begging for a new home.
Step 2: The New Home. Select a pot one size larger than the old one. Partly fill it with potting mix, ensuring your Bell Heather sits at the same level it did before. This isn't just a move; it's an upgrade.
Step 3: The Settle-In. Add soil around the roots, firming gently. Water thoroughly but not excessively—think of it as the plant's first taste of its new territory.
🌱 Soil Savvy
Mix a well-draining substrate that's like a spa retreat for your Bell Heather's roots. Peat moss, perlite, and vermiculite are the dream team here, providing both aeration and moisture control. Steer clear of garden soil—it's the equivalent of fast food for your plant.
Picking the Perfect Pot
🌱 Terracotta vs. Plastic vs. Ceramic
Terracotta pots are the go-to for breathability, letting soil and roots breathe easy. They're like jeans – classic, sturdy, but a pain to move due to their weight. Plastic pots are the lightweight nomads of the pot world, ideal for those who tend to forget watering, as they keep soil moist for longer. However, they might give your Bell Heather a bit too much to drink if you're heavy-handed with the watering can. Ceramic pots are the stylish middle child, less porous than terracotta, which means they hold moisture longer. Just ensure they have drainage holes, unless you're aiming for a root rot swimming pool.
📏 Size Matters
When it comes to size, think of Goldilocks – you want it just right. Upsizing too much can drown your Bell Heather's roots in soil, leading to moisture issues. On the flip side, a pot that's too snug can leave your plant's roots gasping for space. Aim for a pot that's about 20% larger than the current one; this gives your plant room to grow without swimming in excess soil. Remember, a spacious pot isn't a luxury suite; it's a necessity for those roots to stretch out.
Immediate Aftercare: The First Weeks
💧 The First Drink
Watering your Bell Heather after repotting is like hitting the refresh button—it's essential. Wait a day before you water to let any damaged roots heal. When you do water, go for a thorough soaking, ensuring excess water drains well. This isn't a spa day; it's critical care.
🌟 Settling In
Now, let's talk about the VIP treatment for your plant's recovery. Find a spot with bright, indirect light—direct sunlight is a no-go. It's like putting a recovering patient in a peaceful room instead of a party. Keep it stable, no drastic location changes, and definitely no drafts. Consistency is key.
👀 Monitoring and Adjustments
Keep an eye on your Bell Heather like it's the new character in your favorite series. Drooping or discoloration? Your plant's giving you the silent treatment, and it's time to listen. Adjust watering and light gradually. It's a delicate dance, but when you get it right, your plant will be ready to tango.
⚠️ Safety First
This content is for general information and may contain errors, omissions, or outdated details. It is not medical, veterinary advice, or an endorsement of therapeutic claims.
Always consult a qualified healthcare professional before using any plant as food, medicine, or supplement.
Never eat any plant (or feed one to pets) without confirming its identity with at least two trusted sources.
If you suspect poisoning, call Poison Control (800) 222-1222, the Pet Poison Helpline (800) 213-6680, or your local emergency service immediately.
Spotted an error? Please report it here.
Ensure your Bell Heather thrives after repotting with Greg's custom watering plan 🌱, tailored to its new pot and home environment.