5 Tips for Selecting the Best Pot for Vriesea 🪴
Vriesea maxoniana
By the Greg Editorial Team
Sep 30, 2024•4 min read
This article was created with the help of AI so we can cover more plants for you. May contain errors. See one? Report it here.
- 🌱 Select 4-6 inch pots for seedlings and 8-12 inches for mature Vriesea.
- 🕒 Pot seedlings after 2-3 true leaves for optimal adaptation and growth.
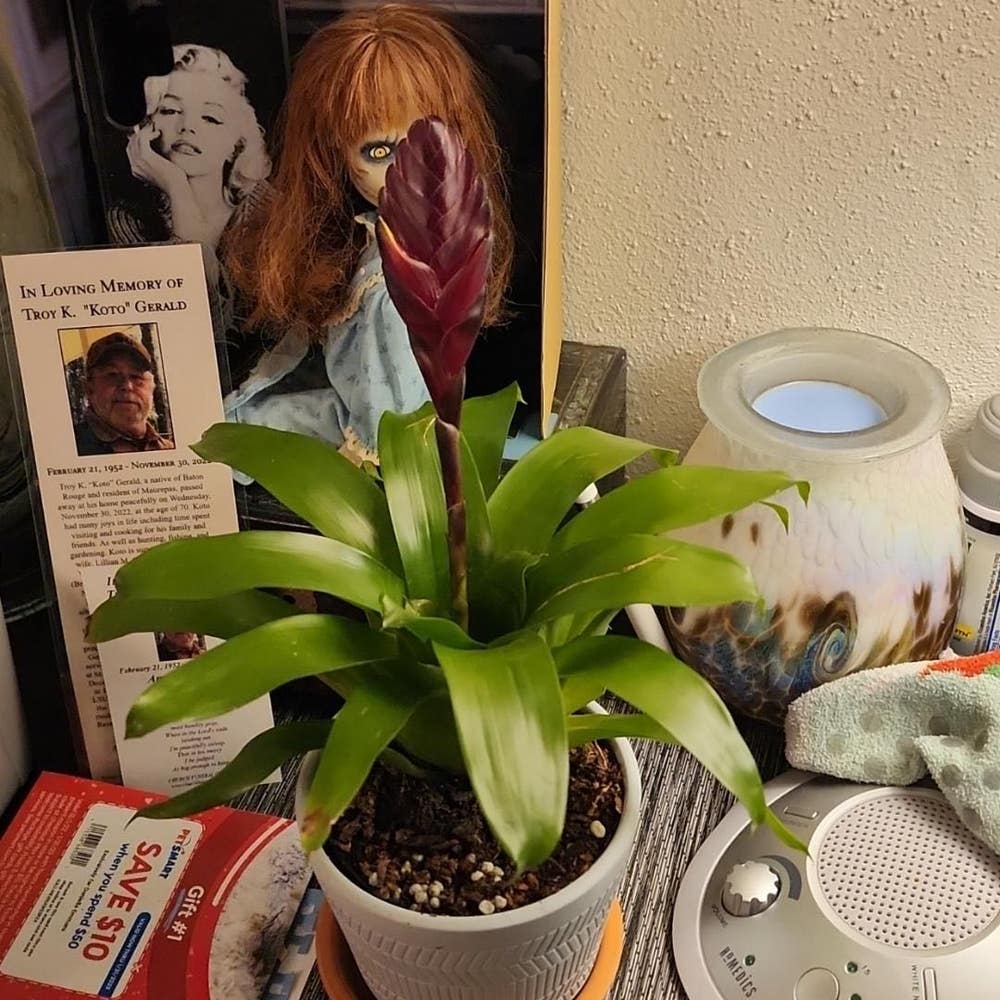
- 💧 Ensure pots have drainage holes to prevent root rot and promote healthy roots.
Pot Sizes for Different Growth Stages
Recommended Sizes for Seedlings 🌱
When starting your Vriesea from seed, choose a container that is 4-6 inches in diameter. This snug environment encourages healthy root development, allowing your seedlings to thrive.
Timing is crucial; pot your seedlings once they have developed 2-3 sets of true leaves. This ensures they have enough strength to adapt to their new home.
Ideal Sizes for Mature Vriesea 🌼
For mature Vriesea, opt for a container size of 8-12 inches in diameter. This larger space accommodates their growth and provides stability.
Consider the specific growth habits of your Vriesea variety, as some may require even larger pots. A well-sized pot supports the rosette shape and prevents tipping, ensuring your plant remains upright and healthy.
With the right pot size, your Vriesea will flourish, setting the stage for the next important aspect: selecting the ideal pot materials.
Ideal Pot Materials
🌱 Benefits of Clay Pots
Clay pots are a fantastic choice for Vriesea due to their breathability. This feature allows for better air circulation to the roots, promoting healthy growth.
Moreover, clay pots excel in moisture retention. They help maintain consistent humidity levels, which is crucial for these tropical beauties.
🪴 Advantages of Plastic Pots
Plastic pots offer a lightweight alternative, making them easier to move and reposition. This flexibility is especially handy when you want to catch the best light for your Vriesea.
Cost-effectiveness is another significant advantage. Generally, plastic pots are more affordable than their clay counterparts, making them a budget-friendly option.
⚖️ Comparison of Other Materials
Ceramic Pots
Ceramic pots bring attractive designs and good insulation to the table. However, they can be heavier and may retain too much moisture, which isn't ideal for Vriesea.
Terracotta Pots
Terracotta pots shine with excellent drainage and breathability. On the downside, they are prone to cracking in extreme temperatures, so keep that in mind when selecting your pot.
Choosing the right pot material is essential for the health and aesthetics of your Vriesea. Each option has its pros and cons, so consider your specific needs and preferences.
Next, let’s explore the crucial aspect of drainage considerations to ensure your Vriesea thrives.
Drainage Considerations
Importance of Drainage Holes 🌊
Drainage holes are crucial for the health of your Vriesea. They prevent water accumulation, which can lead to root rot—a common issue for many plant enthusiasts.
Aim for at least 3-4 drainage holes in your pot. This ensures optimal drainage and keeps your plant thriving.
Ensuring Proper Drainage 🚰
To maintain healthy roots, follow these steps:
Choose pots with built-in drainage holes. This is your first line of defense against excess moisture.
Use a well-draining potting mix specifically designed for bromeliads. This type of mix allows for air circulation and prevents sogginess.
Consider adding a layer of gravel or perlite at the bottom of the pot. This extra layer enhances drainage and keeps the roots happy.
By prioritizing drainage, you set your Vriesea up for success. Healthy roots lead to vibrant growth, so don’t overlook this essential aspect of pot selection.
Next, we'll explore the signs that indicate it's time to repot your Vriesea.
Repotting Vriesea
Signs That Repotting is Needed 🌱
Repotting your Vriesea is essential for its health. Look for roots visible through the drainage holes, as this indicates it's time for a new home.
If the soil dries out too quickly or retains too much moisture, it’s another sign. Additionally, if your plant appears top-heavy or is tipping over, it’s definitely time to repot.
Step-by-Step Guide to Repotting Vriesea 🛠️
- Prepare a new pot that is 1-2 inches larger in diameter than the current one.
- Gently remove the Vriesea from its existing pot, being careful not to damage the roots.
- Inspect the roots for any signs of rot and trim them if necessary.
- Place the plant in the new pot and fill it with fresh, well-draining potting mix.
- Water lightly to settle the soil, avoiding over-saturation.
Choosing the Right Pot When Repotting 🪴
When selecting a new pot, consider the growth stage of your Vriesea. A snug pot is ideal for younger plants, while mature specimens need a larger pot.
Ensure the new pot has adequate drainage holes to support your plant's health. Lastly, evaluate pot materials based on your aesthetic preferences and practical needs, such as weight and moisture retention.
With these steps, your Vriesea will thrive in its new environment, setting the stage for vibrant growth and beauty. Now, let’s explore the ideal pot materials to further enhance your plant care journey.
⚠️ Safety First
This content is for general information and may contain errors, omissions, or outdated details. It is not medical, veterinary advice, or an endorsement of therapeutic claims.
Always consult a qualified healthcare professional before using any plant as food, medicine, or supplement.
Never eat any plant (or feed one to pets) without confirming its identity with at least two trusted sources.
If you suspect poisoning, call Poison Control (800) 222-1222, the Pet Poison Helpline (800) 213-6680, or your local emergency service immediately.
Spotted an error? Please report it here.
Choose the perfect pot for your Vriesea 🌱 with Greg's tailored tips and reminders, ensuring your plant enjoys optimal growth and health every step of the way!