Best Tips for Repotting Miltoniopsis 🌸
Miltoniopsis spp.
By the Greg Editorial Team
Sep 29, 2024•6 min read
This article was created with the help of AI so we can cover more plants for you. May contain errors. See one? Report it here.
- 🌱 Signs to repot include roots out of drainage holes and stunted growth.
- 🕒 Best time to repot is spring to early summer during active growth.
- 🧰 Prepare tools like sterilized pots and fresh mix for successful repotting.
Signs Indicating It's Time to Repot
👀 Visual Indicators
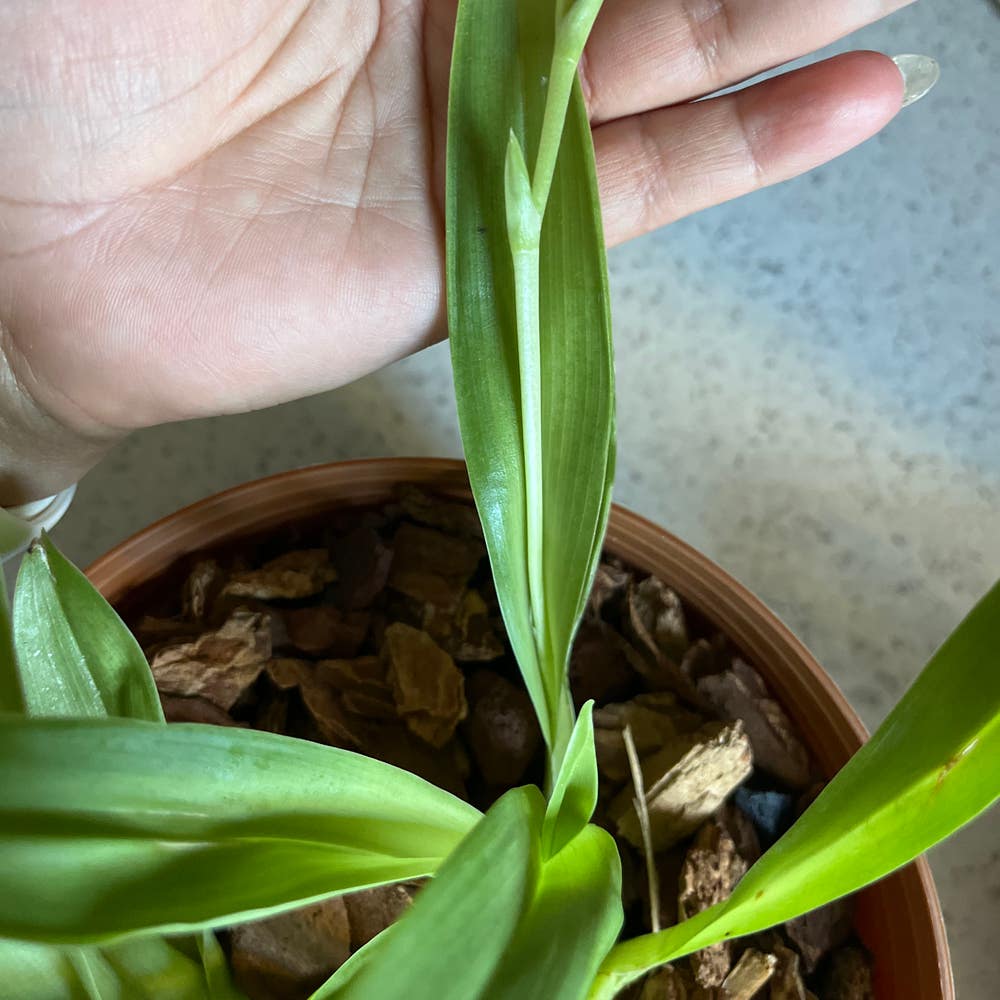
Recognizing when your Miltoniopsis needs repotting starts with visual cues. If you see roots growing out of the drainage holes, it's a clear sign that your plant has outgrown its pot.
Additionally, check the condition of the pseudobulbs. If they appear wrinkled or shriveled, it's time to consider a new home for your orchid. Lastly, examine the potting medium; if it shows signs of breakdown or decomposition, repotting is essential.
📈 Growth Patterns
Next, observe the growth patterns of your plant. Stunted growth, characterized by a lack of new shoots or leaves, often indicates that your Miltoniopsis is ready for a change.
Flowering issues can also signal the need for repotting. If your orchid is producing fewer blooms or none at all, it may be time to refresh its environment.
⏰ Timing Considerations
Timing is crucial when repotting. The best period to undertake this task is during the active growing season, which typically spans from spring to early summer.
As a general rule, plan to repot every 1-2 years, depending on your plant's growth rate and pot size. This proactive approach will help ensure your Miltoniopsis thrives in its new environment.
With these signs in mind, you can confidently prepare for the next steps in the repotting process.
Best Practices for Repotting
🛠️ Preparation Steps
Before diving into repotting your Miltoniopsis, gather your tools. You'll need sterilized pots, fresh potting mix, scissors, and a clean workspace to ensure a smooth process.
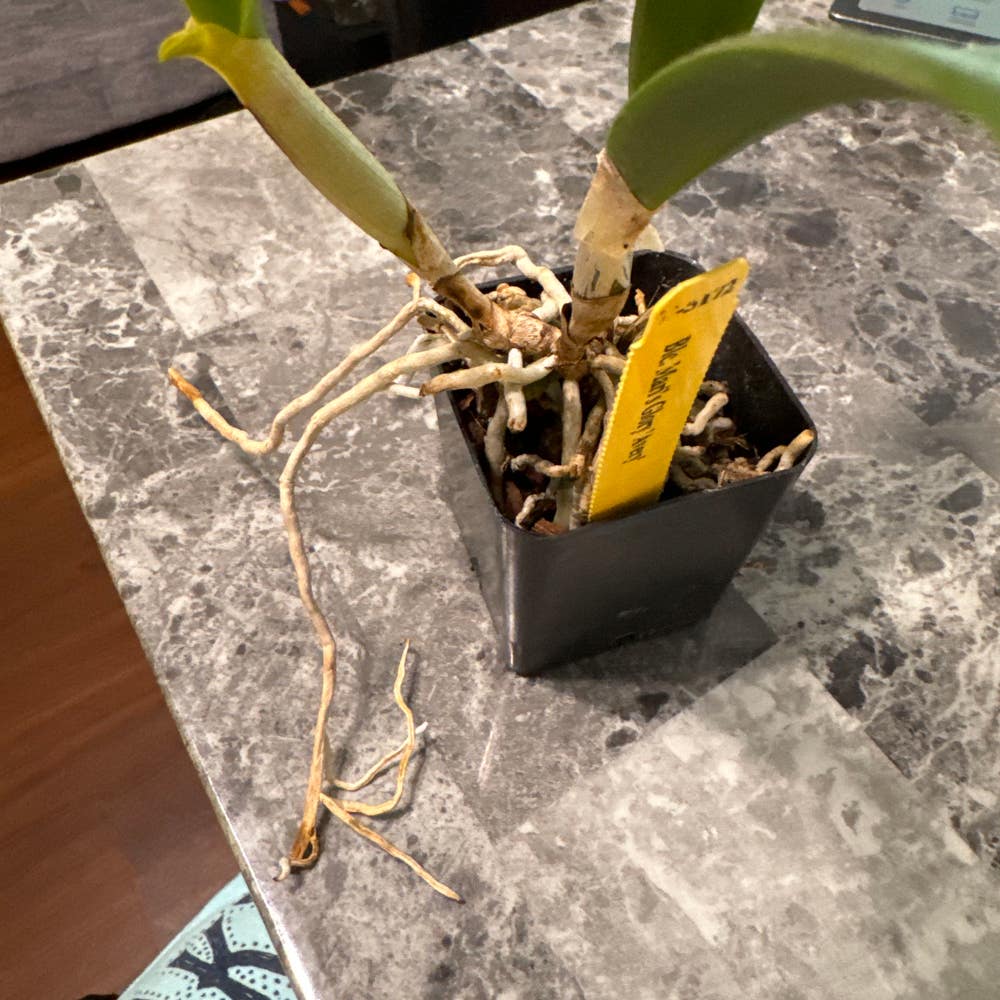
Next, assess the health of the roots. Inspect them for any signs of rot or damage, as this will guide your next steps.
🤲 Handling Techniques
When it's time to remove the plant from its pot, do so gently. Minimizing root disturbance is crucial; avoid excessive handling to keep the roots intact.
If you spot any dead or rotting roots, trim them away using sterilized scissors. This helps promote healthier growth moving forward.
⏰ Timing and Environment
Choose the right time to repot. The cooler parts of the day are ideal, as this reduces stress on your plant.
Also, pay attention to humidity levels. Aim for a range of 60-80% during and after repotting to create a supportive environment for your Miltoniopsis.
By following these best practices, you'll set your plant up for success and encourage vibrant growth. Next, let’s explore the various pot material options that can further enhance your repotting experience.
Pot Material Options
🏺 Overview of Pot Materials
Choosing the right pot material is crucial for your Miltoniopsis. Here’s a quick look at the most common options:
- Plastic pots: Lightweight and great at retaining moisture.
- Clay pots: Porous, allowing for better air circulation.
- Ceramic pots: Visually appealing but can hold too much moisture.
⚖️ Pros and Cons of Each Material
Plastic Pots
Plastic pots are a popular choice among beginners.
- Pros: They are affordable, lightweight, and retain moisture well.
- Cons: However, they are less breathable, which can lead to root rot if overwatered.
Clay Pots
Clay pots offer excellent benefits for plant health.
- Pros: They provide excellent drainage and promote healthy root growth.
- Cons: On the downside, they are heavier and can dry out quickly, requiring more frequent watering.
Ceramic Pots
Ceramic pots can add a touch of elegance to your plant display.
- Pros: They are attractive and stable, making them a stylish choice.
- Cons: Unfortunately, they can retain too much moisture, which may lead to root issues.
🌱 Recommended Pot Types for Optimal Growth
For the best results, clay pots are your best bet. They strike a perfect balance between drainage and aeration, essential for healthy Miltoniopsis growth.
If you’re just starting out, consider plastic pots with good drainage holes. They’re user-friendly and can help you avoid common pitfalls as you learn the ropes of orchid care.
With the right pot material in hand, you’re one step closer to creating a thriving environment for your Miltoniopsis. Next, let’s dive into selecting the perfect potting mix to complement your chosen pot!
Potting Mix Selection
Ideal Potting Mix Characteristics 🌱
When selecting a potting mix for your Miltoniopsis, aim for a blend that is well-draining, moisture-retaining, and aerated. This balance ensures that your plant receives the right amount of water without becoming waterlogged.
Components of a Suitable Potting Mix 🧪
A great potting mix typically includes bark chips, sphagnum moss, perlite, and charcoal. For optimal results, use a ratio of 2 parts bark chips, 1 part sphagnum moss, and 1 part perlite.
How to Create a Custom Potting Mix 🛠️
Creating your own potting mix is straightforward.
- Gather components: Start with bark chips, sphagnum moss, perlite, and charcoal.
- Mix in a large container until evenly combined.
- Adjust ratios based on specific growing conditions, such as adding more moss for higher humidity.
This custom blend will provide your Miltoniopsis with the ideal environment to thrive. With the right potting mix, you set the stage for healthy growth and vibrant blooms.
Next, let’s explore common mistakes to avoid during the repotting process.
Common Repotting Mistakes to Avoid
🚫 Mistakes to Avoid
Repotting can be a delicate process, and common mistakes can hinder your Miltoniopsis's health. One major pitfall is overwatering, which can lead to root rot; always ensure proper drainage to keep your plant thriving.
Another frequent error is using the wrong pot size. A pot that's too large can retain excess moisture, creating an environment ripe for root issues.
🛠️ Handling Damaged Roots
When it comes to handling damaged roots, sterilization is key. Always use clean tools to prevent infection, as even a small cut can invite trouble.
Follow trimming guidelines carefully. Remove only the damaged sections, leaving healthy roots intact to support your plant's recovery.
⏰ Importance of Timing
Timing is everything in repotting. Avoid the temptation to repot during dormancy or extreme temperature changes, as this can stress your plant.
Instead, aim to repot during the active growth phase. This timing allows your Miltoniopsis to recover more effectively and flourish in its new environment.
With these tips in mind, you're better equipped to give your Miltoniopsis the care it deserves. Next, let’s explore the best pot material options for optimal growth.
⚠️ Safety First
This content is for general information and may contain errors, omissions, or outdated details. It is not medical, veterinary advice, or an endorsement of therapeutic claims.
Always consult a qualified healthcare professional before using any plant as food, medicine, or supplement.
Never eat any plant (or feed one to pets) without confirming its identity with at least two trusted sources.
If you suspect poisoning, call Poison Control (800) 222-1222, the Pet Poison Helpline (800) 213-6680, or your local emergency service immediately.
Spotted an error? Please report it here.
Repot your Miltoniopsis with confidence 🌿 by using Greg's tailored reminders and care tips to ensure your orchid flourishes in its new pot!