How to Propagate Your California Cholla
Cylindropuntia californica
By the Greg Editorial Team
Feb 29, 2024•4 min read
This article was created with the help of AI so we can cover more plants for you. May contain errors. See one? Report it here.
Propagate a desert oasis 🌵 with ease using these foolproof techniques for California Cholla—seeds to stems to offsets.
- Quality seeds and pre-soak ensure successful germination.
- Healthy stems and callousing prevent rot in cuttings.
- Separate rooted offsets and provide proper conditions for growth.
Sowing the Future: Seed Propagation Steps
🌱 Choosing Your Champions
Selecting quality seeds is like drafting the best players for your garden team. Look for seeds that are mature, robust, and free from any signs of disease or damage.
🌧️ Prepping for Success
Before sowing, consider giving seeds a pre-planting soak to break dormancy, but check if it's recommended for your species. Use a well-draining mix, combining potting soil, coarse sand, and perlite. Ensure your pots have good drainage to prevent waterlogging.
🌱 Germination Station
Sow seeds on the soil surface, as they often need light to germinate. Do not bury them. Keep the soil moist with a gentle mist to avoid disturbing the seeds. Patience is your ally here; germination can take time. Once sprouted, gradually introduce seedlings to less humid conditions to acclimate them.
Making the Cut: Stem Cutting Techniques
🌱 Selecting and Preparing Stems
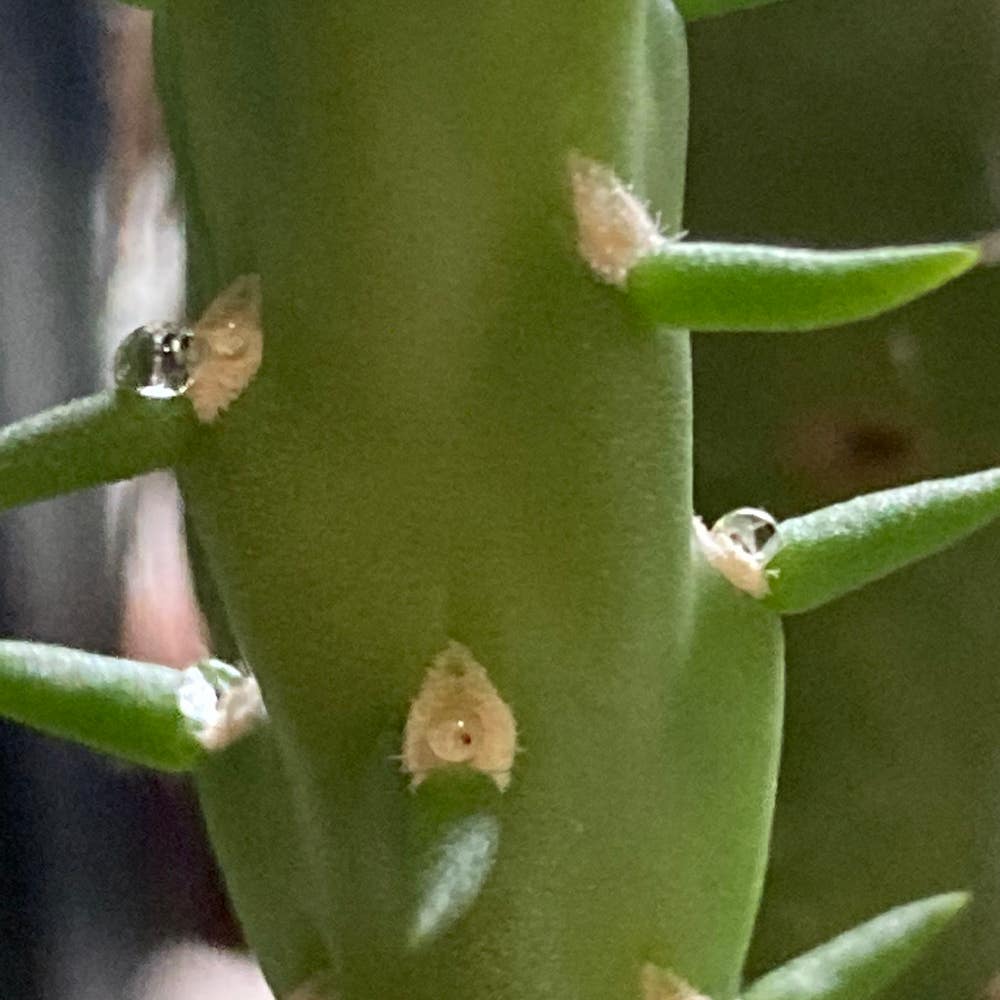
Healthy stems are your golden ticket to propagation success. Look for stems that are firm, green, and free from any signs of distress or disease. With disinfected shears or a knife, make a clean, angled cut just below a node. This increases the surface area for roots to develop and helps the stem absorb more water.
Remove any lower leaves to prevent rot and consider leaving a few leaves at the top for photosynthesis. If you're lucky enough to find stems with aerial roots, your chances of success just got a boost.
🌿 Rooting for Growth
Now, let's get those stems to sprout roots. Letting the cuttings callous over for a few days before planting creates a protective barrier, which can be crucial for preventing rot.
Dipping the end of your stem cutting in rooting hormone isn't mandatory, but it's like giving your plant a head start in a race. It encourages faster and more reliable root development.
When it's time to plant, make a hole in the soil with a pencil and gently place the cutting in, tucking the soil around it snugly. Keep the soil moist but not waterlogged—think of it as the perfect bed for a seedling, not a swamp for an alligator.
Remember, patience is key. Rooting can take time, but with the right care, you'll soon see new growth.
Budding Prospects: Propagating with Offsets
🌱 Spotting and Separating Offsets
In the quest to propagate California Cholla, offsets are your best allies. These are the mini versions of the parent plant, ready to strike out on their own. Look for offsets that have developed their own roots, indicating they're primed for separation. A clean, sterilized cut may be necessary if they don't wiggle free with gentle persuasion. Remember, it's like a surgical procedure for plants—precision and cleanliness are paramount.
🏡 Planting and Nurturing New Beginnings
Once you've liberated your offsets, it's time to give them a new home. Plant them in a well-draining soil mix, which is as non-negotiable as a morning coffee for a night owl. The roots should be just below the surface, like a submarine periscope peeking out of the water. Water these babies sparingly—think of it as a minimalist's approach to hydration. Too much enthusiasm with the watering can, and you'll be sending your offsets to an early grave. Bright, indirect light is the sweet spot for these pups; direct sunlight is as much their enemy as it is for a vampire. Keep an eye out for pests and diseases—these little guys don't have the immune system of a fully-grown Cholla yet. With the right care, your offsets will soon be independent plants, ready to face the world.
Overcoming Propagation Pitfalls
🌱 Common Hurdles for Each Method
Propagation is an art, but even the best artists face challenges. Seed propagation can be a tough nut to crack with issues like poor germination. Ensure your seeds are in a warm, moist environment to encourage sprouting. For stem cuttings, the nemesis is often root rot. Avoid overwatering and ensure good drainage to keep this villain at bay. When dealing with offsets, the main hurdle is ensuring they have enough root to stand on their own.
🌱 Ensuring a Healthy Start
To give your California Cholla the best shot at life, sterilize your tools before cutting to prevent disease spread. It's like a surgeon scrubbing in for operation—non-negotiable. Keep an eye on lighting and temperature; they're the stage crew that set the scene for growth. If your cuttings are more stubborn than a teenager, consider a rooting hormone, but don't expect miracles without proper care. And remember, good airflow is the silent guardian against fungal foes. Keep it breezy, folks.
⚠️ Safety First
This content is for general information and may contain errors, omissions, or outdated details. It is not medical, veterinary advice, or an endorsement of therapeutic claims.
Always consult a qualified healthcare professional before using any plant as food, medicine, or supplement.
Never eat any plant (or feed one to pets) without confirming its identity with at least two trusted sources.
If you suspect poisoning, call Poison Control (800) 222-1222, the Pet Poison Helpline (800) 213-6680, or your local emergency service immediately.
Spotted an error? Please report it here.
Propagate your California Cholla like a pro 🌵 with Greg's species-specific tips and tailored watering reminders, ensuring your desert beauty grows robust from seed to sprout.