Should I Repot My California Cholla?
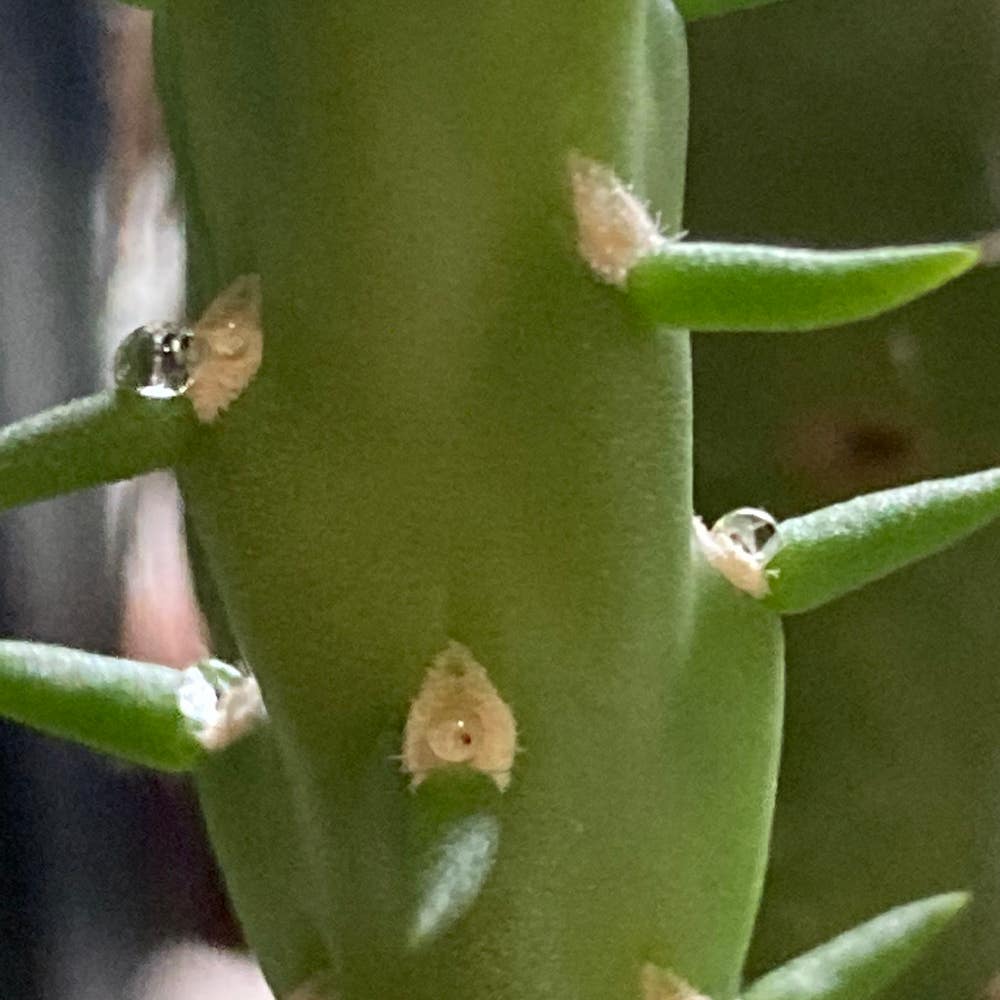
Cylindropuntia californica
By the Greg Editorial Team
Feb 29, 2024•5 min read
This article was created with the help of AI so we can cover more plants for you. May contain errors. See one? Report it here.
Discover the secret to a thriving Cholla 🌵—learn when and how to repot for unstoppable growth!
- 🌵 Visible roots or slowed growth? Time to repot your Cholla.
- Choose a 10-20% larger pot with drainage holes for health.
- Post-repotting: Expect an adjustment phase and monitor for stress.
Spot the Telltale Signs It's Time to Repot
Roots making a break for it through the drainage holes or circling the topsoil are not just being adventurous—they're cramped. If your California Cholla's growth has hit the brakes, it's not slacking; it's signaling a need for more space.
🌱 Root Check: The Squeeze Test and Visual Cues
Squeeze the pot gently. If it feels as tight as a drum, your Cholla is root-bound. Visible roots are a cry for help, not a fashion statement. Cracked pots or roots making a surprise appearance above soil? Red flags.
Growth Patterns: Slowing Down or Stopping?
A growth halt is like a silent protest from your Cholla. If it's not growing despite your pep talks, it's likely because it's packed in tighter than a rush-hour subway.
🚰 Drainage Dilemmas: Is Water Sticking Around Too Long?
Water should hydrate, not evacuate. If it's racing through the pot like it's on a mission, or if the soil stays soggy, your Cholla is living in a swamp, not a desert. It's time for a repot, stat.
Picking the Perfect Pot
When it comes to repotting your California Cholla, choosing the right pot is as crucial as the soil it sits in.
📏 Size matters: How big should you go?
Go up one size. A pot too large can lead to waterlogged soil, while too small can restrict root growth. Aim for a pot that's about 10-20% larger in diameter than the current one.
🏺 Material must-knows: Balancing breathability and moisture retention.
Terracotta is king for breathability, pulling moisture away and keeping roots happy. Plastic retains water, a boon for those who under-water but a curse for the overzealous. Ceramic strikes a balance, less porous than terracotta but more forgiving than plastic.
🕳️ Drainage holes: A non-negotiable for Cholla health.
Ensure your pot has drainage holes. Without them, you're inviting root rot to the party, and nobody wants that guest.
🏺 The Great Pot Debate: Terracotta vs. Plastic vs. Ceramic
Terracotta: The breathability factor and when it's best.
Terracotta is the leather jacket of pots—cool, breathable, and always in style. It's perfect for Cholla, especially in hot climates where moisture control is key. Just remember, it's heavy and can break easily.
Plastic: Lightweight and cost-effective, but is it right for Cholla?
Plastic is the raincoat for your plant's roots—great for moisture retention and light as a feather. It's wallet-friendly but watch out for waterlogging.
Ceramic: Style meets function, but what's the catch?
Ceramic pots are the designer jeans of the pot world—stylish, functional, but can be pricey. They're less porous, so they hold moisture longer, which can be a plus or minus. Just make sure they have drainage holes.
The Repotting Rodeo: A Step-by-Step Guide
Spines first, folks. Suit up with thick gloves and clear your workspace. You don't want to turn this into an acupuncture session.
🛠️ Prepping your workspace: Keeping those spines in check.
Lay down some newspaper or a tarp to catch any stray soil. Have your tools on deck: new pot, cactus mix, trowel, snips, and a watering can. Let's keep it clean and spine-free.
🌵 Soil selection: Mixing the perfect Cholla substrate.
Your Cholla is a picky tenant. Mix a well-draining cactus mix with some grit or perlite. Think of it as the Cholla's personal sandpit.
🕺 The transplant tango: Moving your Cholla without a hitch.
Carefully wiggle the Cholla out of its old pot. If it's stubborn, a gentle tap or a slide of a knife around the edge should loosen things up. Handle with care, you're not wrestling a bull here.
The Nitty-Gritty of Repotting
🕵️ Out with the old: Safely removing your Cholla from its current home.
Inspect the root ball like you're looking for buried treasure. Snip off any dead or suspicious-looking roots. No freeloaders allowed in the new pot.
🏡 In with the new: Planting in the new pot and soil considerations.
Place a welcoming layer of soil in the new pot. Settle your Cholla in, ensuring it's not too deep or acting like a high-rise. Backfill with soil, but don't pack it down like you're making a sandcastle.
💧 The first watering: When and how much?
Water your Cholla deeply just once after repotting. Then, let it play hard to get with water until the soil is bone dry. Overwatering is the kiss of death here, so show some restraint.
Cholla Care Post-Repotting
🌵 The Adjustment Phase: What to Expect
After repotting, your California Cholla enters an adjustment phase. It's like moving to a new city—unsettling at first, but it'll soon settle in. Expect a few weeks of acclimation where growth may pause as the plant gets comfortable in its new pot. Keep the plant in a stable environment with consistent temperatures and indirect sunlight to avoid additional stress.
🚨 Spotting Stress Signals: When to Intervene
Vigilance is key during the post-repotting period. Watch for drooping, discoloration, or squishy stems—these are your Cholla's way of saying, "I'm not okay." If you notice these signs, let the soil dry out before the next watering. This could be a signal of overwatering or poor drainage. Be ready to adjust your care based on the plant's feedback.
🌱 Long-term Love: Continuing Care for Your Repotted Cholla
In the long run, consistency is your Cholla's best friend. Stick to a regular watering schedule—watering deeply but infrequently, allowing the soil to dry out between waterings. Avoid the temptation to over-fuss with the plant; Chollas appreciate a hands-off approach. If your plant continues to show signs of distress after a few weeks, reassess the basics: light, water, and pot placement. Remember, a thriving Cholla is a testament to your care and patience.
⚠️ Safety First
This content is for general information and may contain errors, omissions, or outdated details. It is not medical, veterinary advice, or an endorsement of therapeutic claims.
Always consult a qualified healthcare professional before using any plant as food, medicine, or supplement.
Never eat any plant (or feed one to pets) without confirming its identity with at least two trusted sources.
If you suspect poisoning, call Poison Control (800) 222-1222, the Pet Poison Helpline (800) 213-6680, or your local emergency service immediately.
Spotted an error? Please report it here.
Revitalize your California Cholla by repotting 🌵 with Greg's tailored soil and sunlight tips, ensuring a seamless transition to its new pot.