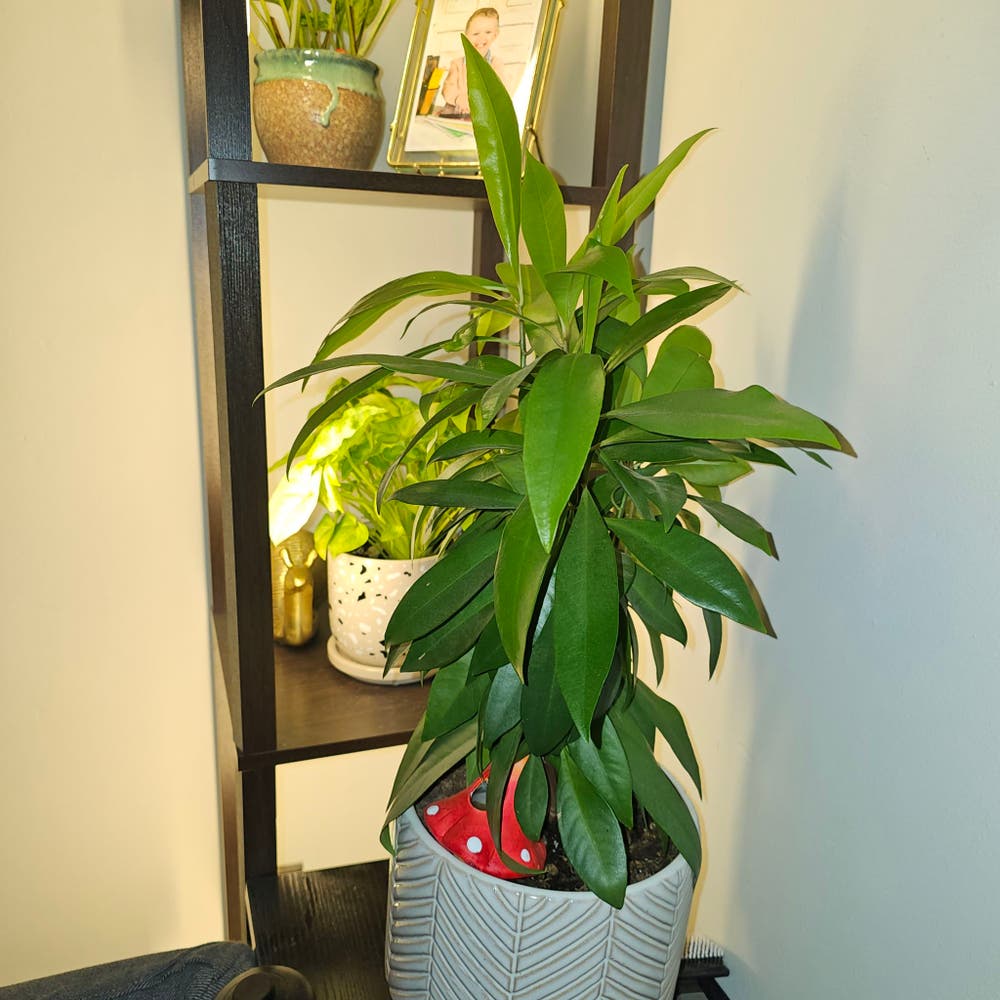
Propagating Ardisia Plant: The Ultimate Guide
Ardisia polysticta
By the Greg Editorial Team
Apr 26, 2024•5 min read
This article was created with the help of AI so we can cover more plants for you. May contain errors. See one? Report it here.
Propagate your Ardisia effortlessly 🌿 and watch your green sanctuary thrive from a single cutting or seed!
- 🌱 Healthy stems and branches are key for cuttings and air layering.
- Rooting setup: Bright light, humidity, 65-75°F for successful propagation.
- Patience and aftercare ensure roots develop and new plants thrive.
Snip & Root: Stem Cuttings Simplified
💪 Choosing the Perfect Stem: What to Look For
Vigorous and healthy stems are your golden ticket in the propagation lottery. Target stems that look like they've been hitting the gym—robust, no signs of pests, and sporting a few leaves. Spring or early summer is your window of opportunity, when the plant's energy is all about growth.
🌱 Prepping Your Cuttings: A Quick Guide to Cuts and Rooting Hormone
Sterilized scissors or pruners are your best friends here; make a clean, angled cut below a leaf node. Aim for a 4-6 inch cutting, strip the lower leaves to avoid rot, and leave a few up top for photosynthesis. Rooting hormones? Think of them as a motivational speaker for your cuttings—dip the cut end before planting to encourage those roots to come out and play.
🌿 Creating the Ideal Rooting Setup: Light, Humidity, and Temperature
Set up a cozy nursery for your cuttings with light potting soil and a humid haven. They're craving that bright, indirect light—think a window with a sheer curtain. Keep the temperature in the sweet spot between 65-75°F, and if your home's air is drier than a stand-up comedian, consider a pebble tray or humidifier to keep the humidity levels up. Remember, airflow is crucial, so a gentle fan can help avoid mold and keep the environment just right for those tender roots.
Air Layering Magic
🌿 Selecting Your Branch: The Criteria for Air Layering Success
Vigorous and healthy branches are your golden ticket in air layering. Look for stems that have not been pruned recently and are free of disease. Strip away leaves to expose a 3-4 inch section, setting the stage for new roots.
🌱 The Air Layering Process: Wrapping, Rooting, and Waiting
Sharp instruments and clean hands are non-negotiable. Make two circular cuts around the stem and remove the bark between them to expose the cambium. Dust with rooting hormone, then wrap with pre-soaked sphagnum moss. Cover with plastic to create a humidity haven and secure with ties—just snug enough to hold, not strangle.
⏰ Timing is Everything
Spring is when the magic happens. Plants are waking up, sap is flowing, and your chances of success are at their peak. If you miss the spring window, late summer or early autumn can still work, but choose a branch that's begun to harden.
🌱 Patience Pays Off
Roots can be shy, taking weeks or even months to appear. Keep an eye out for condensation inside the plastic wrap—it's a good sign. When you see a healthy root system, it's time to separate your new plant with a careful cut below the roots.
🌿 Ensuring Success: Tips for a Healthy Air Layering Environment
Aftercare is crucial. Pot your new plant in fresh soil, water it, and keep it out of direct sunlight at first. Regularly check for moisture and clear any algae. Remember, a moist environment is key, but avoid creating a swamp. Keep the soil just like that perfectly wrung-out sponge—moist but not drenched.
🛠 Gather Your Toolkit
Before you start, assemble your air layering kit: a sharp knife, sphagnum moss, rooting hormone, clear plastic wrap, and wire or twist ties. Cleanliness is next to godliness here to prevent infections.
🌱 Real Talk: Root Development
Roots typically show up within 3 months. When they do, it's time to cut the cord—literally. Separate your new plant by cutting below the new roots and pot it separately. This is your moment of triumph, so enjoy it.
From Tiny Seeds to Lush Ardisia
Harvesting Ardisia seeds requires precision; timing is everything. Aim for the moment when the berries are ripe but before they fall prey to the ground. Gently extract the seeds, ensuring they're free of pulp—mold's best friend.
🌱 Sowing Secrets
For a soil mix, think light yet moisture-retentive; it's a delicate dance of drainage and dampness. Sow seeds shallowly; they're like introverts who need light to come out of their shell. Space them out—crowding's a no-go.
🌱 Germination Game Plan
Warmth and moisture are your seeds' best pals. Keep the soil consistently moist but not waterlogged—think of it as a spa day, every day. Maintain a warm environment, but avoid turning your seeds into a bake sale.
Overcoming Propagation Pitfalls
🦠 Spotting and Stopping Rot: Keeping Your Cuttings Healthy
Root rot is like the grim reaper for your cuttings; it's bad news. If your plant's roots look like overcooked noodles, it's time to play surgeon. Snip off the mushy parts, let the roots dry out, and then replant in fresh, well-draining soil. Remember, overwatering is a no-go. It's the fast lane to rot city.
🍄 Fungal Foes: Prevention and Cure During Propagation
Fungal infections are the silent party crashers, thriving in the damp like they own the place. Keep the air moving around your plants and have a fungicide handy to kick these intruders out. Good airflow is crucial, and so is avoiding wet leaves—think of them as rot's welcome mat.
🌱 Rooting Woes: What to Do When Roots Won't Grow
When roots play hard to get, check your setup. Adequate light and warmth are the stage and spotlight for growth. If your cuttings are more stagnant than a pond, reassess your watering habits and make sure your pot's got proper drainage. And don't forget, a sprinkle of cinnamon can be a natural antifungal cheerleader for those cuts.
⚠️ Safety First
This content is for general information and may contain errors, omissions, or outdated details. It is not medical, veterinary advice, or an endorsement of therapeutic claims.
Always consult a qualified healthcare professional before using any plant as food, medicine, or supplement.
Never eat any plant (or feed one to pets) without confirming its identity with at least two trusted sources.
If you suspect poisoning, call Poison Control (800) 222-1222, the Pet Poison Helpline (800) 213-6680, or your local emergency service immediately.
Spotted an error? Please report it here.
Propagate ardisia with confidence as Greg's custom care plans ensure your cuttings and seeds receive the ideal balance of care 🌿, from the right watering schedule to the perfect amount of light and warmth.