❄️ How to Prepare Your Musk Mallow for Winter
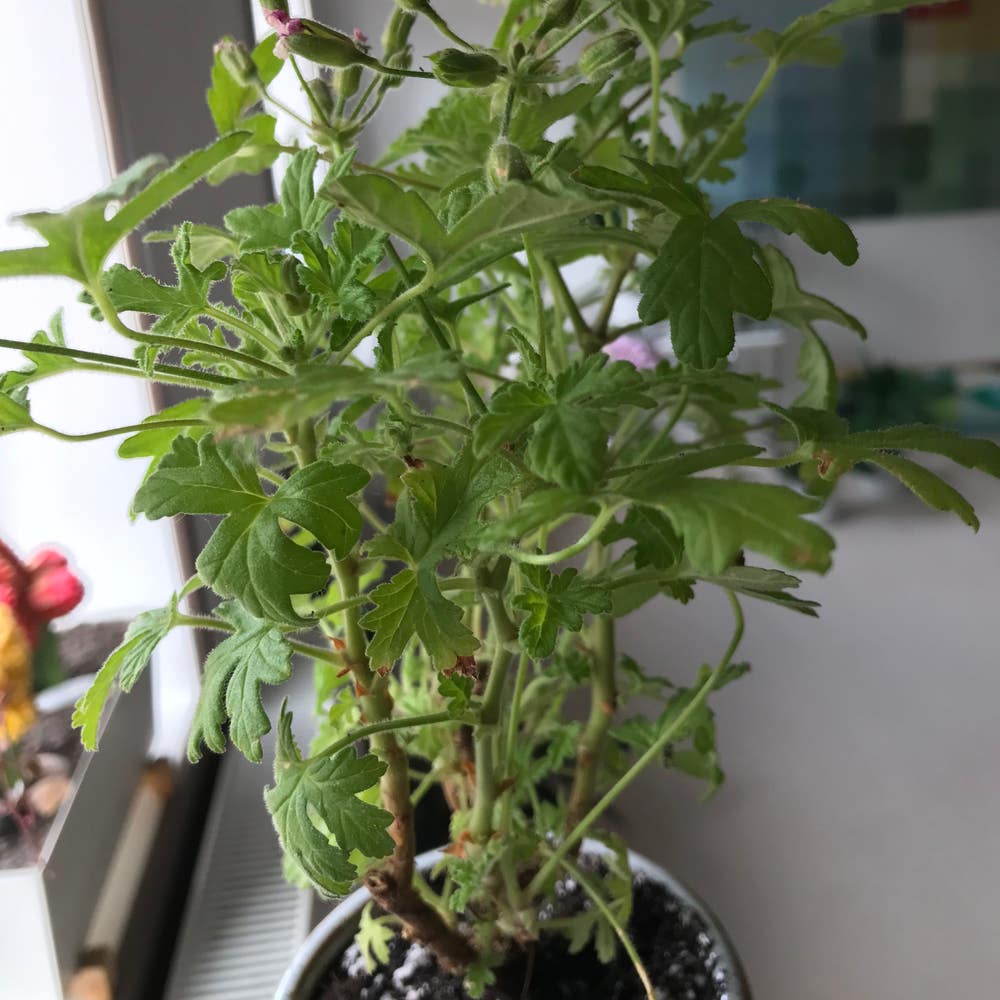
Malva moschata
By the Greg Editorial Team
Oct 17, 2024•4 min read
This article was created with the help of AI so we can cover more plants for you. May contain errors. See one? Report it here.
Ensure your Musk Mallow thrives this spring by mastering essential winter care techniques! 🌱❄️
- ❄️ Cover Musk Mallow with frost cloth before the first frost for winter survival.
- 🌬️ Secure covers with stakes to prevent wind displacement and protect your plant.
- 🌱 Mulch 2-4 inches to insulate roots and maintain moisture during winter months.
Winter Care Techniques
❄️ Frost Protection Methods
Covering your Musk Mallow with frost cloth or burlap is essential for winter survival. Timing is crucial; do this before the first expected frost to ensure your plants are protected.
To secure these covers, use stakes or weights. This prevents wind displacement, keeping your plants safe from harsh conditions.
🌱 Mulching Around the Base
Mulching is another effective method to insulate your plants. Recommended materials include straw, wood chips, or shredded leaves.
Aim for a mulch depth of 2-4 inches. This layer acts as a protective blanket, keeping roots warm during the cold months.
🌬️ Creating Windbreaks
Windbreaks are vital for shielding your Musk Mallow from harsh winds. Use barriers like fences or other plants to create a protective zone.
This method is moderately difficult but pays off by reducing stress on your plants during winter storms.
💧 Adjusting Watering Schedules
As winter sets in, adjust your watering schedule. Reduce frequency to once every 2-4 weeks to prevent overwatering.
Watch for signs of overwatering, such as yellowing leaves or mushy stems. Ensuring well-drained soil is crucial to prevent root rot during dormancy.
🌿 Fertilizing in Winter
When it comes to fertilizing, the general rule is to avoid it during dormancy. However, if necessary, you can use a slow-release fertilizer, but only in early winter.
Focus on maintaining a nutrient balance, particularly phosphorus and potassium, to support root health. This will help your Musk Mallow thrive when spring arrives.
By implementing these winter care techniques, you can ensure your Musk Mallow remains healthy and ready for the growing season ahead. Next, let’s explore how to care for your plants indoors during the colder months.
Indoor Winter Care
🌬️ When to Bring Indoors
As winter approaches, keep an eye on the weather forecast. If prolonged freezing temperatures are expected, it’s time to transition your Musk Mallow indoors.
Aim to bring your plants inside in late fall, ideally before the first hard frost hits. This proactive step helps protect your plants from harsh winter conditions.
🏠 Indoor Care Requirements
Once indoors, light is crucial for your Musk Mallow's survival. Position it in a bright, sunny spot, preferably a south or west-facing window, to ensure it receives adequate sunlight.
Watering indoors requires a careful balance. Maintain consistent moisture, but be cautious not to waterlog the plant, as this can lead to root rot.
Humidity is another key factor. To keep moisture levels up, consider using a humidity tray or misting your plant regularly. This will help create a more favorable environment for your Musk Mallow during the dry winter months.
Transitioning your Musk Mallow indoors and providing the right care will set the stage for a healthy spring. Next, let’s explore how to prepare your plant for the upcoming growth season.
Spring Preparation
Signs of Recovery from Winter Damage 🌱
As spring approaches, keep an eye out for new growth. Green shoots emerging from the base of your Musk Mallow are a promising sign of recovery.
Checking the health of the leaves is equally important. Soft, healthy leaves indicate that your plant is bouncing back from winter dormancy.
Monitoring for Pests 🐛
Early detection of pests can save your plant from further stress. Regularly inspect your Musk Mallow for any signs of infestations.
Preparing for Spring Growth 🌼
Pruning is essential as you prepare for the growing season. Remove any dead or damaged stems to encourage fresh growth.
Fertilizing in early spring can give your plant a much-needed boost. Use a balanced fertilizer to support robust growth.
Soil preparation is another key step. Ensure your soil is well-drained and amend it as necessary to create the best environment for your Musk Mallow.
By following these steps, you’ll set your Musk Mallow up for a thriving spring. Transitioning from winter care to spring growth is an exciting time, filled with potential for your garden.
Common Winter Problems
Identifying and Addressing Damage 🌱
As winter sets in, your Musk Mallow may show signs of distress. Look for brown, wilted leaves or stunted growth, which are clear indicators of damage.
To assess root health, gently dig around the base. Mushy or discolored roots signal trouble and require immediate attention.
Solutions for Frostbite and Other Issues ❄️
If you notice frostbite, don’t panic. Trim away the affected areas to promote healing and provide extra insulation to protect the remaining plant.
Preventative measures are key. Implement frost protection strategies early to safeguard your Musk Mallow from harsh winter conditions.
With these tips, you can help your plant weather the winter and emerge healthy in spring. Next, let’s explore how to prepare your Musk Mallow for a vibrant spring growth.
⚠️ Safety First
This content is for general information and may contain errors, omissions, or outdated details. It is not medical, veterinary advice, or an endorsement of therapeutic claims.
Always consult a qualified healthcare professional before using any plant as food, medicine, or supplement.
Never eat any plant (or feed one to pets) without confirming its identity with at least two trusted sources.
If you suspect poisoning, call Poison Control (800) 222-1222, the Pet Poison Helpline (800) 213-6680, or your local emergency service immediately.
Spotted an error? Please report it here.
Keep your Musk Mallow thriving through winter ❄️ with Greg's personalized reminders for frost protection and watering adjustments, ensuring a vibrant spring recovery!