🌸 Step-by-Step Guide to Repotting Italian Heather
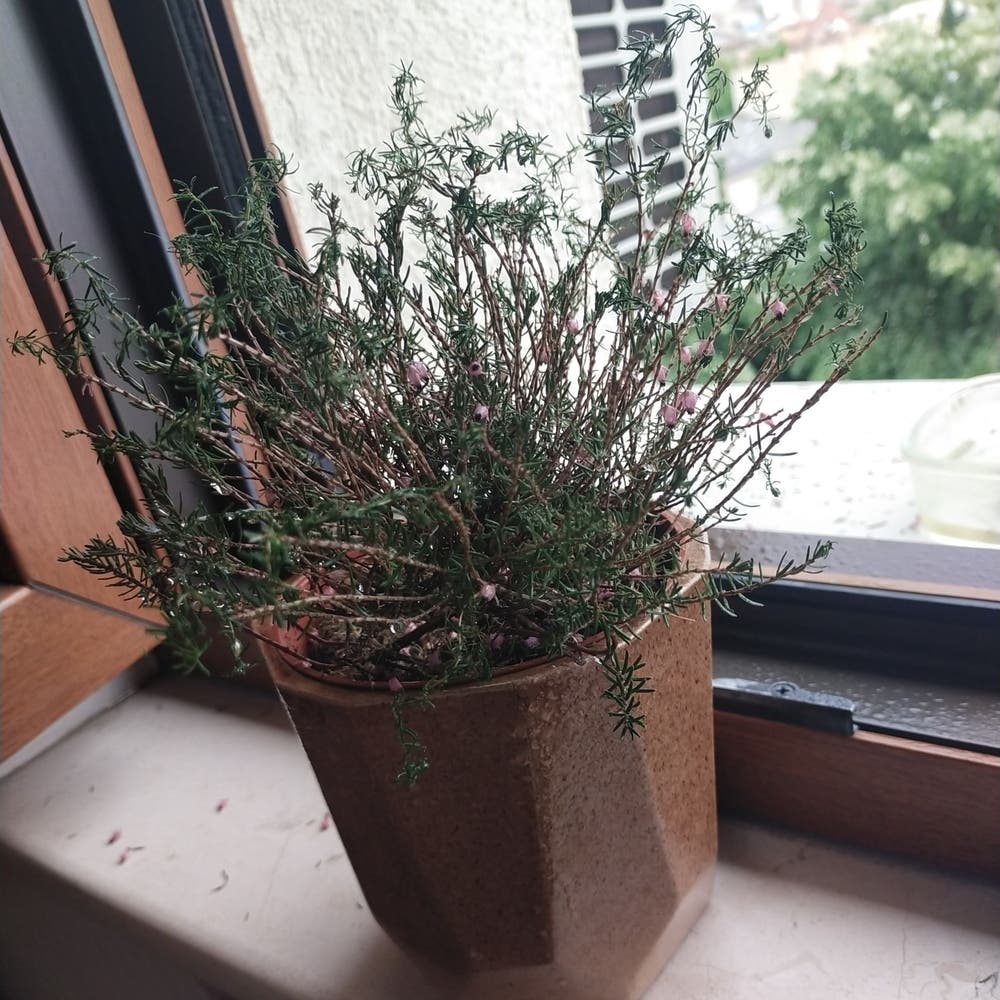
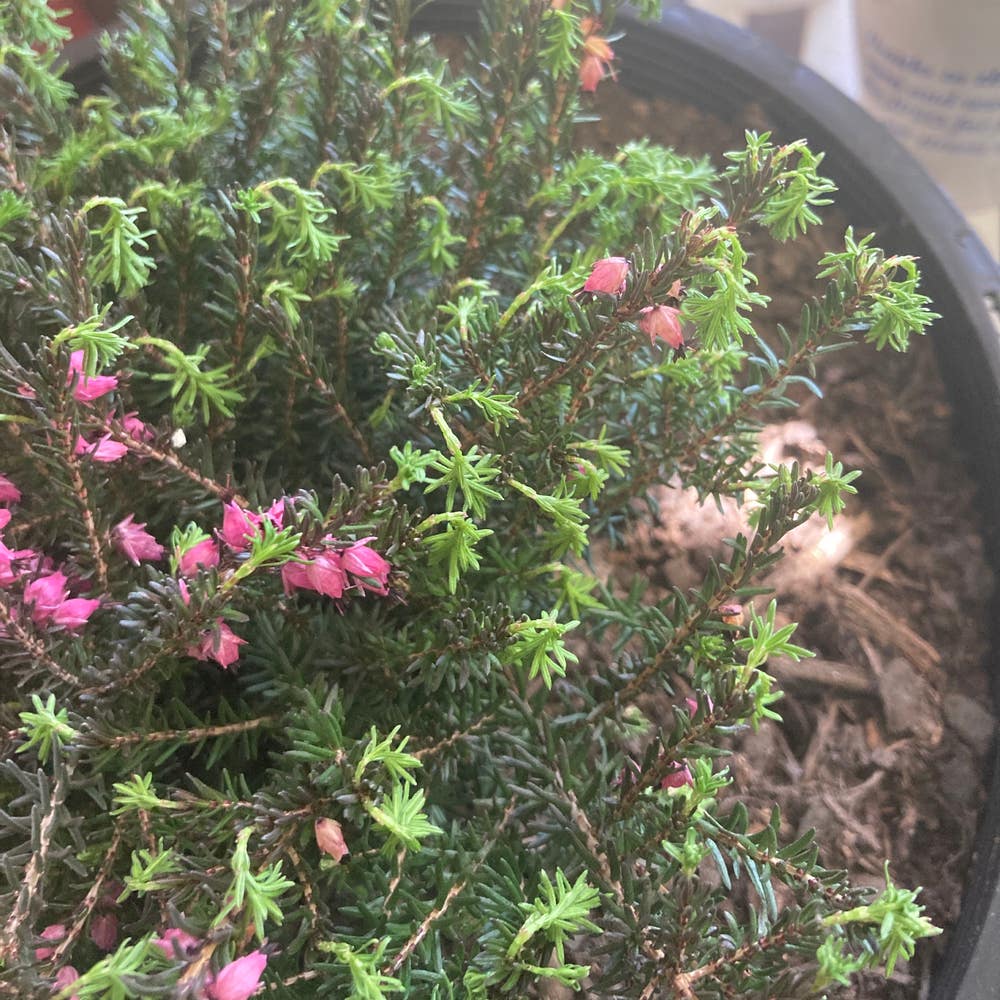
Erica x darleyensis
By the Greg Editorial Team
Oct 04, 2024•4 min read
This article was created with the help of AI so we can cover more plants for you. May contain errors. See one? Report it here.
Revitalize your Italian Heather 🌿 with this essential guide to repotting and nurturing for vibrant growth!
- 🛠️ Gather essential tools like pots, soil, and gloves for successful repotting.
- 🌱 Choose the right pot size to prevent root rot and promote healthy growth.
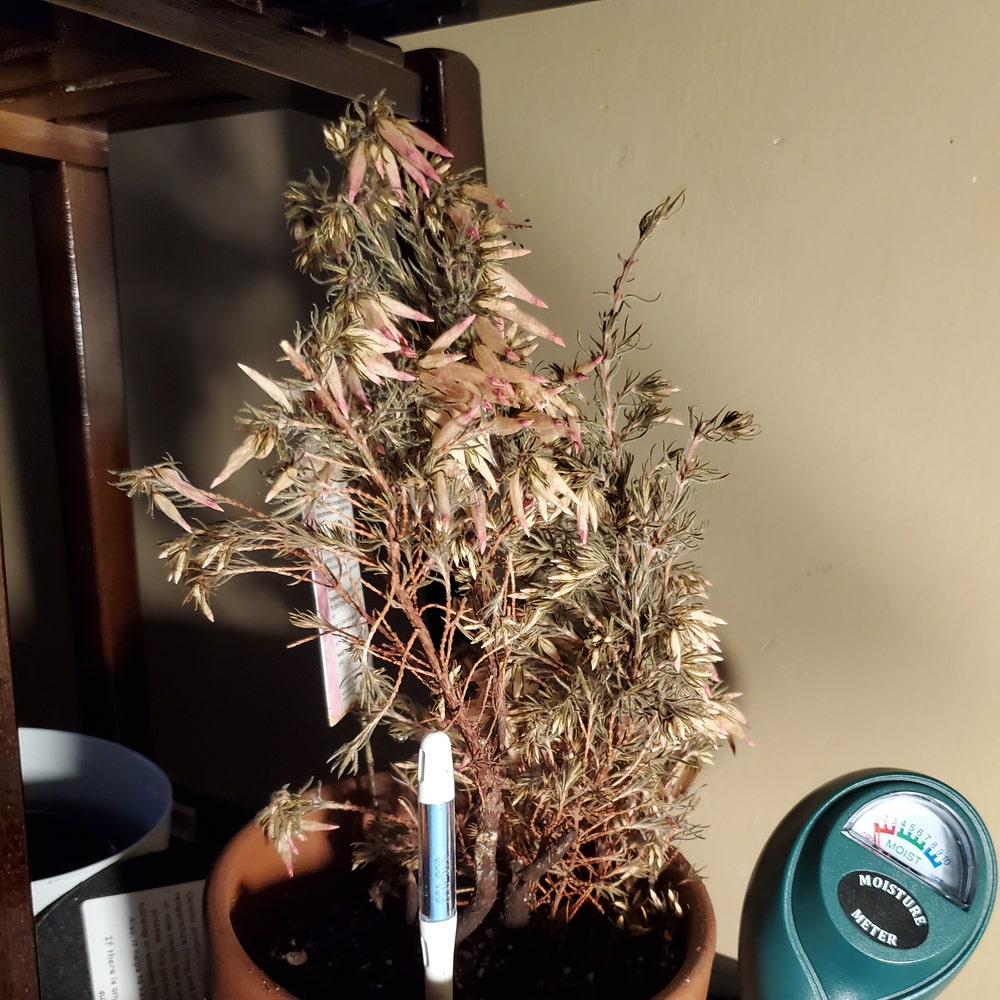
- 💧 Monitor moisture levels closely post-repotting to ensure optimal plant health.
Step-by-Step Repotting Process
🛠️ Tools and materials needed for repotting
To get started, gather your tools and materials. You'll need a new pot that’s appropriately sized for your Italian Heather, potting soil that’s sandy or peat-based, gardening gloves, a trowel or hand spade, and scissors or pruning shears.
🪴 Preparing the new pot and soil
Before planting, ensure your new pot has adequate drainage holes. Fill the bottom with a layer of gravel or small stones to improve drainage, and mix your potting soil with perlite or sand to enhance its drainage capabilities.
🌱 Removing the plant from its current pot
Now, it's time to remove the plant from its current pot.
- Gently tap the sides of the pot to loosen the soil.
- Carefully slide the plant out, supporting the base.
- Avoid pulling on the stems or leaves to prevent damage.
✂️ Inspecting and trimming roots
Once the plant is out, inspect the roots for health. Look for healthy white roots and remove any brown, mushy ones with sterilized scissors. If the roots are root-bound, gently tease them apart to encourage outward growth.
🪣 Placing the plant in the new pot
Next, position the plant in the center of the new pot.
- Fill in around the roots with potting soil, ensuring the crown is level with the soil surface.
- Lightly press down to eliminate air pockets.
💧 Watering and settling the plant
Finally, water the plant thoroughly until water drains from the bottom. Allow any excess water to drain completely, and monitor moisture levels for the first few weeks to ensure your Italian Heather settles in nicely.
With these steps, you’ll have successfully repotted your Italian Heather, setting it up for healthy growth. Next, let’s explore how to choose the right pot material for your plant.
Choosing the Right Pot Material
🏺 Pot Material Options and Their Suitability
When selecting a pot for your Italian Heather, consider the material carefully.
Ceramic: Offers aesthetic appeal and retains moisture well. However, it can crack in freezing temperatures, so be cautious in colder climates.
Plastic: Lightweight and affordable, plastic pots are great for drainage but may lack breathability. They’re a practical choice for many gardeners.
Terracotta: Known for excellent drainage and breathability, terracotta pots are ideal for Italian Heather. Just keep in mind that they can dry out quickly, so monitor moisture levels closely.
🚰 Importance of Drainage in Pot Selection
Drainage is crucial when choosing a pot for your Italian Heather.
Proper drainage ensures excess water escapes, preventing root rot, which can be detrimental to your plant's health.
Additionally, good drainage helps maintain the acidic environment that Italian Heather thrives in, promoting robust growth and vibrant blooms.
Choosing the right pot material is a foundational step in ensuring your plant flourishes.
With the right pot in hand, you're ready to move on to post-repotting care, where you'll learn how to nurture your plant after its big move.
Post-Repotting Care
Initial watering and light requirements 🌱
After repotting your Italian Heather, the first step is to water it immediately. Ensure the soil is thoroughly saturated, allowing water to drain from the bottom.
Next, place the pot in indirect sunlight for a few days. This helps reduce stress on the plant as it adjusts to its new environment.
Monitoring for transplant shock ⚠️
Keep an eye out for signs of transplant shock, which can manifest as wilting, yellowing leaves, or slowed growth.
To mitigate these effects, maintain consistent moisture in the soil and avoid exposing the plant to direct sunlight during this adjustment period.
By following these care tips, your Italian Heather will have a better chance of thriving in its new pot. This sets the stage for the next important topic: common repotting mistakes to avoid.
Common Repotting Mistakes to Avoid
📏 Overpotting vs. Underpotting
Choosing the right pot size is crucial. Overpotting, or selecting a pot that's too large, can lead to excess soil moisture, which may cause root rot.
On the flip side, underpotting restricts root growth. A pot that's too small can suffocate your Italian Heather, stunting its development.
🧪 Not Using the Right Soil Mix
The soil mix plays a vital role in your plant's health. Opt for sandy or peat-based soil to ensure proper drainage.
Avoid heavy, clay-based soils that retain too much moisture. These can create a soggy environment that your Italian Heather simply can't thrive in.
🚰 Ignoring Drainage Needs
Never underestimate the importance of drainage. Ensure all pots have adequate drainage holes to allow excess water to escape.
Incorporating materials like gravel or perlite into your soil mix can significantly enhance drainage. This simple step can make a world of difference in keeping your plant healthy.
By avoiding these common pitfalls, you set your Italian Heather up for success. Next, let’s explore how to provide the best post-repotting care for your plant.
⚠️ Safety First
This content is for general information and may contain errors, omissions, or outdated details. It is not medical, veterinary advice, or an endorsement of therapeutic claims.
Always consult a qualified healthcare professional before using any plant as food, medicine, or supplement.
Never eat any plant (or feed one to pets) without confirming its identity with at least two trusted sources.
If you suspect poisoning, call Poison Control (800) 222-1222, the Pet Poison Helpline (800) 213-6680, or your local emergency service immediately.
Spotted an error? Please report it here.
Repotting your Italian Heather is key to thriving blooms 🌼, and with Greg's tailored care reminders, you'll keep your plant happy and healthy in its new pot!