🌵 Ultimate Guide to Potting Miquel's Prickly Pear
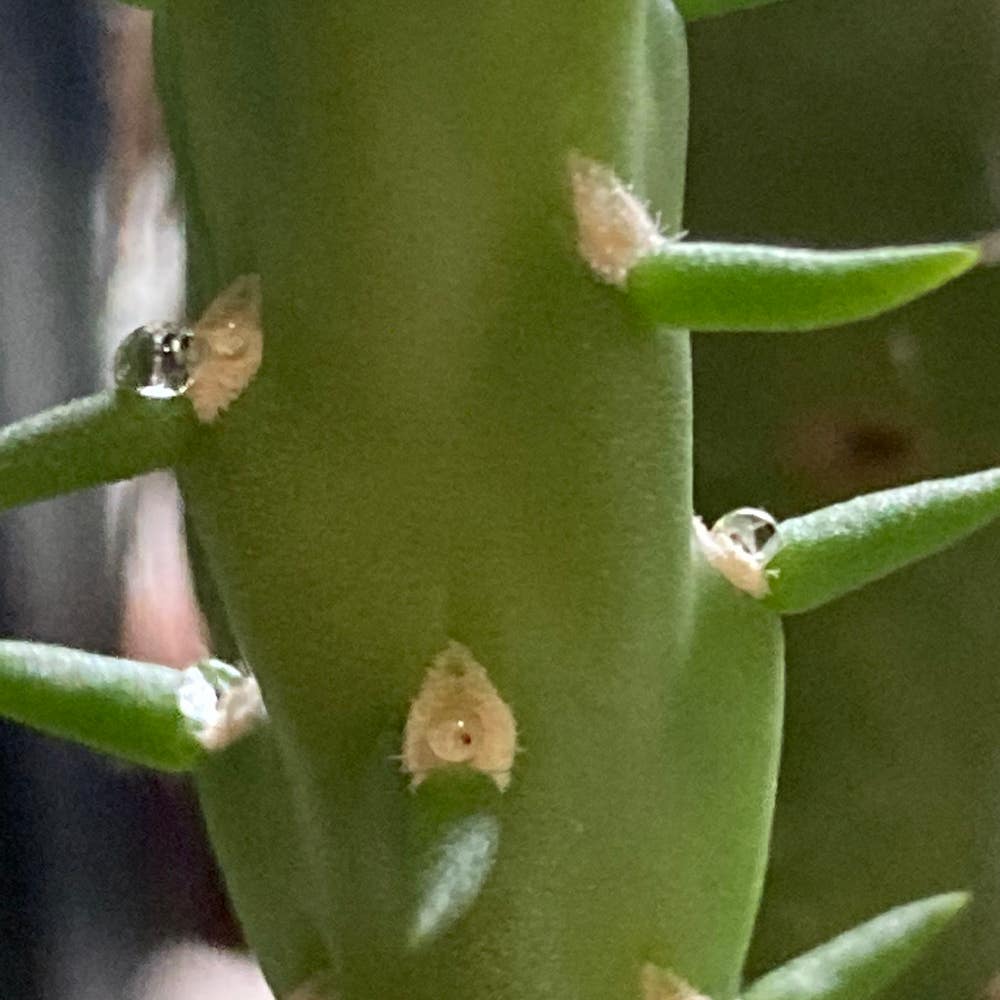
Miqueliopuntia miquelii
By the Greg Editorial Team
Sep 29, 2024•5 min read
This article was created with the help of AI so we can cover more plants for you. May contain errors. See one? Report it here.
- 🌱 Choose the right pot size to prevent root restriction and promote growth.
- 🏺 Clay pots offer breathability, while plastic pots are lightweight but may retain moisture.
- 🔍 Signs of needing a larger pot include root emergence and stunted growth.
Choosing the Right Pot
Importance of Pot Size 🌱
Choosing the right pot size is crucial for your prickly pear's health. A pot that's too small can restrict root growth, leading to damage, while one that's too large may retain excess moisture, increasing the risk of root rot.
Ideal Pot Materials 🪴
When it comes to pot materials, you have two popular options: clay and plastic.
Clay Pots
- Benefits: They offer excellent breathability and help regulate moisture naturally.
- Drawbacks: Clay pots are heavier and can break easily, which might not be ideal for everyone.
Plastic Pots
- Benefits: Lightweight, durable, and cost-effective, making them a favorite for many.
- Drawbacks: They are less breathable and can retain moisture, which could be problematic for your prickly pear.
How Pot Choice Affects Growth and Health 🌿
The right pot can significantly enhance drainage and airflow, promoting healthy root development. Conversely, poor pot selection can lead to overwatering and nutrient deficiencies, stunting your plant's growth.
Choosing wisely will set your prickly pear on the path to thriving. Next, let’s dive into the specific pot sizes suitable for different growth stages.
Pot Sizes for Different Growth Stages
Recommended Pot Sizes for Seedlings 🌱
For seedlings, the ideal pot size is between 4 to 6 inches in diameter. Starting small encourages root establishment, allowing your prickly pear to thrive as it grows.
Pot Sizes for Mature Plants 🌵
As your prickly pear matures, you'll want to transition to a pot size of 10 to 12 inches in diameter. Larger cultivars may even require bigger pots to accommodate their growth.
Signs That Indicate a Need for a Larger Pot 🔍
Keep an eye out for key signs that your plant needs a larger pot:
- Root emergence from drainage holes: This is a clear indicator that your plant is outgrowing its space.
- Stunted growth or yellowing pads: These symptoms often signal that the roots are cramped.
- Soil drying out too quickly after watering: If the soil dries faster than usual, your plant may need more room to spread its roots.
Recognizing these signs early can help you maintain a healthy, flourishing prickly pear. Transitioning to a larger pot at the right time ensures your plant continues to thrive, setting the stage for the next topic on drainage considerations.
Drainage Considerations
Importance of Drainage Holes 🌊
Drainage holes are essential for preventing water from accumulating at the bottom of the pot. Without them, excess moisture can lead to root rot, a common issue that can quickly jeopardize your prickly pear's health.
How to Ensure Proper Drainage 🚰
To promote optimal drainage, choose pots that feature multiple drainage holes. Additionally, opt for a well-draining soil mix specifically designed for cacti and succulents to keep your plant thriving.
Common Drainage Issues and Solutions ⚠️
Watch for signs of poor drainage, such as water pooling at the bottom or yellowing pads. If you notice these issues, consider repotting into a pot with better drainage or amending the soil with perlite or sand to improve airflow and moisture control.
By paying attention to drainage, you can significantly enhance your prickly pear's growth and overall health. Next, let’s explore when and how to repot your plant for continued success.
Repotting Guidelines
When to Repot 🌱
Repotting your Miquel's Prickly Pear is essential for its health. Aim to do this every 2-3 years or whenever you notice signs of overcrowding.
Spring is the best time for repotting, as this aligns with the plant's active growing season. This timing helps your cactus bounce back quickly.
Step-by-Step Repotting Process 🛠️
- Prepare the New Pot: Ensure it has drainage holes and fill it with a cactus soil mix.
- Remove the Plant: Gently take the plant out of its current pot, being careful not to damage the roots.
- Inspect the Roots: Check for any signs of rot and trim away any unhealthy parts.
- Replant: Position the plant in the new pot, filling it with soil while keeping the pads above the soil line.
- Water Lightly: Give it a gentle watering to settle the soil, but avoid overwatering.
Choosing the Right Pot During Repotting 🪴
Selecting the right pot is crucial during repotting. Consider the growth stage of your plant to ensure you choose an appropriately sized pot.
Also, make sure the new pot material aligns with your cactus's drainage needs. This will help maintain a healthy environment for your prickly pear.
With these guidelines, your Miquel's Prickly Pear will thrive in its new home. Next, let’s explore common mistakes in potting to ensure you avoid pitfalls in your plant care journey.
Common Mistakes in Potting
🥴 Overpotting vs. Underpotting
Overpotting can be a sneaky trap. Choosing a pot that's too large may lead to excess moisture retention, which can suffocate your prickly pear's roots.
On the flip side, underpotting restricts growth. A pot that's too small can stunt root development, leaving your plant struggling to thrive.
🚫 Ignoring Drainage Needs
Ignoring drainage needs is a common pitfall. Without proper drainage, water can accumulate at the bottom, leading to root rot and a decline in plant health.
Ensure your pot has adequate drainage holes to keep your prickly pear happy and healthy.
🧱 Choosing the Wrong Materials
Selecting the wrong pot materials can hinder your plant's growth. Pots that don't allow for proper airflow can trap moisture and create a less-than-ideal environment.
Understanding the characteristics of clay and plastic pots is crucial. Each material has its pros and cons, so choose wisely to support your plant's needs.
In summary, avoiding these common mistakes will set your prickly pear up for success. Next, let’s explore the best practices for repotting to ensure your plant continues to flourish.
⚠️ Safety First
This content is for general information and may contain errors, omissions, or outdated details. It is not medical, veterinary advice, or an endorsement of therapeutic claims.
Always consult a qualified healthcare professional before using any plant as food, medicine, or supplement.
Never eat any plant (or feed one to pets) without confirming its identity with at least two trusted sources.
If you suspect poisoning, call Poison Control (800) 222-1222, the Pet Poison Helpline (800) 213-6680, or your local emergency service immediately.
Spotted an error? Please report it here.
Potting your Miquel's Prickly Pear is crucial for its health 🌱, and with Greg's tailored reminders and expert tips, you'll master the art of choosing the right pot size and material for thriving growth!