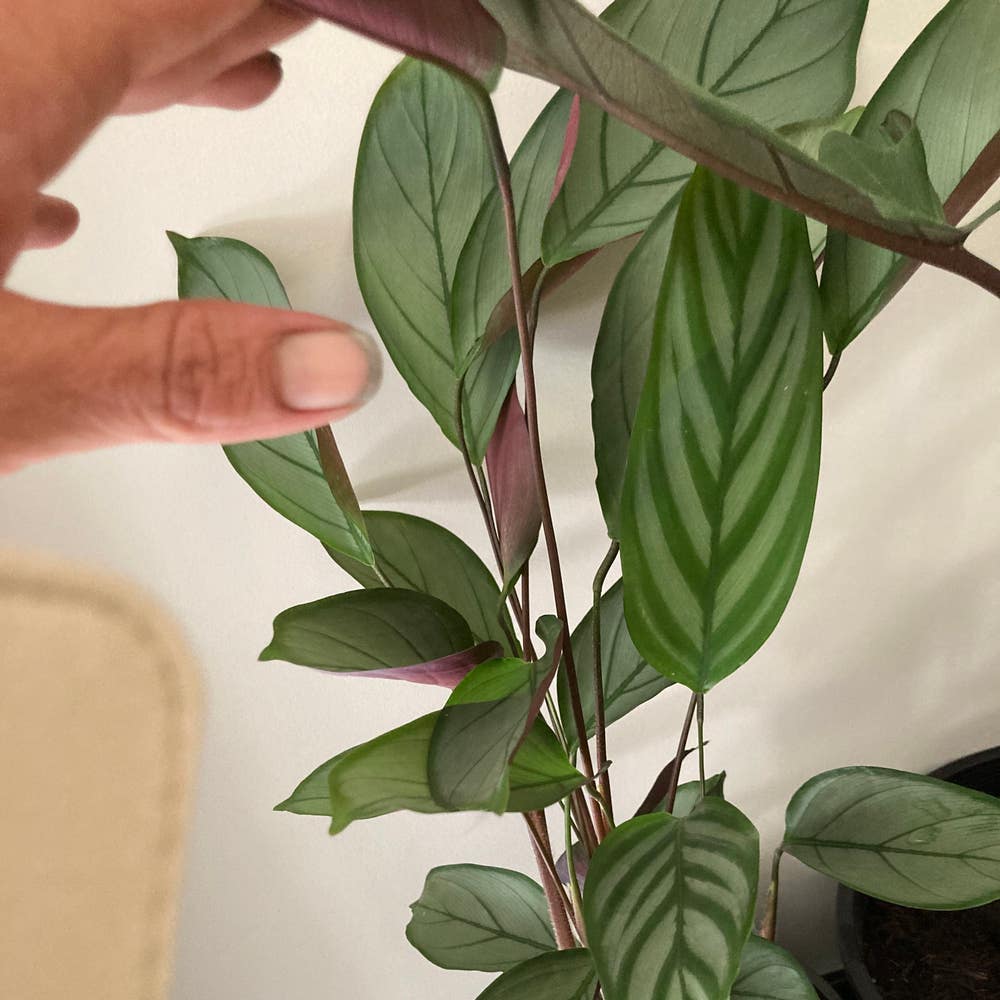
Propagating My Never Never Plant: Step-by-Step Guide
Ctenanthe oppenheimiana
By the Greg Editorial Team
Jun 17, 2024•6 min read
This article was created with the help of AI so we can cover more plants for you. May contain errors. See one? Report it here.
Propagate your Never Never Plant effortlessly 🌿, ensuring a lush indoor jungle with our step-by-step guide.
- Choose healthy stems and disinfect tools for successful stem cuttings.
- Spring division with proper supplies ensures thriving new plants.
- Balance light, moisture, and warmth for ideal propagation conditions.
Snip & Root: Stem Cuttings Propagation
🌱 Choosing Your Champion Stem
In the quest for propagation, selecting a robust stem is paramount. Look for stems that boast a vibrant color and a firm texture, free from any signs of disease or damage. These are the contenders that promise the most success in sprouting new life.
✂️ The Perfect Cut
Disinfect your shears or use a sharp knife to ensure a clean cut; this minimizes damage to the parent plant and prevents the spread of disease. Aim for a 4-6 inch long stem, and make your incision just above a node—your future root hub. The angle of the cut matters too; a 45-degree angle increases the surface area, encouraging more root growth.
🌱 Rooting Your Cuttings
For your cuttings to thrive, the rooting medium is your nursery. A well-draining mix paired with consistent moisture sets the stage for success. Some opt to use rooting hormone to expedite growth, though it's not mandatory. Place your cutting about an inch deep, ensuring at least one node is below the surface. Patience is key; roots take time to form, but the reward of new growth is well worth the wait.

Split & Multiply: Division Propagation
🌱 When to Divide
Identifying the right time to divide your Never Never Plant is crucial. Spring is prime time, as the plant's growth kicks into high gear. Look for signs like roots peeking through drainage holes or the plant looking like it's trying to escape its pot. That's your cue for action.
🕺 The Division Dance
🛠️ Step 1: Prep Work
Gather your supplies: pots, potting mix, a clean knife or shears, and gloves. It's like gearing up for a gardening heist.
🌱 Step 2: Unpotting
Ease the mother plant out of its pot. Think of it as helping a friend out of a tight parking spot—gently does it.
🎯 Step 3: Identify Clumps
Spot clumps with a good mix of roots and leaves. It's like picking teams for dodgeball—you want the strong players.
✂️ Step 4: Separate
Detach the clumps. If they're stubborn, use the knife to make a clean cut. It's a bit like untangling a necklace chain, but with more dirt.
🌱 Step 5: Potting
Half-fill new pots with mix and nestle the clumps in. Ensure the soil line matches the original plant's. It's like tucking them into bed.
💧 Step 6: Water and Light
Water well and place in a warm spot with bright, indirect light. Think of it as a plant spa day.
🌿 Post-Division Care
Resist fertilizing for a few weeks—let the roots settle. When new growth appears, it's like receiving a text back after a first date: a sign things are going well. Keep the soil moist but not soggy, like a perfectly wrung-out sponge. With patience and care, your plant divisions will flourish, ready to make your indoor jungle denser than ever.

Creating the Ideal Propagation Pad
💡 Setting the Stage
In the world of propagation, light, temperature, and humidity are the holy trinity. Strike the right balance, and you've got the makings of a Never Never Plant nursery.
🌞 Light: The Indirect Approach
Your cuttings crave light like a cat craves catnip—bright but indirect. Direct sunlight is a no-go; think diffused light that flatters but doesn't frazzle.
🌡️ Temperature: The Warm Embrace
Keep the thermostat steady, aiming for a cozy 75° to 80°F. No heat mat? Bump up the room temp a smidge to compensate. It's like a warm blanket for your plant babies.
💦 Humidity: The Balancing Act
Humidity should hover around 85%, but don't turn your space into a sauna. A humidity dome works wonders, but keep an eye on it like it's the last cookie in the jar.
🚰 Watering Wisely
Watering is less about routine, more about reading the room—or pot, in this case. Aim for moist, not mucky. Think of it as the plant equivalent of a perfectly steeped cup of tea.
💧 Moisture: The Goldilocks Principle
The soil should feel like a wrung-out sponge—damp but not dripping. Overwatering is the fast track to root rot, so show some restraint.
💨 Airflow: The Silent Player
Good air circulation is the unsung hero here. It's all about that gentle breeze, keeping things fresh without causing a storm.
👀 Monitoring: The Watchful Eye
Keep a hawk-eye on your cuttings. If they start looking more tragic than a Shakespeare play, it's time to adjust your watering or humidity. Remember, it's a marathon, not a sprint, and patience is your running mate.

From Propagation to Potting: The Transition
🌱 Knowing When They're Ready
After weeks of tender care, your Never Never Plant cuttings and divisions are itching to stretch their roots in their own pots. But how do you know they're ready? Root development is your telltale sign. For cuttings, a network of white, firm roots should be visible, either through a transparent container or upon gentle inspection. Divisions should show similar root growth and may even have new leaf sprouts. These are the green lights signaling it's time for the big move.
🏠 The Big Move
Choosing the right pot and potting mix is like setting up a crib for a newborn. You wouldn't want it too big or too small, and the same goes for your propagated plants. Select a pot that's snug—just one size up from their current quarters. This ensures they won't drown in soil or water. For the potting mix, think Goldilocks: not too dense, not too light, but just right for drainage and support.
Prepping the Pot: Begin by lining the pot's drainage holes with a coffee filter or newspaper. This simple trick keeps the soil from escaping while still allowing water to flow freely. Gently coax your plant from its propagation station, being careful not to tug on those precious roots. Tease them out a bit to encourage them to explore their new home.
Potting: Place the plant in the center of the pot, ensuring it's not sitting too deep or too shallow. Backfill with your chosen potting mix, pressing down lightly to eliminate any air pockets. Water the plant well, but don't turn the soil into a swamp. Keep the pot in a spot with bright, indirect light and maintain consistent moisture levels. Hold off on the fertilizer for a few weeks; let your plant settle in first.
Remember, this transition is a big step for your little green friends. Monitor them closely for signs of stress and adjust care as needed. With a bit of patience and a watchful eye, your propagated Never Never Plants will soon be thriving in their new pots, ready to add that touch of green elegance to your space.
⚠️ Safety First
This content is for general information and may contain errors, omissions, or outdated details. It is not medical, veterinary advice, or an endorsement of therapeutic claims.
Always consult a qualified healthcare professional before using any plant as food, medicine, or supplement.
Never eat any plant (or feed one to pets) without confirming its identity with at least two trusted sources.
If you suspect poisoning, call Poison Control (800) 222-1222, the Pet Poison Helpline (800) 213-6680, or your local emergency service immediately.
Spotted an error? Please report it here.
Embrace the joy of propagating your Never Never Plant with this guide and count on Greg 🌿 to support your green thumb success with perfectly timed watering reminders.