Propagating Miltoniopsis phalaenopsis: The Ultimate Guide
Miltoniopsis phalaenopsis
By the Greg Editorial Team
Jun 18, 2024•7 min read
This article was created with the help of AI so we can cover more plants for you. May contain errors. See one? Report it here.
Multiply your orchids 🌸 and master Miltoniopsis phalaenopsis propagation with this essential guide!
- Early spring division ensures successful propagation with 3-4 green bulbs.
- Back bulbs and keikis offer alternative propagation methods with specific care needs.
- Seed propagation is complex, requiring controlled conditions and patience.
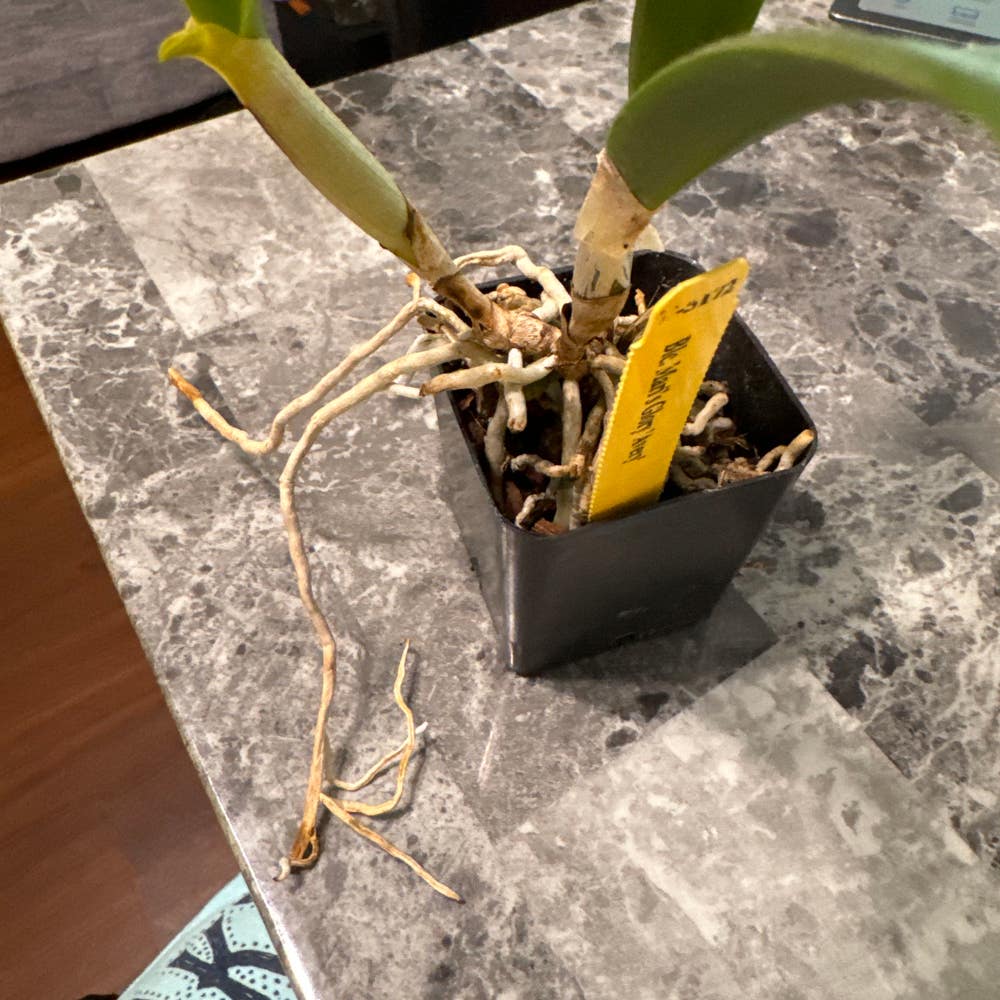
Step-by-Step Guide to Division Propagation
🌷 Identifying the Right Time to Divide
Division propagation is like giving your Miltoniopsis phalaenopsis a new lease on life. Early spring is the sweet spot for this operation, but if your orchid is practically spilling out of its pot, it's game time regardless of the season. Look for three to four green bulbs on each section you plan to divide, ensuring each piece has the energy to go solo.
🌱 The Division Process
🛠️ Preparing for Division
Arm yourself with sterile, sharp tools—think of it as surgery for your plant. Gently ease the orchid out of its pot and lay it on a clean surface. This isn't a wrestling match, so be gentle as you tease apart the root ball.
🪓 Executing the Division
Now, identify the natural separations between the pseudobulbs. Each new division should have a good chunk of roots and at least a few bulbs. Think of it as creating mini versions of the mother plant. Carefully cut through the roots to separate the divisions. It's okay to remove old, leafless pseudobulbs, but only if it won't cause a scene.
🌿 Post-Division Care
🏡 Settling In
Plant your new divisions in fresh potting mix suited for Miltoniopsis, and water them to settle the soil—no mud pies, please. Place them in bright, indirect light; they're not ready for the spotlight but they do crave some illumination.
📈 Monitoring Progress
Keep the soil moist but not soggy, and watch for new leaf growth as a badge of success. Hold off on the fertilizer for a few weeks; let the roots catch their breath first. With some patience and a watchful eye, you'll see your orchid's encore performance in no time.

Back Bulb Propagation: A Second Chance at Life
🌱 What Are Back Bulbs?
Back bulbs are the unsung heroes of orchid propagation. They're the dormant, leafless pseudobulbs that still house vital nutrients.
🌿 The Propagation Process
🌾 Step 1: Separation
Gently detach the back bulbs from the main plant. Ensure a clean break to avoid damage.
🌱 Step 2: Potting
Use a well-draining medium like large-particle perlite. It's crucial for root development.
💧 Step 3: Encouraging Growth
Lay the bulbs on barely-moist sphagnum moss. This environment promotes rooting.
⏳ Step 4: The Waiting Game
Patience is key. Look for green shoots as signs of success.
🌸 Caring for Your New Back Bulb Plants
🌱 Initial Care
Group the bulbs in a single pot. Even shriveled ones may surprise you with new growth.
💦 Moisture and Nutrition
Mist daily. A concoction of KelpMax, Inocucor, and fertilizer can work wonders.
🌞 Light and Environment
Position in a sunroom but avoid direct sunlight. Too much heat can be detrimental.
👀 Observing Progress
New shoots mean it's working. Celebrate these small victories!
Remember, back bulb propagation is not a sprint; it's a marathon with rewarding results.

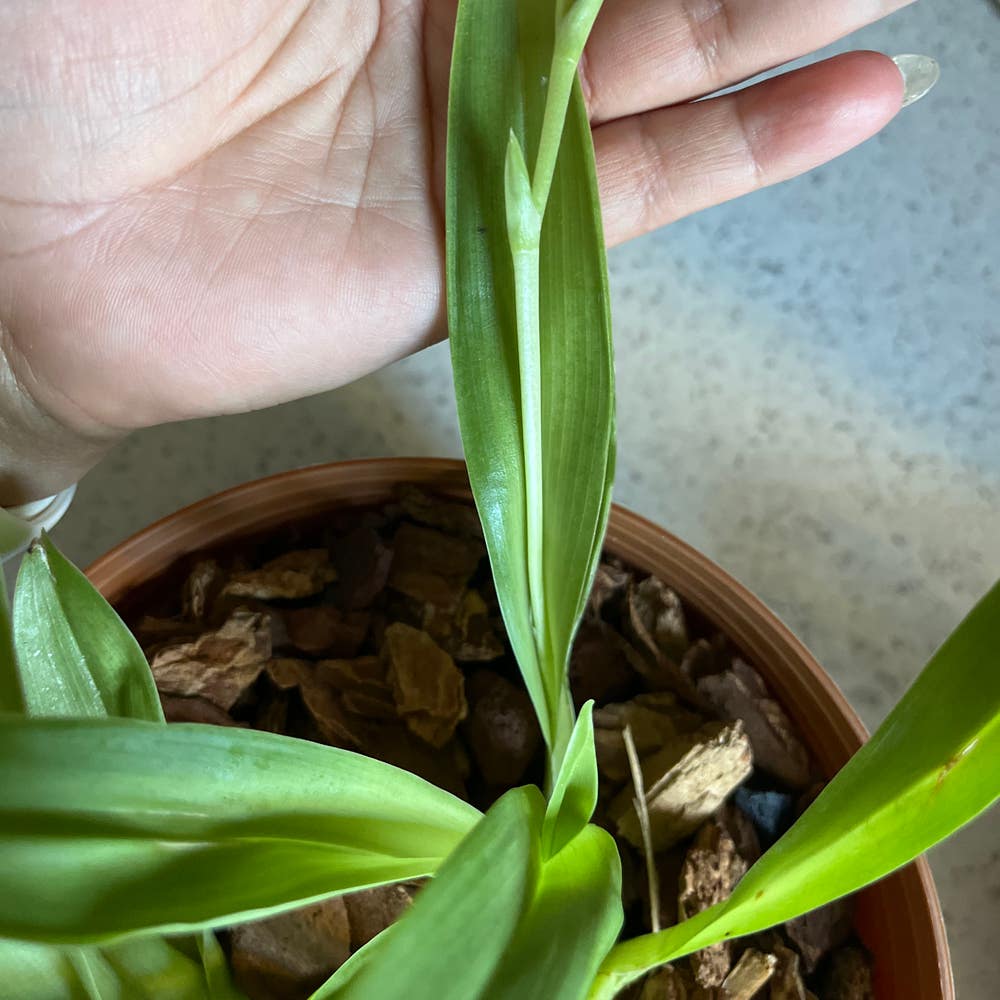
Keiki Propagation: Growing Baby Orchids
🌱 Encouraging Keiki Growth
To coax your Miltoniopsis phalaenopsis into producing keikis, you might need to play the role of a gentle persuader. Keikis, Hawaiian for "baby," are essentially clones of the mother plant. While they can appear spontaneously, you can also encourage their growth by applying a plant hormone, commonly known as keiki paste. However, it's a bit of a gamble—sometimes you'll hit the jackpot with a new plantlet, other times you'll get a flush of blooms. Either way, you win something.
👩🌾 Harvesting and Planting Keikis
When your keiki has sprouted leaves and roots about 2-3 inches long, it's ready to strike out on its own. Sterilize your cutting tools with rubbing alcohol to prevent disease transmission. Then, with a steady hand and a sharp blade, sever the umbilical cord—gently detach the keiki from the mother plant. Pot your new orchid in a mix designed for young plants, and give it the same TLC you'd lavish on the parent.
🌿 Keiki Care Tips
Your baby orchids are not just mini-me's; they're tender and need a bit more coddling. Humidity is their friend, so keep that spray bottle handy. And just like teenagers, they need a stable environment—avoid the temptation to move them around too much. Watch for signs of distress; keikis can be a cry for help from an ailing mother plant. If your keiki is thriving, give yourself a pat on the back—you've just expanded your orchid family!

Advanced Technique: Seed Propagation
🌱 Understanding Seed Propagation
Seed propagation in Miltoniopsis phalaenopsis is a complex endeavor, akin to a botanical marathon. It's a test of patience and precision, offering the thrill of cultivating something truly unique from the tiniest of beginnings. The variability in the offspring can be both a challenge and a reward, as each seed has the potential to develop into a plant with its own individual characteristics.
🌱 The Seed Propagation Process
🧼 Preparing the Seeds
Sterility is paramount when starting with seeds. Begin by ensuring your workspace and tools are clean to prevent contamination. Soak the seeds in a fungicide solution to minimize the risk of fungal infections, which can be devastating at this stage.
🌱 Sowing the Seeds
Miltoniopsis seeds require a nutrient-rich medium for germination. In nature, they rely on mycorrhizal fungi to supply necessary nutrients, a symbiotic relationship that's hard to replicate at home. Instead, use a specialized orchid seed sowing mix or consider in vitro germination methods, which involve sowing seeds in a gel medium under sterile conditions.
🌱 Germination and Growth
Once sown, seeds need consistent conditions to germinate. This includes controlled temperature, humidity, and lighting. It's a waiting game, and germination can take several weeks to months. After germination, seedlings must be carefully nurtured, as they are extremely delicate and susceptible to environmental stress.
🛠 Challenges and Solutions
🦠 Dealing with Contamination
Contamination is a common issue in seed propagation. To combat this, maintain a sterile environment and monitor for signs of mold or bacteria. If contamination occurs, it may be necessary to start over with fresh seeds and sterilized equipment.
🌱 Managing Seedling Care
Seedlings are vulnerable to a host of problems, including damping-off, a fungal disease that can quickly wipe out an entire crop. Prevent this by avoiding overwatering and providing adequate air circulation. As seedlings grow, gradually acclimate them to less controlled environments before transplanting.
🕰 Patience is Key
Perhaps the most significant challenge is the time it takes for seedlings to mature into flowering plants. This can take several years, so patience and consistent care are crucial. Keep detailed records of your propagation process to learn from each attempt and improve your technique over time.
Wrapping Up: Growth Expectations and Troubleshooting
🌱 Propagation Timeline
Patience is the name of the game when it comes to the propagation timeline of Miltoniopsis phalaenopsis. Expect a gradual transition from tiny sprouts to robust plants. Initially, root development takes center stage, followed by leafy growth. Flowers? They'll come, but give it time—think months, not days.
🛠 Troubleshooting Common Issues
Root rot or a growth slump can be a real buzzkill. If your orchid is throwing a tantrum, reassess your watering routine and check for proper drainage. Lighting too dim? These plants are drama queens for the right rays. Adjust their spot for a better performance.
🎉 Final Words of Encouragement
You've got this. Seriously. Propagation is as much about the journey as it is the destination. So, when your orchid is taking its sweet time to grow, remember: it's not just sitting there—it's prepping for a show-stopping display. Celebrate each new root and leaf as a win in your plant parenting saga. Happy propagating!
⚠️ Safety First
This content is for general information and may contain errors, omissions, or outdated details. It is not medical, veterinary advice, or an endorsement of therapeutic claims.
Always consult a qualified healthcare professional before using any plant as food, medicine, or supplement.
Never eat any plant (or feed one to pets) without confirming its identity with at least two trusted sources.
If you suspect poisoning, call Poison Control (800) 222-1222, the Pet Poison Helpline (800) 213-6680, or your local emergency service immediately.
Spotted an error? Please report it here.
Propagate your Miltoniopsis phalaenopsis with confidence as Greg supports you with tailored care reminders for each new sprout and leaf 🌿.