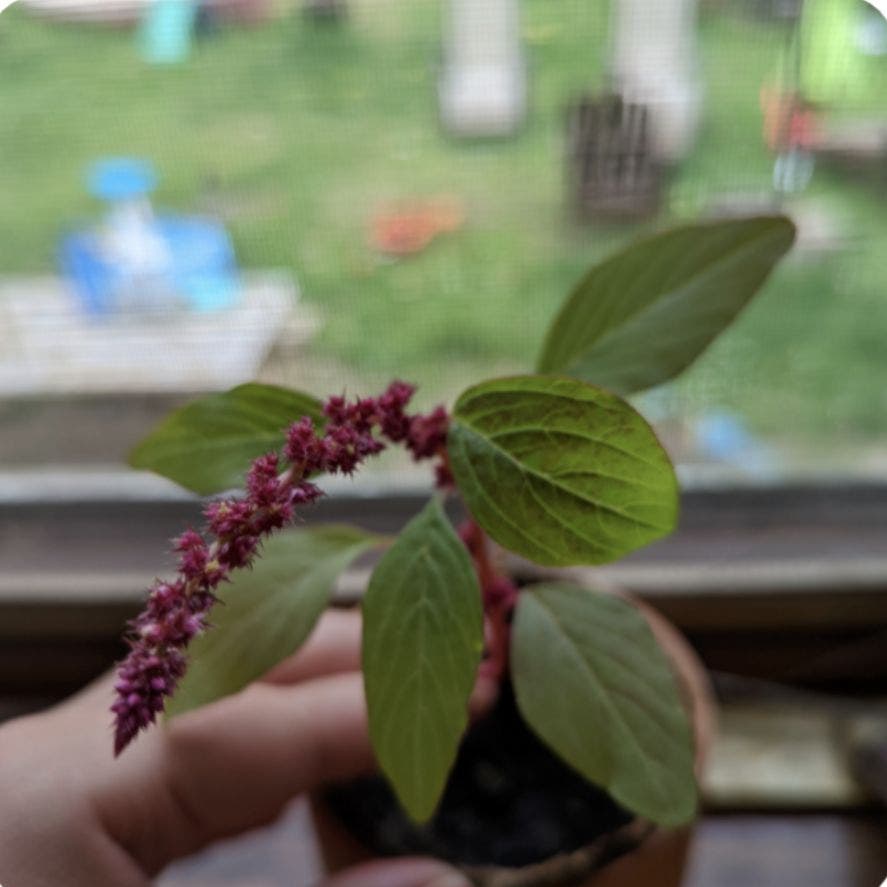
Propagating Joseph's Coat: Step-by-Step Guide
Amaranthus tricolor
By the Greg Editorial Team
Feb 11, 2024•4 min read
This article was created with the help of AI so we can cover more plants for you. May contain errors. See one? Report it here.
- Choose healthy stems with several nodes for successful stem cuttings.
- Air layering is effective; wrap exposed stem with moss and rooting hormone.
- Transition to soil once water-rooted cuttings have a few inches of roots.
Snip and Dip: Propagating from Stem Cuttings
🌱 Choosing Your Champion
Selecting the right stem is like picking the best player for your team. You want a stem that's vibrant and sturdy, showing no signs of weakness or disease. Aim for a 4-6 inch length, ensuring it has several leaf nodes, as these are the hotspots for root emergence. Remember, timing is everything—spring or early summer is your window of opportunity when the plant is in its growth prime.
🌿 Prepping Your Cuttings
Once you've got your MVP stem, it's time to gear up for the snip. Sterilize your shears with rubbing alcohol to keep things clean—think surgery-level hygiene. Make an angled cut just below a node; this angle increases the surface area for root growth and screams efficiency. If you're feeling fancy, a dab of rooting hormone on the cut end can work wonders, but it's not a hill to die on.
🌱 Rooting Your Future Plant
Now, the waiting game begins. Plant your stem cutting in a light, well-draining mix—think of it as the plant equivalent of a comfy bed. Keep the soil moist, like a wrung-out sponge, and provide indirect light to avoid scorching your future star. When you spot roots making their debut, it's time to pot them into their own space. Patience is key; don't rush the process, and you'll be rewarded with a new addition to your Joseph's Coat lineup.
Splash Zone: Water Propagation
⛵ Setting Sail
Choosing the right container for water propagation is crucial. Think of it as picking the perfect pair of glasses to see a masterpiece. A transparent vessel is your go-to—be it a mason jar or a repurposed wine bottle. Clarity is king for root surveillance. Fill it with room temperature, chlorine-free water to avoid shocking your precious cuttings.
🌱 Watching Roots Grow
Roots are shy creatures; they need regular water changes to come out and thrive. Swap out the water every few days to keep things fresh and prevent bacterial pool parties. Keep the setup in a spot with bright, indirect light—roots do enjoy a good sunbath, just not directly. And remember, patience is not just a virtue; it's a requirement.
🌿 Transition Time
When your roots look like they're plotting an escape, it's transition time. Move your water-rooted cuttings to soil once the roots are a few inches long. This is the plant equivalent of moving out of your parents' house—exciting but a bit scary. Use a well-draining potting mix and keep the humidity generous to ease their big move.
High in the Sky: Air Layering Technique
✂️ Getting Airborne
Air layering is a propagation method that induces root growth on a stem while it's still attached to the parent plant. This technique is particularly effective for Joseph's Coat because it allows for the development of a substantial root system before the cutting ever touches soil.
🌱 The Wrap-Up
To start, select a healthy stem and make two parallel cuts about an inch apart. Remove the bark between these cuts to expose the cambium. Next, take soaked sphagnum moss, sprinkle it with rooting hormone, and wrap it around the exposed area. Secure it all with clear plastic wrap and ties to maintain moisture.
🌿 The Big Reveal
After a few weeks to months, when you see a healthy cluster of roots through the plastic, it's time for the big snip. Cut below the new roots, and you've got yourself a new plant ready for potting. Remember, keep the soil moist and provide indirect light as your new Joseph's Coat adjusts to its newfound independence.
After the Cut: Caring for New Cuttings
💧 The Right Foundation
Selecting the right potting mix is crucial for your Joseph's Coat cuttings. Go for a mix that's like the VIP section at a club—exclusive for air and water. It should be well-draining and light, allowing roots to breathe without drowning. When choosing pots, think of them as your plant's first apartment—functional with good drainage. Drainage holes are non-negotiable; they're like a safety net for overenthusiastic watering.
🌱 First Steps in Soil
Once potted, it's time for the welcome party. Water your cuttings gently; this isn't a splash zone. Aim for soil that's moist, akin to a wrung-out sponge. If the top inch feels like a desert, it's time for a drink. Bright, indirect sunlight is your cutting's best friend—direct sun is a sworn enemy at this stage. Monitor growth like a hawk; new leaves mean your plant's throwing a housewarming. Hold off on the fertilizer buffet until you see new growth. When it's time, opt for a half-strength solution—think of it as a light snack rather than a full meal. Remember, slow and steady wins the race; don't rush to repot. Only upgrade their living situation when roots are peeking out, begging for more space.
⚠️ Safety First
This content is for general information and may contain errors, omissions, or outdated details. It is not medical, veterinary advice, or an endorsement of therapeutic claims.
Always consult a qualified healthcare professional before using any plant as food, medicine, or supplement.
Never eat any plant (or feed one to pets) without confirming its identity with at least two trusted sources.
If you suspect poisoning, call Poison Control (800) 222-1222, the Pet Poison Helpline (800) 213-6680, or your local emergency service immediately.
Spotted an error? Please report it here.
Ensure your Joseph's Coat cuttings thrive 🌿 with Greg's personalized care reminders for watering and transitioning, making propagation a breeze!