Propagating Your Prostrate Pigweed: Step-by-Step Guide
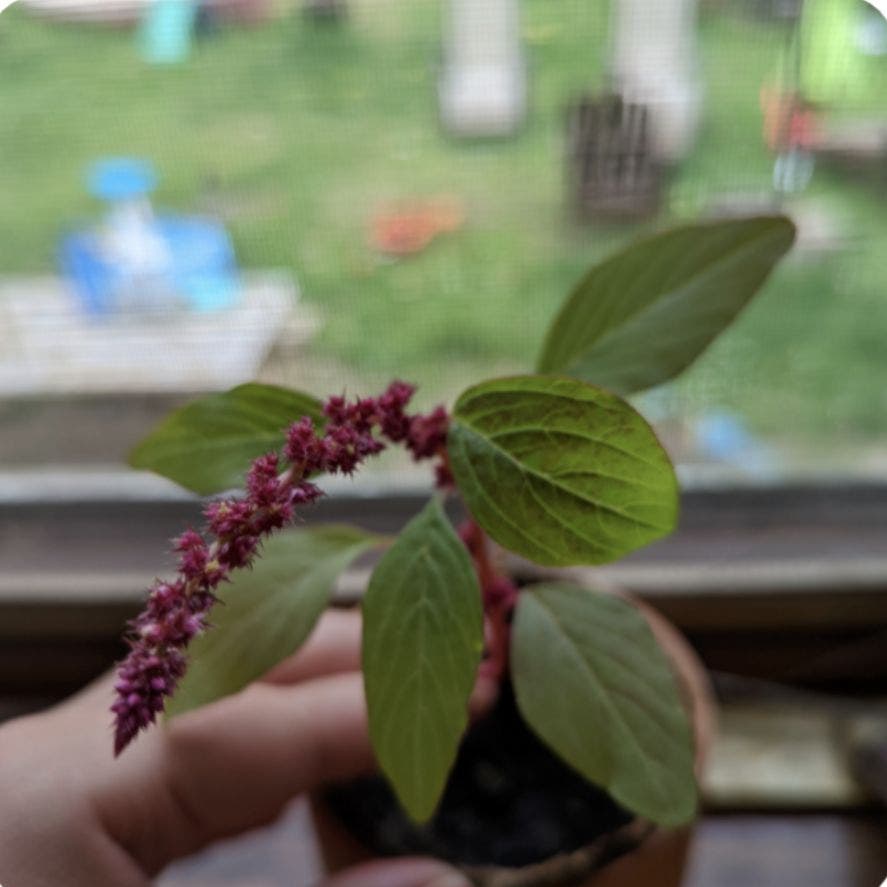
Amaranthus albus
By the Greg Editorial Team
Mar 27, 2024•6 min read
This article was created with the help of AI so we can cover more plants for you. May contain errors. See one? Report it here.
- Choose healthy stems and use rooting hormone for better success in propagation.
- Layering and division are effective methods; spring is best for dividing plants.
- 🌱 Avoid pitfalls with proper drainage, ventilation, and consistent aftercare.
Snip and Root: Stem Cuttings
🌱 Choosing Your Champions
In the quest for propagation excellence, picking the right stem is like assembling a dream team. Spring or early summer is your draft season, where you select the Michael Jordan of stems—vigorous, healthy, and showing no signs of pests or disease.
🛠 Prepping for Success
Sharp, clean cuts are the secret handshake to successful propagation. Aim for a 4-6 inch cutting, snipping just below a node to maximize rooting potential. Strip the lower leaves to prevent rot and consider a dip in rooting hormone—the equivalent of a rooting energy drink.
🌱 Rooting Your Cuttings
The soil versus water debate is the gardener's equivalent of choosing between vinyl and digital music. Soil offers a smooth transition to the plant's permanent home, while water gives you a front-row seat to root development. Whichever medium you choose, keep it well-draining and maintain consistent moisture—think of it as the plant's hydration sweet spot.
Grounded Growth: Layering Technique
🌱 Getting Down to Earth
Layering is a straightforward propagation method that encourages a stem to root while still attached to the parent plant. Prostrate Pigweed, with its flexible stems, is an ideal candidate for this technique.
🛠 Step-by-Step Layering
- Select a healthy, low-growing stem that can be easily bent to the ground.
- Make a slight incision on the stem's underside to promote rooting, being careful not to sever it completely.
- Apply a rooting hormone to the wounded area to enhance root development. Powder forms are recommended for layering.
- Bury the incised section in soil, ensuring the tip stays above ground. This can be a mere 0.2-0.8” deep, as optimal rooting often occurs within this range.
- Use a stone or peg to secure the stem in place, maintaining soil contact.
- Monitor the layered stem, keeping the soil consistently moist but not waterlogged.
- Once roots have formed, separate the new plant from the mother and transplant it to its desired location.
Remember, patience is key. Root development can take several weeks to months, depending on environmental conditions.
Multiply by Dividing: Plant Division
🌱 When to Divide
Spring is the prime time for division, coinciding with the plant's natural growth cycle. Yet, if your Prostrate Pigweed is looking more like a crowded house party than a plant, it's time to divide, season be damned.
🛠️ Division Process
🛡️ Preparing for Division
Gear up with a sharp knife, gloves, and fresh potting mix. Clear a space because this might get messy.
📋 The Division Process Step-by-Step
- Gently remove your Prostrate Pigweed from its current home, being mindful of the roots.
- Inspect the root ball and look for natural separations.
- Use your hands or a knife to divide, ensuring each new plant has both roots and shoots.
- Plant each division in its own container with well-draining soil.
- Ensure the new digs are the same depth as before to avoid the dreaded transplant shock.
- Opt for pots with ample drainage; soggy roots are a no-go.
- Water wisely post-division, aiming for that Goldilocks zone of moisture.
- Keep an eye on your new plants like a hawk, ensuring they're not too wet, not too dry, and just right.
Overcoming Propagation Pitfalls
🌱 Common Hiccups
Root rot is the archenemy of propagation, often a result of overenthusiastic watering or inadequate drainage. If you're greeted by soggy, decomposing roots, it's time for some tough love. Trim the damaged parts, let the roots air out, and replant in a mix that drains like a dream.
Damping off can turn seedlings into wilted disappointments. Keep the soil moist, not waterlogged, and maintain a cozy temperature to avoid this fungal fiasco. Fungal infections are like unwanted party guests; they love a damp shindig. To crash their party, ensure your propagation area is well-ventilated and not as humid as a sauna.
For cuttings that are stubborn about rooting, check your technique. Nodes are the root-making factories, so snip close to them. Sterilize your tools to keep diseases at bay—it's like hygiene for plants. Yellowing leaves or stunted growth? Act fast. Early intervention can prevent a propagation meltdown.
🌱 Ensuring Propagation Success
To avoid the dreaded root rot, think of water as a spice—best in moderation. Ensure your soil mixture is like a good partner for roots: supportive yet not smothering. Drainage is your safety net; it's there to catch excess water and keep your roots happy.
Temperature consistency is like comfort food for your propagations; it reassures them that everything's going to be okay. Avoid the shock of sudden temperature changes as if you're protecting your plants from a cold snap.
Documentation is your secret weapon. Keep a log of what works and what doesn't. Over time, you'll see patterns emerge, like breadcrumbs leading you to propagation success.
Pests view your tender new plants as an all-you-can-eat buffet. Be on guard with insecticidal soap or neem oil at the ready. Think of it as bouncer duty for your plant babies.
Lighting can be a Goldilocks situation—not too much, not too little. Find that sweet spot where your plants can bask in the glow without frying or reaching desperately for the sun.
Remember, propagation is a marathon, not a sprint. Slow growth isn't a disaster; it's an invitation to patience. Give your plants time to find their footing, and you'll eventually see the fruits—or roots—of your labor.
Timeline and Tender Care for New Plants
🌱 From Cuttings to Ground Cover
Patience is key when transitioning from cuttings to ground cover. In the initial weeks, expect to see little change as the cuttings develop calluses, a crucial step in preventing rot. Roots typically begin to appear within 2-3 weeks, but it can take up to 6-8 weeks for slower starters. Once roots are established, the focus shifts to nurturing the fragile new growth.
💧 Aftercare Essentials
Consistent moisture and bright, indirect light are vital for young plants. Overwatering is a common misstep, so ensure the soil is moist but not soggy. As new shoots emerge, celebrate these small victories—they signify your cuttings are on the right track. Monitor for signs of stress, such as yellowing leaves, and adjust care as needed. Remember, successful propagation isn't a sprint; it's a marathon that rewards the attentive and steadfast gardener.
⚠️ Safety First
This content is for general information and may contain errors, omissions, or outdated details. It is not medical, veterinary advice, or an endorsement of therapeutic claims.
Always consult a qualified healthcare professional before using any plant as food, medicine, or supplement.
Never eat any plant (or feed one to pets) without confirming its identity with at least two trusted sources.
If you suspect poisoning, call Poison Control (800) 222-1222, the Pet Poison Helpline (800) 213-6680, or your local emergency service immediately.
Spotted an error? Please report it here.
Propagate your prostrate pigweed with confidence by using Greg to track your growth progress 📈 and gain insights from a community of fellow plant enthusiasts!