Propagating My Pilea 'Moon Valley': Step-by-Step Guide
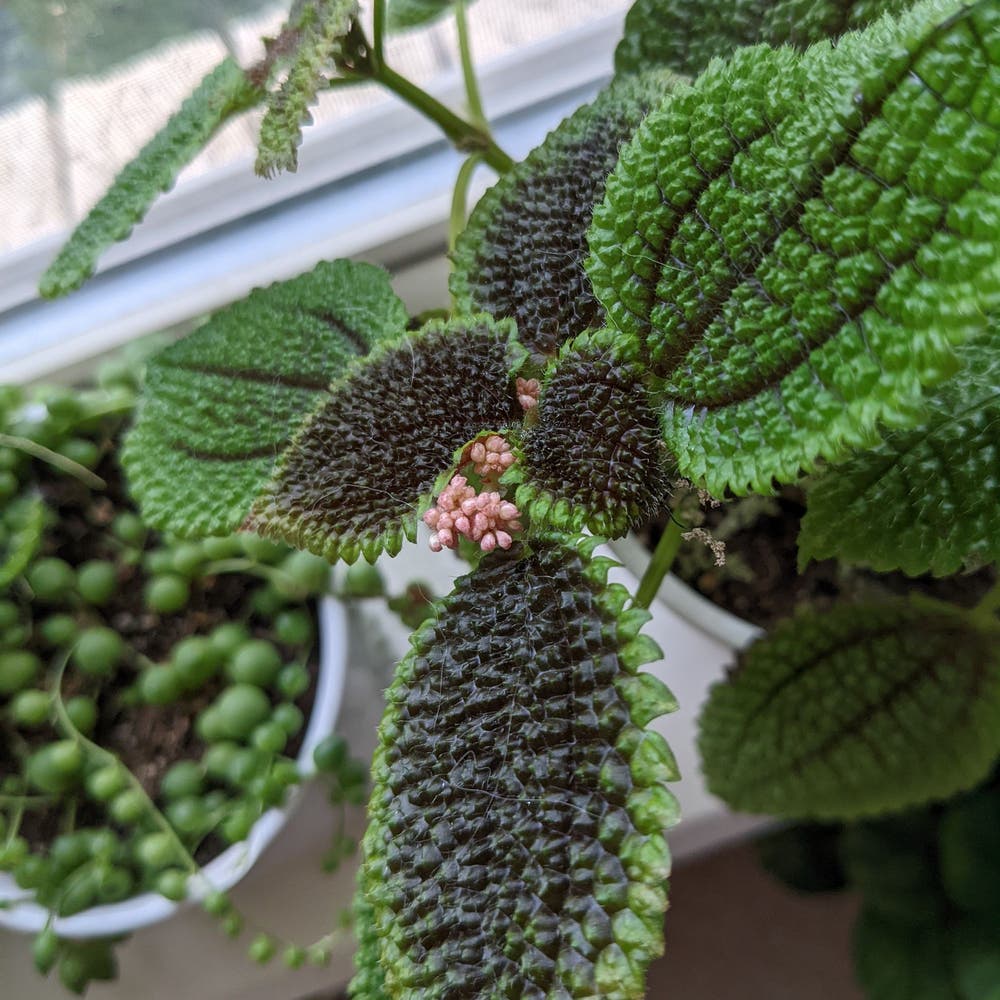
Pilea mollis 'Moon Valley'
By the Greg Editorial Team
Jun 18, 2024•4 min read
This article was created with the help of AI so we can cover more plants for you. May contain errors. See one? Report it here.
Propagate your Pilea 'Moon Valley' 🌿 and watch your green space thrive with this foolproof guide!
- Choose healthy stems or leaves for successful propagation, free from pests or disease.
- Rooting hormone boosts growth; use for stem cuttings, and let leaf cuttings callous.
- Aftercare is crucial; provide indirect light, moist soil, and avoid fertilizer initially.
Propagation via Stem Cuttings
🌱 Choosing Your Champion Stem
Identifying a healthy stem is crucial for successful propagation. Look for stems that are robust, with vibrant green color and no signs of pests or disease. A good stem will have multiple leaves and nodes, the latter being the small bumps on the stem from which new roots will sprout.
✂️ The Snip and Dip Technique
With a sterilized pair of scissors or shears, make a clean cut below a node at a 45-degree angle. This increases the surface area for root growth. Immediately after cutting, dip the end of the stem in rooting hormone to encourage faster and stronger root development.
🌱 Rooting Your Future Plant
You have two choices: water or soil. For water rooting, place the stem in a glass of water, ensuring at least one node is submerged. Change the water every few days. For soil rooting, plant the stem in moist potting mix, burying at least one node. Both methods require patience and consistent monitoring.
🛠 Troubleshooting Stem Cutting Issues
If your cuttings are looking less than stellar, check for common issues like rot, which can occur if the water is not changed regularly, or if the soil is too wet. Yellowing leaves might indicate too much sun, while lack of root growth could mean the cutting needs more time or a warmer environment.

Section

Leaf Cuttings: A Leafy Leap of Faith
🌱 Selecting and Prepping Leaves
To kickstart propagation from leaf cuttings, choose leaves that are plump and exhibit no distress. Look for leaves that are vibrant and free from blemishes, pests, or disease. If the leaf doesn't twist off by hand, make a clean cut with sterilized scissors or a knife. Allow the leaf to callous for a day or two, which helps prevent rot and gives your cutting a fighting chance.
🌱 Laying the Groundwork for Growth
Planting your leaf cutting is straightforward but crucial. Use a well-draining soil mix and insert the calloused end of the leaf into the soil. Some experts suggest rolling the leaf or breaking veins to encourage rooting, but avoid burying the leaf too deeply to prevent rot. Place the cutting in indirect sunlight and keep the soil moist, but not waterlogged, to foster growth.
🌱 Troubleshooting Leaf Cutting Challenges
If you're facing issues with leaf cuttings, first ensure they're not sitting in soggy soil, as this is a common culprit for rot. Check that the leaves have enough light but are not scorched by direct sun. Patience is key; roots may take time to develop. If a leaf fails to thrive, don't be disheartened—propagation is part art, part science, and always a learning experience.

Aftercare for Your Newly Propagated Plants
🌱 Ensuring a Smooth Transition
After the propagation hustle, your Pilea 'Moon Valley' babies need some TLC to settle in. They might throw a fit, droop, or shed leaves, but don't panic. Healthy roots mean they'll bounce back.
💡 Initial Care Tips
Bright, indirect light is your new mantra; it's like a cozy blanket for your plantlets. Keep the soil moist, not drenched—think of it as a moist towelette. And hold off on the fertilizer; these babies aren't ready for a full meal yet.
🌿 Acclimatization
Ease them into their new digs. Avoid direct sunlight like you'd avoid last season's spoilers—it's a no-go for tender young plants. Let them get used to the light and room conditions gradually.
🏡 Environment Setup
Consistency is the game. A stable environment with indirect light and high humidity is like a nursery for your plant pups. It's their safe space to grow without the harshness of the real world.
🌱 Transplanting Time
When it's time to move to a bigger pot, think comfort with room to grow. The potting mix should be well-draining to prevent root rot—think of it as ensuring your plant's "feet" never stay wet.
💧 Post-Propagation Care
Keep an eye on the moisture level of the soil. Overwatering is the fast track to unhappy Pilea babies. And remember, the parent plant may look rough post-surgery; give it the same gentle care.
🌿 Final Thoughts
Monitor progress and celebrate every new leaf. Your green thumb is showing, and that's something to brag about. Keep these tips in mind, and your Pilea 'Moon Valley' will be thriving in no time.
⚠️ Safety First
This content is for general information and may contain errors, omissions, or outdated details. It is not medical, veterinary advice, or an endorsement of therapeutic claims.
Always consult a qualified healthcare professional before using any plant as food, medicine, or supplement.
Never eat any plant (or feed one to pets) without confirming its identity with at least two trusted sources.
If you suspect poisoning, call Poison Control (800) 222-1222, the Pet Poison Helpline (800) 213-6680, or your local emergency service immediately.
Spotted an error? Please report it here.
Ensure your Pilea 'Moon Valley' cuttings root successfully 🌿 with Greg's timely reminders for water changes and transplanting from this propagation guide.