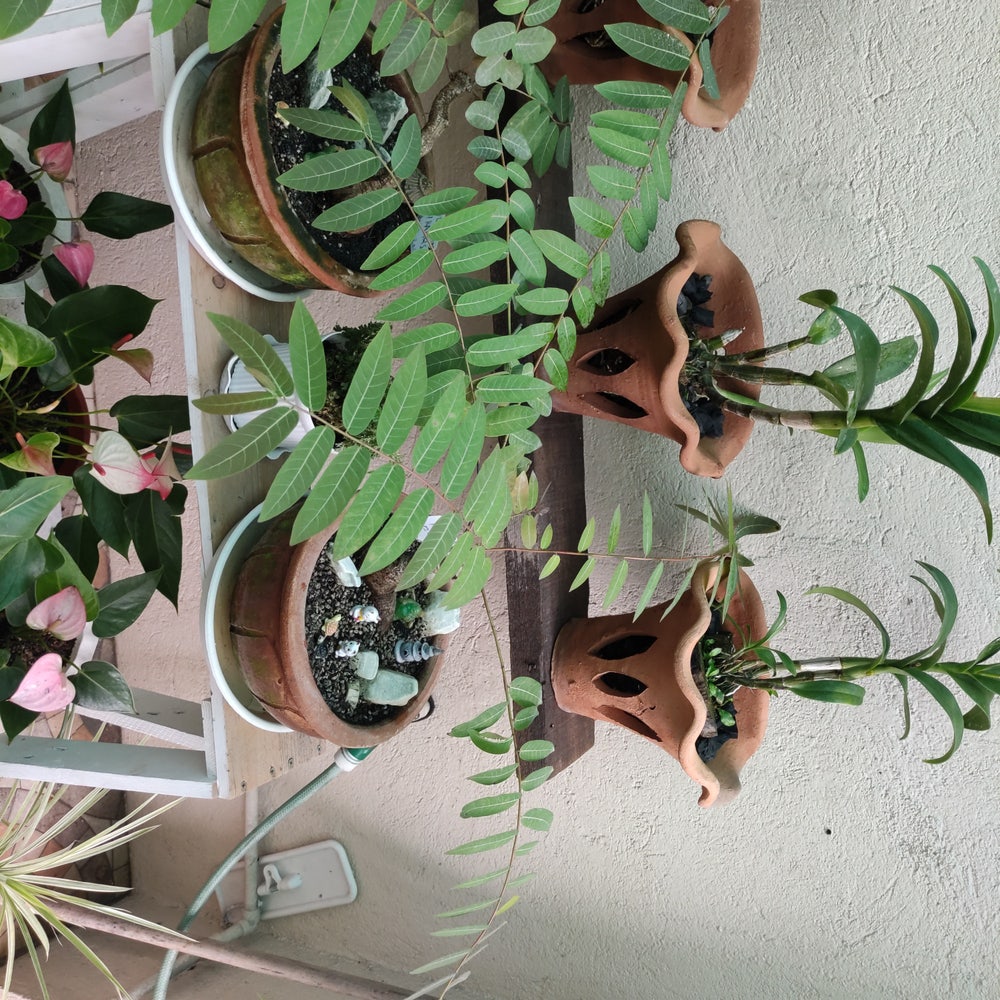
When to Repot Star Gooseberry 🍇
Phyllanthus acidus
By the Greg Editorial Team
Nov 26, 2024•6 min read
This article was created with the help of AI so we can cover more plants for you. May contain errors. See one? Report it here.
Unlock your star gooseberry's full potential by spotting the signs it needs repotting! 🌱
- 🌱 Signs to repot include root binding, stunted growth, and yellowing leaves.
- 🌼 Best times to repot are spring and early summer during active growth.
- 🧰 Preparation and gentle handling of roots ensure successful repotting.
Signs That Your Star Gooseberry Needs Repotting
Recognizing when your star gooseberry needs repotting is crucial for its health and productivity. Here are some key indicators to watch for.
🌱 Root Bound Indicators
One of the first signs that your plant is root bound is when you see roots visible through the drainage holes. This means the roots have outgrown their space and are searching for more room.
If you notice roots circling the pot, it's another clear signal that your plant needs a larger home. Additionally, stunted growth despite providing adequate care can indicate that the roots are cramped and unable to absorb nutrients effectively.
Wilting or yellowing leaves are also red flags. These symptoms often arise when the plant is struggling to thrive in its confined environment.
🚨 Other Signs
Pay attention to how quickly the soil dries out. If it seems to dry out too quickly, your plant may be root bound and unable to retain moisture.
Frequent watering needs can also suggest that your star gooseberry is outgrowing its pot. If you find yourself watering it more often than usual, it might be time to consider repotting.
Lastly, a reduction in fruit production or quality can indicate that your plant is stressed. A healthy star gooseberry should produce vibrant fruit, so if you notice a decline, it’s worth investigating the root situation.
By keeping an eye on these signs, you can ensure your star gooseberry remains healthy and productive. Next, let’s explore the ideal timing for repotting to give your plant the best chance to thrive.
Ideal Timing for Repotting
Best Seasons for Repotting 🌱
The best time to repot your star gooseberry is in spring. This season marks the beginning of the plant's active growth phase, making it an ideal time for a fresh start.
If you miss the spring window, early summer is also a suitable option. Just ensure that the plant is still in its growth phase to minimize stress.
Timing Considerations ⏰
Avoid repotting during the plant's dormancy, which typically occurs in late fall to winter. During this time, the star gooseberry is not actively growing and may struggle to adapt to a new pot.
Keep an eye on your plant's growth patterns. Monitoring these can help you determine the optimal timing for repotting, ensuring your star gooseberry thrives in its new home.
With the right timing, your plant will flourish, setting the stage for a successful repotting experience. Next, let’s explore the step-by-step guide to repotting your star gooseberry effectively.
Step-by-Step Guide to Repotting
Repotting your star gooseberry can seem daunting, but with the right approach, it’s a straightforward process. Here’s a step-by-step guide to ensure your plant thrives in its new home.
🛠️ Preparation Before Repotting
Gather Materials: Start by collecting everything you need. This includes a new pot, a suitable soil mix, and tools like a trowel and gloves. Having these ready will streamline the process.
Water the Plant: Water your star gooseberry a day before repotting. This helps reduce stress on the plant and makes it easier to remove from its current pot.
🌱 Repotting Process
Remove the Plant: Carefully take the plant out of its pot. Gently tap the sides and bottom to loosen the soil. Always support the base of the plant to prevent damage during this step.
Inspect the Roots: Once removed, take a close look at the roots. Trim any damaged or excessively long roots to promote healthy growth.
Place the Plant in the New Pot: Position the plant in the center of the new pot. Fill around it with fresh soil, ensuring it’s well-supported and stable.
Water Thoroughly: After planting, water the soil generously. This helps settle the soil around the roots and eliminates air pockets.
Following these steps will ensure your star gooseberry is comfortably settled in its new pot, ready to flourish. Next, let’s explore some common repotting mistakes to avoid for optimal plant health.
Common Repotting Mistakes
🚫 Mistakes to Avoid When Repotting
Repotting can be a delicate process, and a couple of common mistakes can hinder your star gooseberry's growth. One major error is overwatering immediately after repotting; this can suffocate the roots and lead to root rot.
Another frequent mistake is choosing a pot that is too large. While it may seem beneficial to give your plant more space, excessive soil can retain too much moisture, creating an unhealthy environment.
🪴 Handling Root Damage During Repotting
When repotting, it's crucial to handle the roots with care to minimize damage. Use clean tools and gently loosen the root ball to avoid tearing or breaking roots.
If you encounter damaged or excessively long roots, trim them carefully. This promotes healthier growth and helps your plant adapt to its new home.
🌱 Importance of Acclimatization After Repotting
After repotting, acclimatization is key to your plant's success. Gradually expose your star gooseberry to new light and temperature conditions to prevent shock.
Keep a close eye on how your plant responds in the days following repotting. Monitoring its health will help you catch any issues early and ensure a smooth transition to its new pot.
With these tips in mind, you're well-equipped to avoid common pitfalls and support your star gooseberry's growth. Next, let's explore the best pot materials to enhance your plant's living conditions.
Pot Material Options
Choosing the right pot material for your star gooseberry is crucial for its health and growth. Here’s a breakdown of the most common materials you can consider.
🏺 Common Pot Materials
- Ceramic
- Plastic
- Terracotta
⚖️ Pros and Cons of Each Material
Ceramic
Ceramic pots are known for their aesthetic appeal and good insulation properties. However, they can be heavy and may retain moisture, which could lead to overwatering issues.
Plastic
Plastic pots are lightweight and affordable, making them a popular choice. They offer good drainage options but are less durable and can heat up quickly in direct sunlight.
Terracotta
Terracotta pots are breathable and provide excellent drainage, which is essential for star gooseberries. On the downside, they are prone to cracking and can dry out quickly, requiring more frequent watering.
🌱 Recommended Pot Materials
For optimal growth, terracotta is often the best choice due to its drainage capabilities. If you prefer something lighter, plastic pots are a great alternative.
Avoid non-breathable materials that retain too much moisture, as they can lead to root rot and other issues.
With the right pot material, your star gooseberry will thrive, setting the stage for a fruitful growing season. Next, let’s explore common repotting mistakes to ensure your plant's transition is smooth and successful.
⚠️ Safety First
This content is for general information and may contain errors, omissions, or outdated details. It is not medical, veterinary advice, or an endorsement of therapeutic claims.
Always consult a qualified healthcare professional before using any plant as food, medicine, or supplement.
Never eat any plant (or feed one to pets) without confirming its identity with at least two trusted sources.
If you suspect poisoning, call Poison Control (800) 222-1222, the Pet Poison Helpline (800) 213-6680, or your local emergency service immediately.
Spotted an error? Please report it here.
Repot your star gooseberry at the perfect time for thriving growth 🌱 with Greg's tailored reminders and expert tips to keep your plant happy in its new pot!