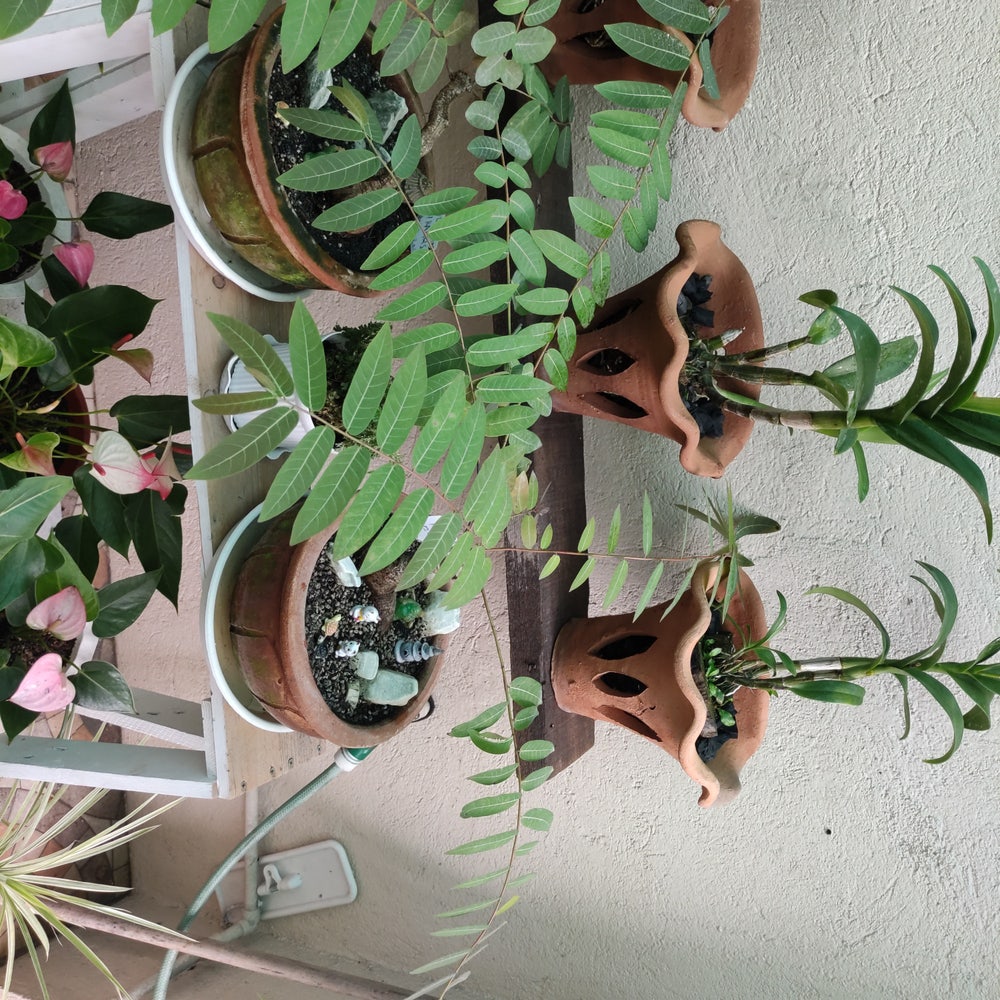
⭐ How to Plant: Star Gooseberry
Phyllanthus acidus
By the Greg Editorial Team
Nov 26, 2024•6 min read
This article was created with the help of AI so we can cover more plants for you. May contain errors. See one? Report it here.
Unlock the secrets to thriving star gooseberries 🌱 by mastering the art of planting new or transplanting established plants!
- 🌱 Planting new star gooseberries allows for better soil control and variety selection.
- ⏳ Established plants produce fruit faster, but transplanting carries risks like transplant shock.
- 🌞 Optimal planting time is late spring to early summer, post-frost for best results.
New vs. Transplanting Established Plants
🌱 Benefits of Planting New
Planting new star gooseberry plants offers several advantages. You gain greater control over soil conditions and planting depth, which can lead to healthier root systems right from the start.
Additionally, starting with new plants allows you to choose from a diverse range of varieties. This means you can select the best options suited to your taste and local climate.
⚠️ Drawbacks of Planting New
However, planting new can come with its challenges. One major drawback is the longer time it takes for these plants to mature and produce fruit.
Moreover, there are initial costs associated with purchasing seeds or young plants. This investment can be a consideration for those on a budget.
⏩ Benefits of Transplanting Established
On the flip side, transplanting established star gooseberry plants can yield quicker results. These plants often have established root systems, which means they can start producing fruit sooner.
Additionally, established plants are already adapted to local conditions, making them more resilient in your garden. This can lead to a more successful growing experience.
⚠️ Drawbacks of Transplanting Established
Despite the benefits, transplanting established plants isn't without risks. One significant concern is transplant shock, which can negatively affect growth and overall health.
There's also the potential for damage to the roots during the transplanting process. Careful handling is essential to minimize these risks and ensure a smooth transition for your plants.
Understanding the pros and cons of both planting new and transplanting established plants is crucial. This knowledge will help you make informed decisions as you embark on your star gooseberry planting journey.
Key Steps for Planting New
🌱 Optimal Timing for Planting
The best time to plant star gooseberries is late spring to early summer, right after the last frost. However, it's essential to consider local climate variations to determine the most suitable timing for your area.
🏺 Selecting the Right Soil Mix and Containers
For optimal growth, use a soil mix that consists of 50% potting soil, 30% compost, and 20% perlite to ensure proper drainage. If you're container gardening, choose pots with drainage holes that are at least 12 inches deep to accommodate healthy root development.
📏 Proper Depth and Spacing for Planting
When planting, ensure the depth is 1-2 inches deeper than the root ball to promote stability. Additionally, maintain a spacing of 6-8 feet between plants to allow for optimal growth and airflow.
☀️ Maintaining Ideal Growing Conditions
To keep your star gooseberries thriving, water them consistently to keep the soil moist but not waterlogged. They also require 6-8 hours of sunlight daily, so choose a sunny spot, and don't forget to fertilize with a balanced fertilizer every 4-6 weeks during the growing season.
🏕️ Hardening Off Process Before Outdoor Planting
Before planting outdoors, it's crucial to harden off your young plants.
- Start this process 1-2 weeks prior to outdoor planting.
- Gradually expose your plants to outdoor conditions:
- On Day 1, place them in the shade for 1 hour.
- Increase the time and sunlight exposure daily.
- Keep an eye out for signs of stress, such as wilting or leaf burn.
By following these steps, you'll set your star gooseberries up for a successful start in their new environment. Next, let’s explore the key steps for transplanting established plants, ensuring they thrive in their new homes.
Key Steps for Transplanting Established
🌱 Optimal Timing for Transplanting
The ideal time to transplant established star gooseberry plants is during early spring or late fall when they are dormant. Avoid transplanting during extreme heat or frost to minimize stress on the plant.
📝 Step-by-Step Instructions for Transplanting
- Prepare the New Planting Site: Clear away any debris and weeds. Amend the soil with compost to enhance fertility.
- Water the Established Plant: Thoroughly water the plant before removal to help keep the roots hydrated.
- Dig Around the Root Zone: Carefully dig around the root zone, ensuring you keep the roots intact.
- Lift the Plant Gently: When lifting the plant, do so gently to avoid damaging the roots.
🏡 Preparing the New Planting Site
Ensure the new site has well-drained soil. If necessary, amend the soil further and dig a hole that is twice the size of the root ball to give the plant ample space to grow.
📏 Ensuring Proper Placement and Spacing
Position the plant at the same depth it was previously grown. Maintain a spacing of 6-8 feet from other plants to allow for optimal growth and airflow.
💧 Tips for Watering, Mulching, and Support
Immediately water the plant after transplanting to help settle the soil around the roots. Apply a 2-3 inch layer of mulch to retain moisture and regulate soil temperature. If needed, provide stakes or supports to ensure stability as the plant establishes itself.
Transplanting established plants can be a rewarding experience, leading to quicker fruit production. With the right timing and care, your star gooseberry will thrive in its new home. Next, let’s explore troubleshooting common issues that may arise during this process.
Troubleshooting Common Issues
🌱 Understanding Transplant Shock
Transplant shock is a common hurdle when planting or moving your star gooseberry. Symptoms include wilting, yellowing leaves, and stunted growth, all signs that your plant is struggling to adjust.
The primary causes of transplant shock are root disturbance and environmental stress. When roots are disturbed, it can take time for the plant to re-establish itself in its new environment.
🔍 Addressing Establishment Problems
To combat establishment problems, closely monitor soil moisture levels. Keeping the soil consistently moist is crucial, especially during the initial weeks after planting.
Adjust your watering frequency based on current weather conditions. Hot, dry spells may require more frequent watering, while cooler, rainy periods may need less.
🛠️ Solutions for Common Planting/Transplanting Issues
Consider using root stimulants to promote recovery from transplant shock. These products can help encourage new root growth and improve overall plant health.
Ensure your star gooseberry receives adequate sunlight exposure. Protect it from frost and harsh conditions, especially during its early stages of growth, to help it thrive.
By addressing these common issues, you can set your star gooseberry on the path to healthy growth and fruitful production. Next, let’s explore the key steps for planting new star gooseberry plants.
⚠️ Safety First
This content is for general information and may contain errors, omissions, or outdated details. It is not medical, veterinary advice, or an endorsement of therapeutic claims.
Always consult a qualified healthcare professional before using any plant as food, medicine, or supplement.
Never eat any plant (or feed one to pets) without confirming its identity with at least two trusted sources.
If you suspect poisoning, call Poison Control (800) 222-1222, the Pet Poison Helpline (800) 213-6680, or your local emergency service immediately.
Spotted an error? Please report it here.
Planting star gooseberries can be rewarding 🍇 when you use Greg's tailored care tips and watering reminders to help your plants flourish and bear fruit!