Propagating Common Three-Seeded Mercury: Step-by-Step Guide
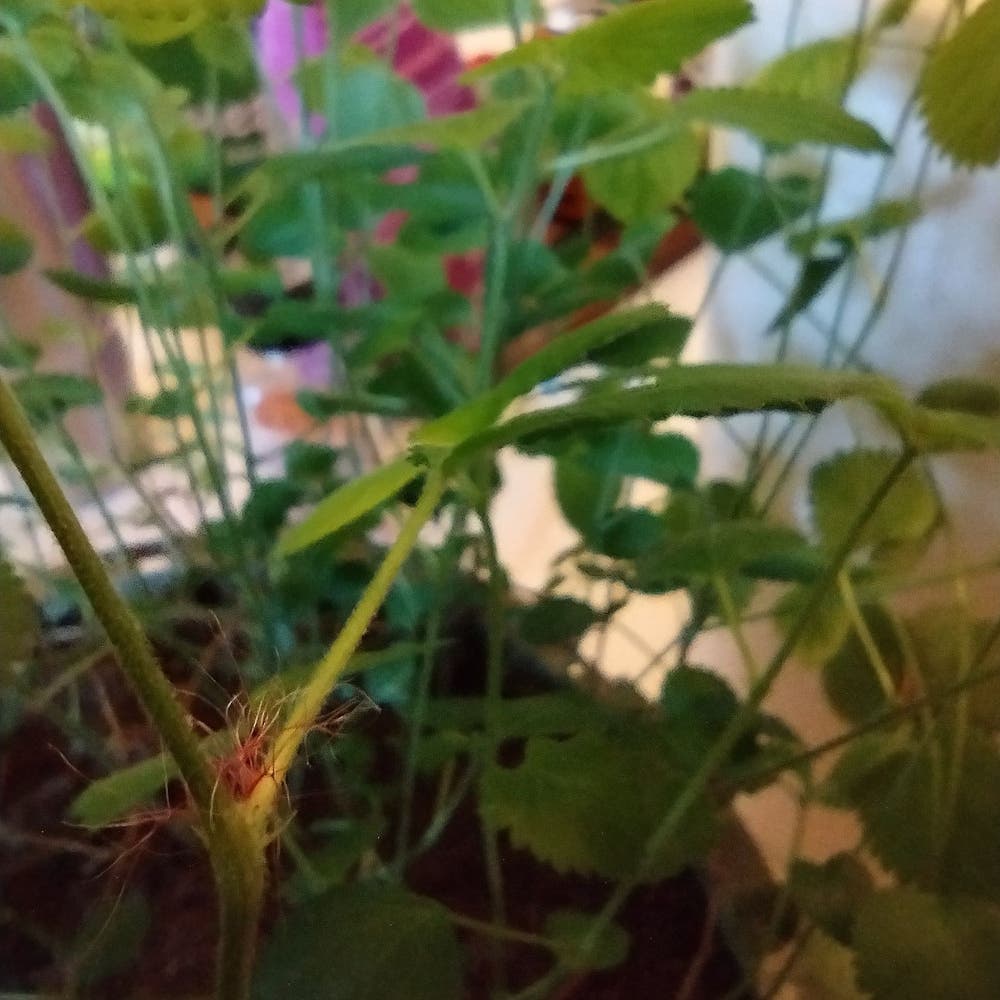
Acalypha rhomboidea
By the Greg Editorial Team
Mar 04, 2024•5 min read
This article was created with the help of AI so we can cover more plants for you. May contain errors. See one? Report it here.
Propagate your Three-Seeded Mercury 🌿 effortlessly with this all-in-one seed, stem, and division guide!
- Scarify or stratify seeds to boost germination chances.
- 🌱 Use rooting hormone on stem cuttings for better roots.
- Divide in spring/fall for well-established plant growth.
Sowing the Future: Seed Propagation
🌱 Collecting the Right Seeds
To kickstart your seed propagation, focus on harvesting seeds from Common Three-Seeded Mercury at the peak of ripeness. Look for seeds that are plump and have a glossy appearance, which are indicators of viability. Avoid seeds that are discolored or damaged.
🌱 Prepping for Success
Scarification might be your go-to method for tough seeds. A quick dip in hot water followed by a 12-24 hour soak can work wonders. If they're still stubborn, a gentle nick in the seed coat can help. For some seeds, stratification is key. Wrap them in a moist paper towel, stash them in a bag, and chill in the fridge for 4-6 weeks to mimic winter conditions.
🌱 Planting the Seeds
When it's time to plant, mix a sterile, well-draining soil medium. Sow your seeds on the surface and lightly cover them with soil to maintain contact while letting in light. Ensure consistent humidity and temperature for the best shot at germination. Patience is a virtue here—germination is a marathon, not a sprint.
Cloning Your Plant: Stem Cutting Propagation
🌱 Choosing and Cutting Stems
To kick off stem cutting propagation, select stems that are the picture of health—vibrant, green, and free from the drama of disease or damage. Make the cut with sterilized shears just below a node, where the plant's natural rooting mojo is concentrated. Aim for a length of about 3 to 6 inches, and strip the lower section bare of leaves to avoid a soggy mess.
🌱 Rooting Your Cuttings
Next up, dip the cut end in rooting hormone to give it that extra edge—think of it as a growth hack for your plant. Choose a medium that's the perfect mix of airy and moist, like a VIP lounge for roots. Stick the cutting in, ensuring at least one node is underground, and then it's just a waiting game. Keep the soil's thirst quenched, but don't drown it—balance is key. With the right care and a bit of patience, you'll see new growth in no time.
Multiplying Through Division: Division Propagation
🌱 When and How to Divide
Dividing your Common Three-Seeded Mercury is a straightforward process, best done in the spring or fall. These seasons offer a balance of mild temperatures and natural growth cycles, making them ideal for division. To start, ensure the plant is well-established, typically after a few years of growth.
🛠️ Tools and Preparation
Before you begin, gather your tools: a sharp knife or spade, gloves, and a trowel. Sterilize your instruments to prevent the spread of disease; think of it as a miniature surgery for your plant.
🌱 The Division Process
Carefully uproot the entire plant, maintaining as much of the root system as possible. Brush off excess soil to assess the root structure. Look for natural separations where the plant can be divided into smaller sections, each with its own root system. Use your sharp tool to cleanly cut through the roots, minimizing damage.
🌱 Planting Divided Sections
Once you have your divisions, it's time to replant them promptly to reduce stress on the plants. Dig holes that accommodate the roots without bending or crowding them. Plant each division at the same depth it was growing before and backfill with soil, firming gently around the roots.
🌱 Ensuring Success
Water the new plantings thoroughly to settle the soil and eliminate air pockets. If the division has a lot of foliage, consider pruning it back to reduce water loss and encourage root establishment. Keep the soil consistently moist but not waterlogged, and place the divisions in a spot with bright, indirect light.
Remember, patience is key. It may take some time for your new plants to show signs of growth, but with careful attention, they'll flourish. Keep an eye out for pests or diseases and intervene early with appropriate treatments. With these steps, your Common Three-Seeded Mercury will multiply, providing you with more of these delightful plants to enjoy or share.
Aftercare for Propagated Plants
🌱 The First Few Weeks
In the initial weeks, your propagated Common Three-Seeded Mercury demands vigilant care. For seedlings and cuttings, maintain a humid environment—think of it as their neonatal ICU. Gradually reduce the humidity to acclimate them to normal air moisture. Monitor the soil like a hawk; it should be consistently moist but never waterlogged.
🌿 Transitioning to Normal Care
As your plants mature, it's time to shift from intensive care to a standard routine. Begin the hardening off process by slowly introducing them to the conditions they'll face in their permanent homes. For outdoor plants, this means a gradual exposure to the elements. Indoors, it's about the right balance of light and temperature. Ease them into the new environment to prevent shock. Keep the soil's moisture level like a perfectly squeezed-out sponge, and hold off on the fertilizer—these youngsters need time before they can handle the strong stuff.
Propagation Pitfalls: Troubleshooting Tips
🌱 Germination Gripes
Poor germination can sour the experience of growing Common Three-Seeded Mercury from seed. If seeds are giving you the cold shoulder, overwatering might be the issue. Keep the soil moist, not drenched. Another culprit could be temperature; these seeds need warmth, so ensure they're cozy enough to sprout.
🌿 Rooting Roadblocks
When stem cuttings act like divas and refuse to root, check your cutting technique. Nodes are crucial, so snip close to them. And let's not forget, a clean cut is a happy cut—sterilize your tools to avoid introducing diseases. If you're stuck with a no-root situation, patience and a well-draining soil mix are your allies.
🌱 Division Distress
Dividing your plant can sometimes feel like a botched magic trick. If your divisions are more wilted than a salad in the sun, consider the size of each section. Each should have a fair share of leaves, stems, and roots. Spot any rot? It's time to reassess your watering habits and ensure your soil isn't holding onto moisture like a grudge.
⚠️ Safety First
This content is for general information and may contain errors, omissions, or outdated details. It is not medical, veterinary advice, or an endorsement of therapeutic claims.
Always consult a qualified healthcare professional before using any plant as food, medicine, or supplement.
Never eat any plant (or feed one to pets) without confirming its identity with at least two trusted sources.
If you suspect poisoning, call Poison Control (800) 222-1222, the Pet Poison Helpline (800) 213-6680, or your local emergency service immediately.
Spotted an error? Please report it here.
Ensure your Three-Seeded Mercury thrives 🌱 with Greg's personalized care reminders and expert community tips for every step of your propagation journey.