Propagating My Berlandier's Nettlespurge: Step-by-Step Guide
Jatropha cathartica
By the Greg Editorial Team
Apr 28, 2024•4 min read
This article was created with the help of AI so we can cover more plants for you. May contain errors. See one? Report it here.
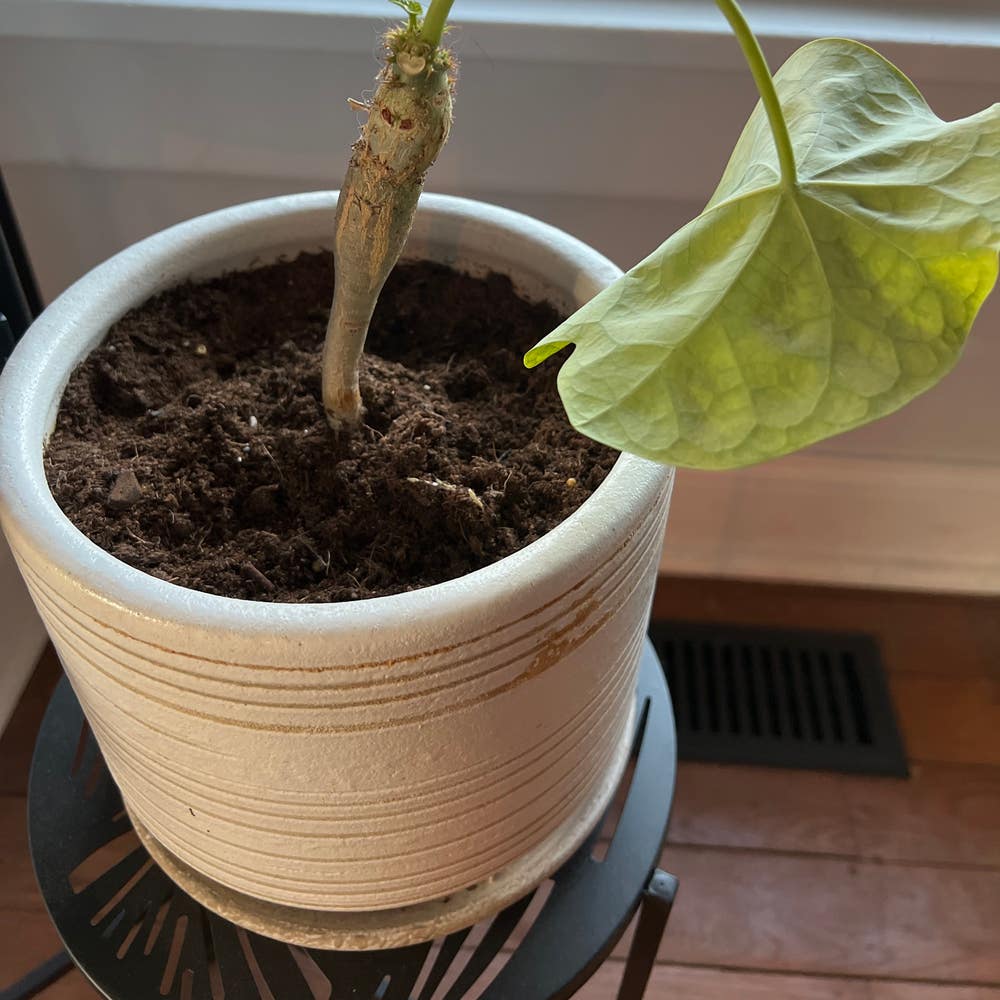
- Healthy stem cuttings: Snip below a leaf node and let dry before planting.
- Divide mature plants: Rejuvenate and multiply by separating into rooted sections.
- Seed propagation: Use fresh seeds, well-draining soil, and a mini greenhouse effect.
Propagating with Stem Cuttings
🌱 Getting Your Cuttings Right
To kick off your propagation journey, select a stem that's the picture of health—no pests, diseases, or drama. Snip it with a clean, sharp tool just below a leaf node, where the rooting action happens. Before you stick it in soil, let it dry out for a few days to form a callus, nature's own bandage.
🌿 Rooting Your Future Plants
Now, for the rooting rumble. You've got two contenders: water or soil. Water's great for spectators—you get to watch those roots grow! Change the water every few days to keep things fresh. If you're team soil, plant your cutting in a mix that's like a mohawk—strikes the right balance between edgy and dependable. Either way, keep it warm and bathed in bright, indirect light.
🌱 Aftercare for Stem Cuttings
Once your cuttings have taken root, it's not time to chill yet. Monitor moisture like a hawk; damp, not drenched, is your mantra. Light is still a big deal—think sun-kissed, not sunburnt. And temperature? Keep it cozy. Your cuttings are like Goldilocks—they want everything just right.
🛠 Troubleshooting Stem Cutting Issues
If your cuttings are throwing a fit, showing rot or wilting, don't panic. Check the moisture—overwatering is often the culprit. Too cold? Move them somewhere warmer. Remember, patience is a virtue here. Roots take time, but with the right care, you'll soon have a thriving plant family.
Dividing Mature Plants
🌱 The Division Game
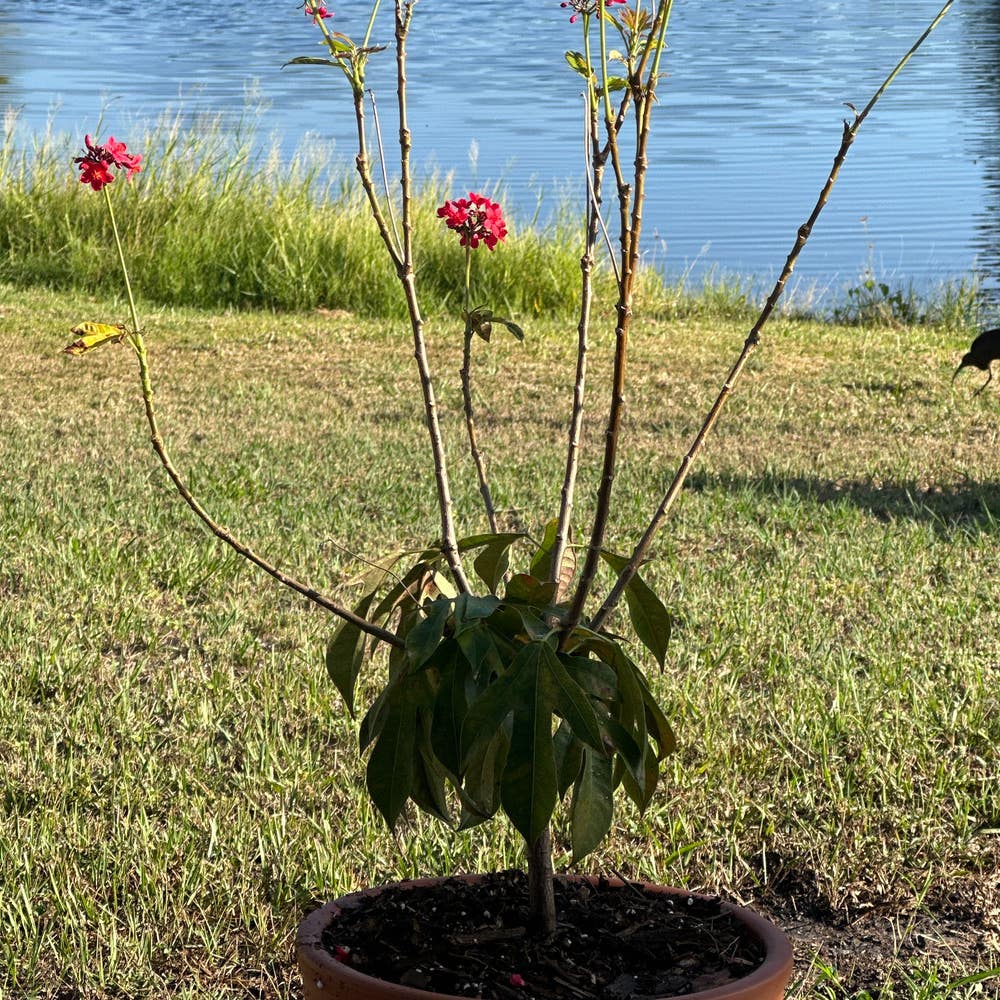
Dividing mature Berlandier's Nettlespurge can rejuvenate your plant and multiply your collection. Here's the lowdown:
- Water your plant a day or two before to make roots more cooperative.
- Dig up the entire plant, keeping as much of the root ball intact as possible.
- Use your hands or a clean, sharp tool to separate the plant into sections, ensuring each has roots and shoots.
- Trim away any dead material and consider a light pruning to reduce transplant shock.
- Replant divisions at the same depth they were growing, in well-draining soil.
🌿 Caring for Divided Plants
After the split, your plant's going to need some TLC:
- Keep the soil consistently moist, but let's not turn it into a swamp.
- Position your new plants in a spot with indirect light; they're not ready for the spotlight just yet.
- Hold off on the fertilizer – it's like offering a five-course meal to someone who just had surgery.
🌱 Overcoming Division Hurdles
If your plant divisions are looking more tragic than magic, here's what to do:
- If you spot any disease, isolate the affected plant and remove the dodgy bits.
- Ensure good airflow around the plants to prevent fungal fiestas.
- If leaves are drying out, up the humidity – think plant spa, not desert trek.
- New growth is your high-five for a job well done, so watch for those green flags of success.
Starting from Scratch: Seed Propagation
🌱 Seed Prep and Planting
To kick off your seed propagation, collect fresh seeds from a mature Berlandier's Nettlespurge. Ensure they're devoid of any clinging pulp, which could invite unwanted fungi. Now, mix it up with a well-draining soil blend; a cacti-specific mix can be your secret weapon here. Some gardeners like to soak their seeds overnight or give them a quick dip in a mild fungicide—think of it as a mini spa treatment for seeds.
🌱 Germination Station
It's showtime for your seeds. Spread them over your soil mix and press them in gently—they're not fans of deep burial. They crave light for germination, so keep them on the surface. Moisture is their best friend, but like any friendship, don't overdo it. Soggy is a no-go. Cover the seeds with a clear plastic dome to create a mini greenhouse effect, trapping in humidity and warmth. No peeking! Let them do their thing in peace.
🌱 Seedling Care Tips
When those tiny green shoots make their debut, it's time to transition. Gradually lift the plastic cover to introduce them to the real world's less humid conditions. Keep the soil moist and provide bright, indirect light. These little guys are not in a sprint; they're more like marathon runners, pacing themselves towards the finish line.
🌱 Seed Propagation Troubleshooting
If your seeds are playing hard to get and refuse to sprout, reassess your setup. They're picky about warmth and dislike being smothered. Adjust your temperature control and planting depth as needed. Remember, sterilizing your tools isn't just for show—it's a critical step to prevent disease. And if you're documenting your process, you're already ahead of the game. Patterns will emerge, and you'll become a seed whisperer in no time.
⚠️ Safety First
This content is for general information and may contain errors, omissions, or outdated details. It is not medical, veterinary advice, or an endorsement of therapeutic claims.
Always consult a qualified healthcare professional before using any plant as food, medicine, or supplement.
Never eat any plant (or feed one to pets) without confirming its identity with at least two trusted sources.
If you suspect poisoning, call Poison Control (800) 222-1222, the Pet Poison Helpline (800) 213-6680, or your local emergency service immediately.
Spotted an error? Please report it here.
Successfully propagate your Berlandier's Nettlespurge by following this guide and use Greg's tailored care reminders 🌱 to watch your plant babies flourish without the guesswork.