How to Know When to Repot a Wandering Heath?
Erica vagans
By the Greg Editorial Team
Apr 08, 2024•4 min read
This article was created with the help of AI so we can cover more plants for you. May contain errors. See one? Report it here.
Unearth the growth potential of your Wandering Heath 🌿 by spotting the perfect time to repot!
- Roots peeking out? Time to repot your Wandering Heath.
- 🌱 Choose the right pot: Breathable terracotta, proper size, and drainage.
- Repot in spring, monitor water and light post-repotting for best growth.
Spot the Clues: When Your Wandering Heath is Begging for a New Home
🌱 Roots on the Run
When your Wandering Heath's roots escape from the drainage holes like a jailbreak, it's a clear signal. The pot's become a straightjacket, and it's time for an upgrade. Tangled roots sprawling on the soil's surface? They're not just being social; they're suffocating and screaming for space.
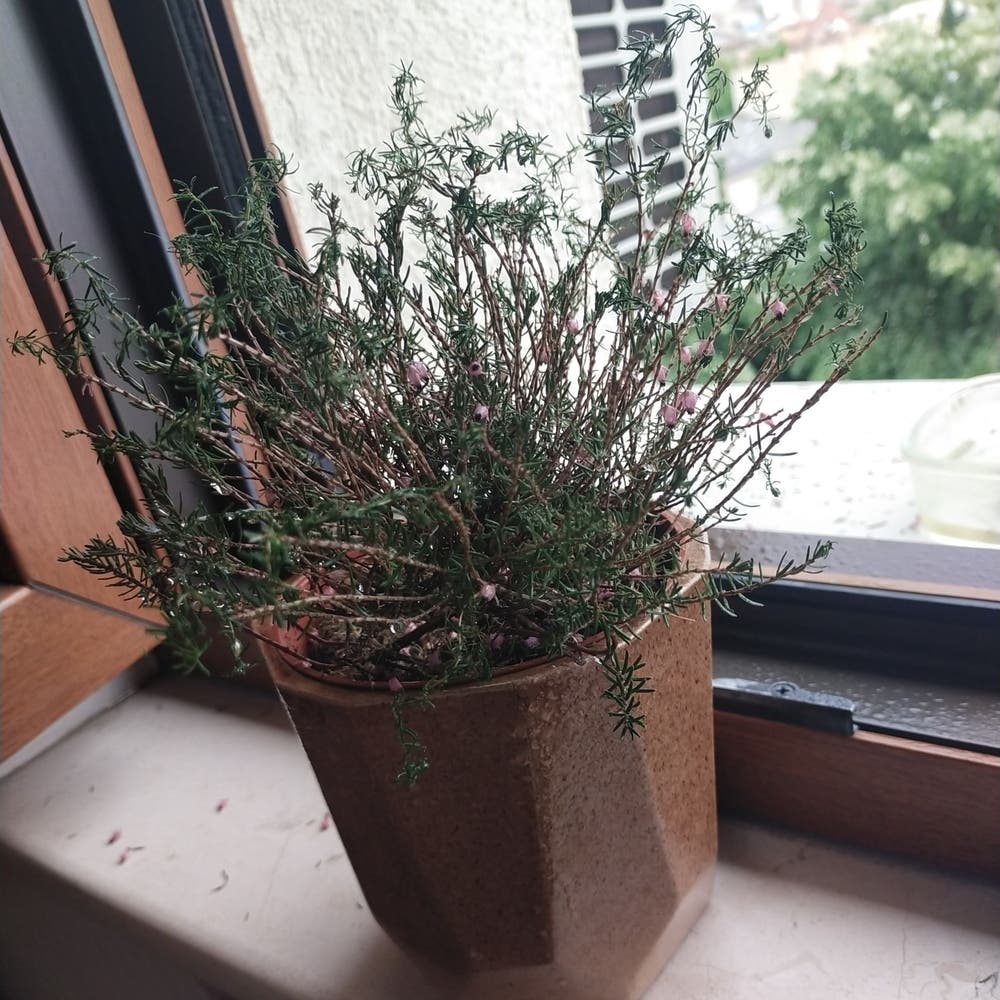
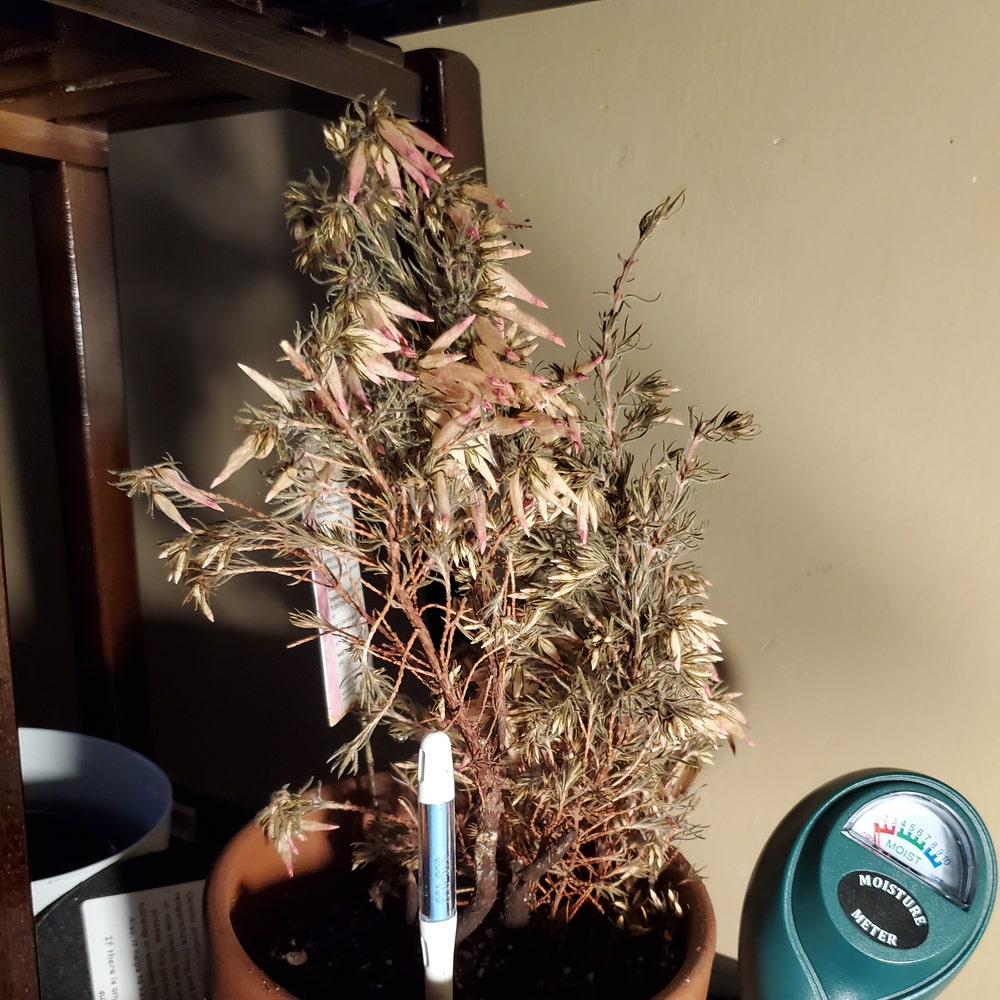
🚨 Above Ground Alerts
Slowed growth or a general decline in your plant's mojo could mean it's cramped below. Yellow leaves aren't making a fashion statement; they're a distress call, often a result of being overwatered in tight quarters. And if your Wandering Heath's flowers are dropping off like bad habits, it's not being lazy—it's likely root-bound and begging for a new home.
The Great Move: Repotting Your Wandering Heath Step by Step
🏡 Prepping the New Residence
Choosing the right size pot is crucial; think one size up from the current one. Drainage is non-negotiable—opt for a pot with holes at the bottom.
🌿 The Perfect Potting Mix
Your Wandering Heath craves a well-draining, acidic soil mix. Combine peat, pine bark, and perlite or coarse sand to hit the sweet spot.
💦 The Actual Repotting
Water your plant a day before to ease the transition. Gently coax the plant out, trim any unhealthy roots, and place it in the new pot at the same depth. Fill in with soil, tap to settle, water sparingly.
Picking the Perfect Pot: Material Matters
💨 Breathability and Moisture Control
Terracotta pots are the breathability kings, allowing air and water to move through their walls, preventing root rot. They're perfect if you're diligent about watering but can dry out quickly. Ceramic pots are less porous, holding in moisture longer, which can be a boon or a bane, depending on your watering habits. Ensure they have drainage holes to avoid soggy soil scenarios. Plastic pots are the low-maintenance pick, keeping soil moist for longer, but beware of overwatering, which can lead to a mini swamp.
Size and Drainage
Pot size is crucial; too large, and your Wandering Heath may sulk in too much soil, too small, and it'll be cramped. Aim for a pot that gives the roots a bit of a party room but not a ballroom. Drainage holes are non-negotiable. Without them, you're practically inviting root rot over for a disastrous dinner. No matter the material, if there's no escape route for excess water, you're asking for trouble.
Timing is Everything: How Often to Repot
🌱 Growth and Root Development
Growth rate is your Wandering Heath's subtle way of dropping hints about repotting needs. If it's doubling in size like it's on a mission, it's time to give it more room to conquer. Typically, this means a repot every one to two years. But keep your eyes peeled; if it's a rapid grower, it might signal for a change sooner.
🌸 Seasonal Considerations
Spring is the Wandering Heath's version of a New Year's resolution—it's when it's most ready for change. Aim for repotting after the last frost has bid adieu, but before the summer heat waves roll in. This timing leverages the plant's natural growth spurt, ensuring a smooth transition and a stress-minimized acclimation to its new digs. Avoid winter repotting; it's like asking someone to move houses during hibernation—not cool.
Post-Repotting Care: Helping Your Plant Settle In
💧 The First Few Weeks
After the repotting tango, watering is like walking a tightrope—too much, and you're drowning; too little, and you're parching. Hold off on the H2O for a few days, then water thoroughly, letting the top inch of soil dry out before the next round. Light plays a crucial role too. Start with indirect light to avoid leaf burn, then slowly introduce more brightness over a week. It's a dance of shadows and sunbeams, ensuring your Wandering Heath doesn't get stage fright in its new pot.
🕵️ Watchful Waiting
Your plant's giving you signals, and you're the detective on the case. Drooping leaves? Might be time to cut back on water. A perky posture? You're hitting the right notes. Keep the temperature steady, like your favorite comfort food, and avoid drafts like you'd sidestep spoilers for your beloved TV show. No fertilizer for now; let the roots heal from their journey. Keep a watchful eye, and with a bit of patience, your Wandering Heath will soon be thriving in its new abode.
⚠️ Safety First
This content is for general information and may contain errors, omissions, or outdated details. It is not medical, veterinary advice, or an endorsement of therapeutic claims.
Always consult a qualified healthcare professional before using any plant as food, medicine, or supplement.
Never eat any plant (or feed one to pets) without confirming its identity with at least two trusted sources.
If you suspect poisoning, call Poison Control (800) 222-1222, the Pet Poison Helpline (800) 213-6680, or your local emergency service immediately.
Spotted an error? Please report it here.
Ensure your Wandering Heath is happily settled 🏡 in its new pot with Greg's precise repotting reminders and personalized care advice.