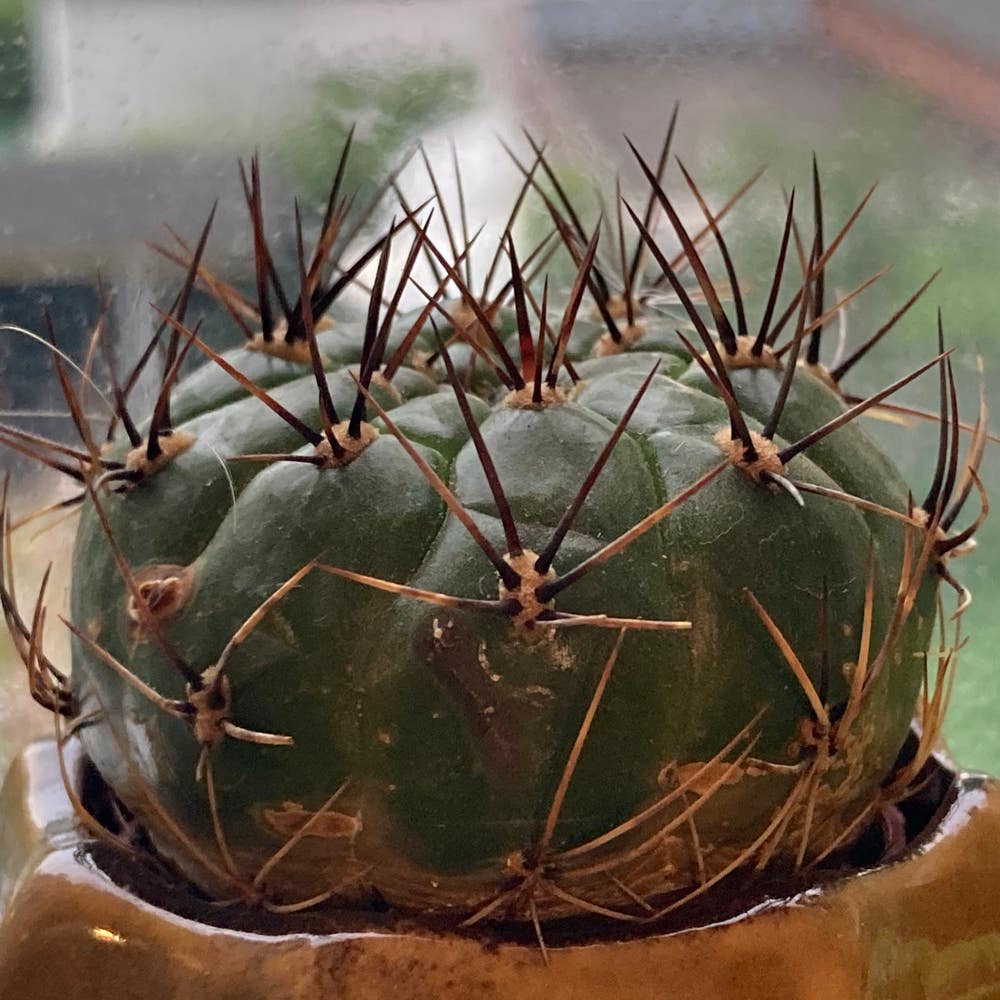
Propagating My Submatucana aureiflora: Step-by-Step Guide
Matucana aureiflora
By the Greg Editorial Team
Apr 09, 2024•5 min read
This article was created with the help of AI so we can cover more plants for you. May contain errors. See one? Report it here.
Propagate your Submatucana aureiflora 🌵 and watch your garden flourish with our step-by-step guide!
- Early spring division ensures successful Submatucana aureiflora propagation.
- Offsets and seeds offer alternative propagation methods; patience required.
- Mimic natural habitat with correct light, temperature, and moisture for growth.
Kickstarting Propagation: Choosing Your Method
🌱 Division: Multiplying Your Mature Plants
Timing is everything when it comes to division. The best moment to divide your Submatucana aureiflora is early spring, as the plant wakes up to the growing season. To divide, gently unpot the plant and brush off excess soil to reveal the root system. Look for natural segments with their own roots and shoots. With a clean, sharp knife, separate these sections, ensuring each has a portion of the root system. Allow the cuts to callus over for a day or two to prevent rot, then pot each division in fresh, well-draining soil.
🌿 Offsets: Giving Life to New Generations
Offsets are the Submatucana aureiflora's gift to propagation. These mini-me versions of the parent plant are ready to strike out on their own. Spotting them is straightforward—they'll be nestled at the base of the parent, looking like plump, independent entities. Use sterilized scissors or a knife to separate them, ensuring each offset has its own root system. After separation, let them dry for a day to form a callus over the cut surface before planting in a similar soil mix as the parent.
🌱 Seeds: Starting from Scratch
If you're going for seeds, you're in for a patient journey. Harvest seeds from the fruit of your Submatucana aureiflora once it's dry and wrinkled. Prepare a tray with well-draining soil and sprinkle the seeds on top, lightly covering them with a fine layer of sand or soil. Consistent moisture and warmth are key—cover the tray with plastic to maintain humidity and place it in a warm, bright spot without direct sunlight. Germination can be slow, so don't lose heart. Keep the soil moist but not soggy, and watch for the magic to happen.
Creating the Perfect Propagation Environment
💡 The Right Spot: Light, Temperature, and Humidity
To propagate Submatucana aureiflora successfully, you need to mimic its natural habitat. Bright indirect light is your gold standard; direct sunlight is a no-go. It's like a tanning bed for plants – too much and they'll burn, too little and they won't tan. Keep them in a spot that's consistently warm, ideally between 65°F and 80°F. As for humidity, think of it as the plant's comfort blanket – aim for 70-80% to keep those roots cozy.
🚰 Watering Wisdom: Balancing Moisture for Propagation
Watering is less about sticking to a schedule and more about observing your plant's needs. The soil should be moist, like a squeezed-out sponge, but never soggy. Overwatering is the fast track to root rot, so let the top inch dry out before going in with your watering can again. And remember, the size of your container matters – smaller pots dry out faster. Keep a close eye on your plants and adjust your watering habits as they grow.
Nurturing Your New Submatucana Aureiflora
🌱 Post-Propagation Care: The First Few Weeks
In the nascent weeks of your Submatucana aureiflora's life, vigilance is your new hobby. These fledglings are as vulnerable as they are promising, so keep your eyes peeled for any distress signals.
📊 Monitoring and Adjusting Care
Your plantlets aren't just growing; they're also healing from the propagation process. Consistent moisture is your mantra here, but avoid the rookie mistake of overwatering. Think of the soil as a wrung-out sponge—damp, not soggy.
Bright, indirect light is their best friend at this stage. Too much sun and you'll have a crispy critter; too little and you'll witness a sulk fest. And remember, stability is key—no drafts, no drastic temperature changes, just a cozy corner where they can stretch their roots.
🏠 Transitioning to a Permanent Home
When to pot? Wait until the roots are robust enough to handle the move. This is typically when they've filled out their current abode and are peeking out, hinting at their readiness for a bigger space.
The act of transplanting should be as gentle as a whisper. Ensure the new pot is snug, not cavernous, and the soil is like their old one—familiarity breeds contentment. After the move, keep the watering consistent and watch for that vibrant green growth—it's the plant world's equivalent of a high-five.
Troubleshooting Common Propagation Pitfalls
🌱 Division Dilemmas: Avoiding and Addressing Complications
If your divisions are as lifeless as a forgotten houseplant, it's time for a rescue mission. Root shock might be the villain here; keep the soil moist and give them a shady spot to recuperate. If you've got a case of the root rots, trim the soggy bits, let the rest dry, and repot in a well-draining mix. Cleanliness is your shield; sterilize those tools to prevent spreading diseases.
🌿 Offsets Obstacles: Ensuring a Smooth Separation
Offsets can be stubborn. If they're growing at a snail's pace, ensure they're snuggled into the soil for proper root contact. Slow growth doesn't mean game over; it's just a slow dance. Keep an eye out for inherited issues from the parent plant, and nip them in the bud early.
🌱 Seed Struggles: Germination and Growth Issues
When seeds act like they're on a germination strike, ensure they're not buried too deep. A shallow bed is their preference. If germination is as rare as a polite internet debate, check the soil temperature; they might need a bit of warmth. And remember, fungal infections are the party crashers here. Keep the air moving, and if you spot trouble, remove affected areas and consider a fungicide. Patience, as always, is your trusty sidekick in the propagation saga.
⚠️ Safety First
This content is for general information and may contain errors, omissions, or outdated details. It is not medical, veterinary advice, or an endorsement of therapeutic claims.
Always consult a qualified healthcare professional before using any plant as food, medicine, or supplement.
Never eat any plant (or feed one to pets) without confirming its identity with at least two trusted sources.
If you suspect poisoning, call Poison Control (800) 222-1222, the Pet Poison Helpline (800) 213-6680, or your local emergency service immediately.
Spotted an error? Please report it here.
Turn your Submatucana aureiflora propagation into a success story 🌟 with Greg's tailored care reminders and environmental monitoring for your plantlets' perfect start!