Propagating Island Broom: The Ultimate Guide
Acmispon dendroideus
By the Greg Editorial Team
Jun 16, 2024•4 min read
This article was created with the help of AI so we can cover more plants for you. May contain errors. See one? Report it here.
- Choose healthy stems during growth phase for successful propagation.
- Air layering or stem cuttings: Two effective methods, each with unique steps.
- Ideal conditions: Bright, indirect light, 65-75°F, and 70-80% humidity.
Getting Started with Stem Cuttings
🌱 Choosing Your Cuttings
Healthy stems are your golden ticket to propagation success. Look for stems that are robust, free of pests, and show no signs of disease. The best time to take cuttings is when the plant is in its growth phase, typically in spring or early summer.
🛠️ Prepping Your Cuttings
Before cutting, ensure your tools are sterilized. A clean cut is less prone to infection, so use sharp shears or a knife. Make a clean cut below a leaf node, as this is where new roots will sprout. If you're using a knife, a single, smooth motion is best to avoid crushing the stem. Allow the cutting to callous over a few days, and consider applying rooting hormone for a growth boost—it's not essential, but it can help.
🌱 Planting and Initial Care
Plant your cuttings in well-draining soil to prevent soggy conditions that can doom young roots. If you're feeling adventurous, throw in a layer of rocks or expanded clay at the bottom of the container to prevent waterlogging. Keep the soil consistently moist, not soggy. A plastic bag can act as a mini greenhouse, trapping in humidity and warmth to encourage rooting. Patience is key—wait for the magic to happen.
Trying Out Air Layering
🌱 The Basics of Air Layering
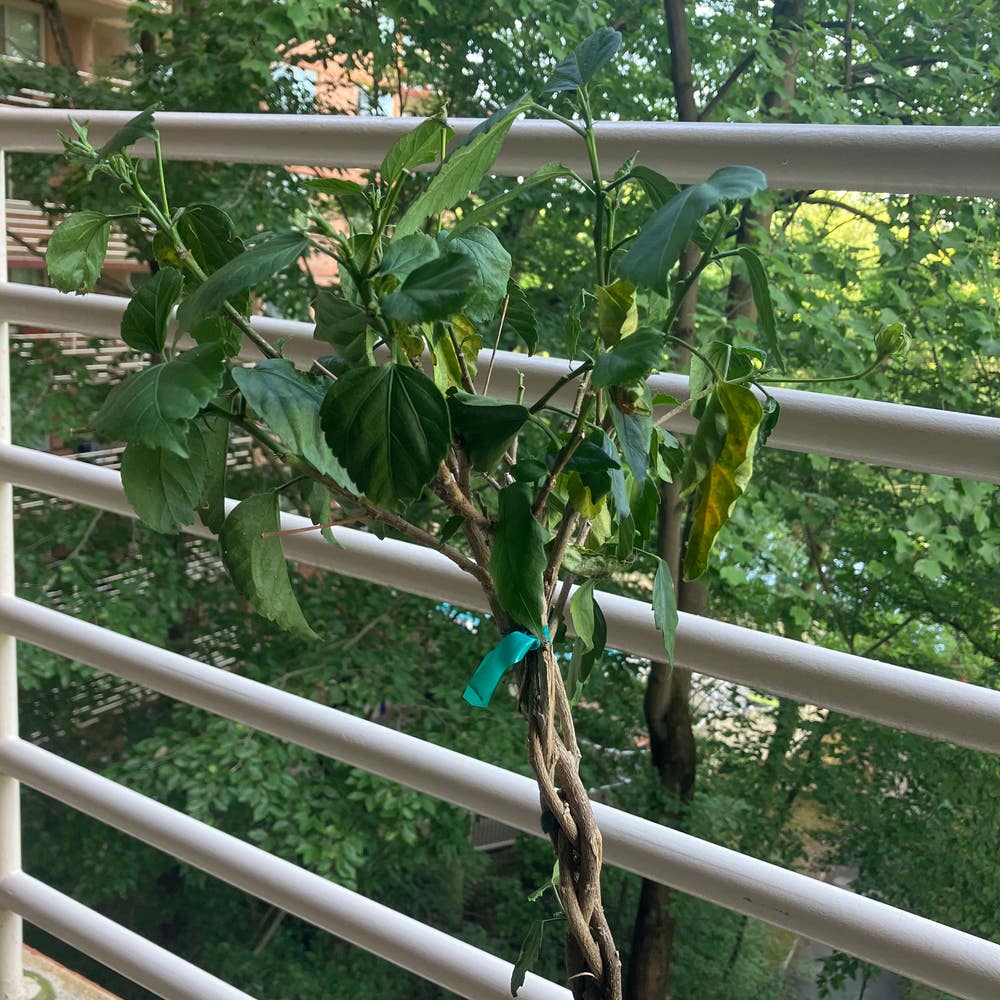
Air layering is a propagation technique that encourages roots to form on a branch while it's still attached to the parent plant. It's ideal for your Island Broom if you're after a sizable plant right from the start.
🛠 Step-by-Step Air Layering Process
Select a Healthy Branch
- Choose a branch that's pencil-thick and shows vigorous growth. This will be your future Island Broom.
Make the Cuts
- With a sharp knife, make two circular cuts about an inch apart. Remove the bark between these cuts to expose the inner layer, but don't cut into the wood.
Apply Rooting Hormone
- Dust the exposed area with rooting hormone to encourage root development.
Wrap with Sphagnum Moss
- Soak sphagnum moss, squeeze out excess water, and wrap it around the cut. This keeps the area moist and conducive to root growth.
Secure with Plastic
- Cover the moss with clear plastic wrap to retain humidity. Use twist ties or wire to hold everything in place.
Monitor Root Growth
- Roots should appear within 3 months. Once they're robust, you can sever the new plant from the parent.
Pot Your New Plant
- Cut below the new roots and pot your Island Broom in well-draining soil. Voilà, you've got a new plant without starting from scratch.
Creating the Perfect Propagation Environment
💡 Light and Temperature
Bright, indirect sunlight is the gold standard for Island Broom propagation. Direct rays can be harsh, so aim for a spot that's well-lit without being a sun trap. The ideal temperature range is a snug 65-75°F—a stable climate that whispers growth to your cuttings.
🚰 Watering and Humidity
Watering should be precise; think moist, not soggy. Use room temperature water to avoid shocking the cuttings. Humidity is crucial, around 70-80%, to create a mini tropical haven. Consider a humidifier or a pebble tray to maintain these levels. Remember, good air circulation is key to prevent fungal parties.
Overcoming Propagation Pitfalls
🌱 Common Propagation Problems
Root rot is a classic buzzkill in propagation, often due to overwatering. Your plants' roots should never be swimming. Fungal infections are the stealthy spoilers, thriving in stagnant air. Keep the air moving to prevent these party poopers from ruining your propagation bash.
🚪 Keeping Pests at Bay
Pests are the ultimate gatecrashers. Mealybugs, aphids, and thrips—none of them got an invite. Show them the door with insecticidal soap or neem oil. And remember, cleanliness isn't just for show; it's a must to keep these freeloaders out.
⚠️ Safety First
This content is for general information and may contain errors, omissions, or outdated details. It is not medical, veterinary advice, or an endorsement of therapeutic claims.
Always consult a qualified healthcare professional before using any plant as food, medicine, or supplement.
Never eat any plant (or feed one to pets) without confirming its identity with at least two trusted sources.
If you suspect poisoning, call Poison Control (800) 222-1222, the Pet Poison Helpline (800) 213-6680, or your local emergency service immediately.
Spotted an error? Please report it here.
Successfully propagate your Island Broom by applying our guide's tips and use Greg 🌿 to get custom care reminders and community support that make plant parenting a breeze!