🌼 6 Tips for Propagating Your Haemanthus
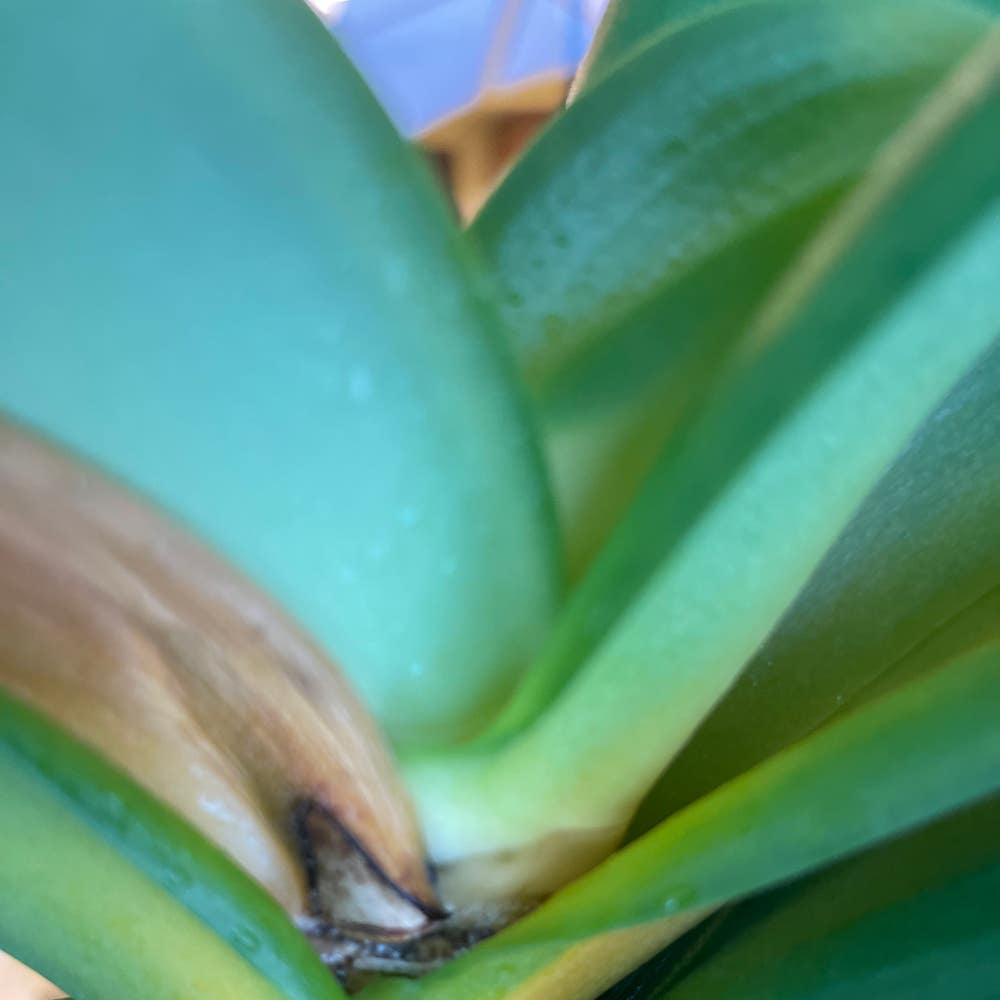
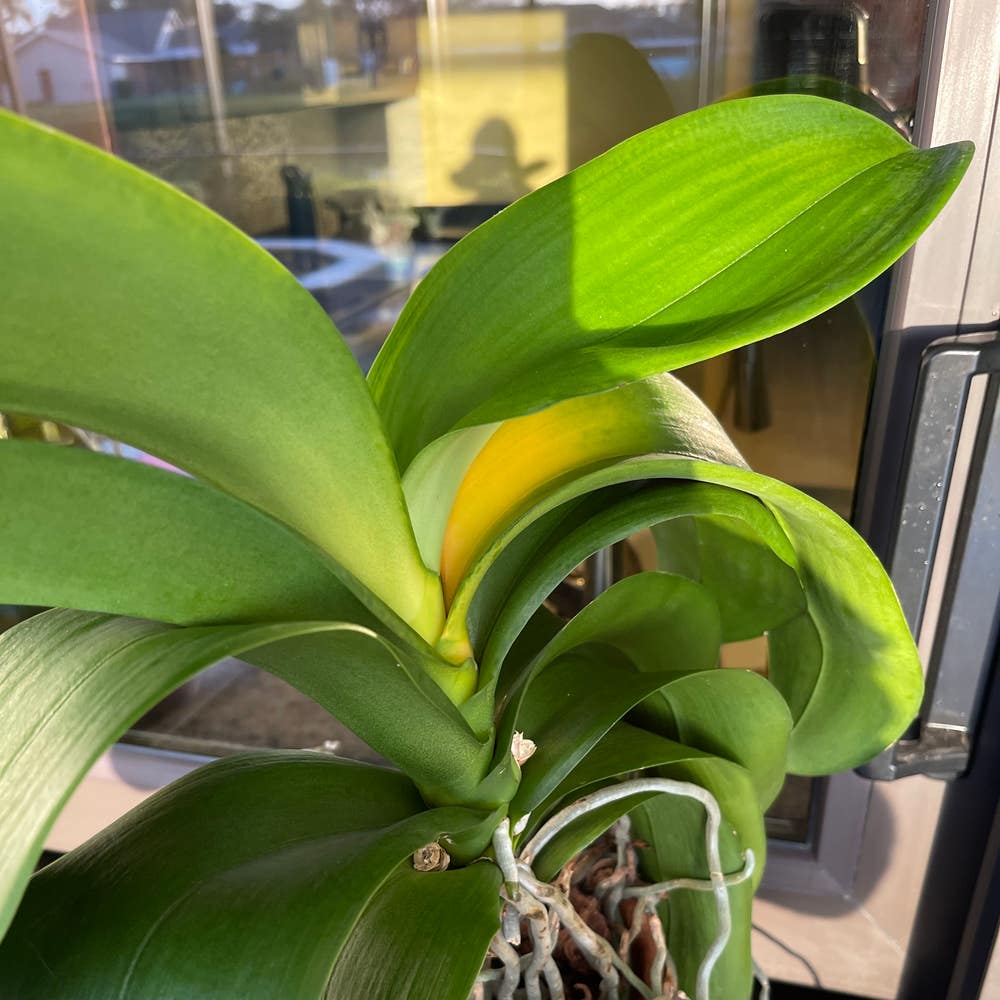
Haemanthus virescens var. intermedius
By the Greg Editorial Team
Nov 24, 2024•6 min read
This article was created with the help of AI so we can cover more plants for you. May contain errors. See one? Report it here.
Expand your Haemanthus collection 🌱 and share gardening joy by mastering these simple propagation techniques!
- 🌱 Propagating Haemanthus expands your collection and shares plants with friends.
- 🛠️ Three methods: offsets, seeds, and bulb division ensure successful propagation.
- 🌿 Timing matters: spring for offsets, late summer for bulb division, and warm conditions for seeds.
Propagation Potential
Propagation is a fantastic way to expand your Haemanthus collection and share the joy of gardening with friends and family. Whether you're a seasoned plant parent or just starting, understanding the importance of propagation can elevate your gardening game.
🌱 Overview of Propagation Methods
There are three primary methods for propagating Haemanthus: offsets, seeds, and bulb division. Each method has its unique charm and can lead to a thriving garden filled with diverse plants.
🌼 Benefits of Successful Propagation
Successful propagation not only increases your plant collection but also enhances plant diversity and resilience. A diverse garden is more resilient to pests and diseases, ensuring your Haemanthus thrive for years to come.
With a solid understanding of propagation potential, you're ready to dive into the specific methods. Let's explore how to propagate through offsets, seeds, and bulb division effectively.
Propagating Through Offsets
🌱 Step-by-Step Guide to Offsets Propagation
Offsets are a fantastic way to propagate your Haemanthus, and the process is quite straightforward. Here’s how to do it effectively.
🔍 1. Identifying Offsets
Start by looking for offsets that are at least 2-3 inches in diameter. These bulbs are mature enough to be separated without harming the main plant.
⏰ 2. Timing
The best time to propagate through offsets is during the plant's active growing season, which is spring. This timing ensures that the offsets have the best chance of thriving.
✂️ 3. Separation Process
Gently dig around the main bulb to expose the offsets. Use a clean, sharp tool to carefully detach them, ensuring minimal damage to both the offsets and the parent bulb.
🌿 4. Replanting
Prepare a well-draining potting mix for your offsets. When planting, ensure they are placed at the same depth they were growing previously to promote healthy growth.
💧 5. Watering
After planting, lightly water the offsets to help settle the soil around their roots. This initial watering is crucial for establishing them in their new environment.
By following these steps, you can successfully propagate your Haemanthus through offsets, expanding your collection with ease. Next, let’s explore how to propagate this plant from seeds, offering another exciting method for plant enthusiasts.
Propagating from Seeds
🌱 Step-by-Step Guide to Seed Propagation
Starting your Haemanthus from seeds can be a rewarding experience. It requires a bit of patience, but the results are well worth the effort.
🧼 Preparing Seeds
Before planting, ensure your seeds are clean and dry. This simple step can significantly improve your chances of successful germination.
🌾 Sowing Seeds
Use a seed tray filled with a well-draining potting mix. Sow the seeds at a depth of about 1/4 inch to give them the best chance to thrive.
🌡️ Germination Conditions
Creating the right environment is crucial for germination. Aim for a warm setting around 70°F (21°C) and keep the soil consistently moist, but avoid waterlogging to prevent seed rot.
🌿 Transplanting Seedlings
Once your seedlings develop 2-3 true leaves, it's time to transplant them into individual pots. This step allows them to grow strong and healthy, setting the stage for a flourishing Haemanthus collection.
By following these steps, you’ll be well on your way to successfully propagating your Haemanthus from seeds. Next, let’s explore how to propagate through offsets, which is another effective method for expanding your plant collection.
Division of Bulbs for Propagation
📝 Step-by-Step Guide to Bulb Division
Dividing bulbs is a rewarding way to propagate your Haemanthus. This method is best performed during dormancy, specifically from late summer to early fall.
⏰ Timing Matters
Timing is crucial for successful bulb division. Aim to perform this task when the plant is dormant, allowing it to recover and thrive after the process.
🕳️ Digging Up Bulbs
Start by carefully lifting the entire bulb clump from the soil. Gently shake off any excess soil to expose the bulbs, making it easier to see where to divide.
✂️ Dividing Bulbs
Using a clean, sharp knife, separate the bulbs, ensuring that each division has roots attached. This step is vital for the health of the new bulbs.
🌱 Replanting
Prepare your planting site with well-draining soil. When replanting, make sure to place the divided bulbs at the same depth they were previously growing.
💧 Watering
After planting, water lightly to encourage root establishment. This helps the bulbs settle into their new environment without overwhelming them.
Dividing bulbs not only expands your collection but also rejuvenates your existing plants. With the right timing and care, your Haemanthus will flourish, setting the stage for the next exciting propagation method: seed propagation.
Timing and Seasonal Considerations for Propagation
Best Times for Propagation 🌱
Timing is crucial when it comes to propagating your Haemanthus. Each method has its ideal season to ensure the best chances of success.
Offsets should be propagated in the spring, coinciding with the plant's active growth phase. This is when the bulbs are most vigorous and ready to produce new growth.
For seed propagation, late spring to early summer is the sweet spot, right after the flowering period. This timing allows seeds to take advantage of the warm weather and optimal moisture levels.
When it comes to bulb division, aim for late summer to early fall, during the plant's dormancy. This period minimizes stress on the bulbs and encourages healthy regrowth.
Understanding these seasonal nuances can significantly enhance your propagation efforts. With the right timing, you’ll set the stage for thriving new plants that can flourish in your collection or be shared with fellow enthusiasts.
Next, let's explore the common challenges you might face during propagation and how to overcome them effectively.
Common Challenges in Propagation and Solutions
Identifying Common Issues 🌱
Propagation can be a rewarding yet challenging endeavor. One common issue is low germination rates in seed propagation, which can be frustrating for eager gardeners.
Another challenge is the difficulty in separating offsets without damaging the main bulb. This can lead to setbacks in your propagation efforts.
Lastly, bulb rot is a significant concern, often caused by overwatering or poor drainage. Recognizing these issues early can save your plants and your patience.
Solutions and Preventative Measures 🛠️
To improve seed germination, consider using stratification techniques and always opt for fresh seeds. These methods can significantly boost your success rate.
When separating offsets, use sterilized tools and handle the bulbs gently. This approach minimizes damage and promotes healthy growth.
Ensuring proper drainage is crucial to prevent rot. A mix of perlite and potting soil can create an ideal environment for your bulbs, allowing excess water to escape while retaining necessary moisture.
With these strategies in hand, you can tackle common propagation challenges and enjoy a thriving collection of Haemanthus. Next, let’s explore the best times for propagation to maximize your success!
⚠️ Safety First
This content is for general information and may contain errors, omissions, or outdated details. It is not medical, veterinary advice, or an endorsement of therapeutic claims.
Always consult a qualified healthcare professional before using any plant as food, medicine, or supplement.
Never eat any plant (or feed one to pets) without confirming its identity with at least two trusted sources.
If you suspect poisoning, call Poison Control (800) 222-1222, the Pet Poison Helpline (800) 213-6680, or your local emergency service immediately.
Spotted an error? Please report it here.
Grow your Haemanthus collection effortlessly 🌱 by using Greg's tailored reminders and care tips to ensure your propagation methods succeed!