Ultimate Guide for How to Plant Haemanthus
Haemanthus virescens var. intermedius
By the Greg Editorial Team
Nov 24, 2024•5 min read
This article was created with the help of AI so we can cover more plants for you. May contain errors. See one? Report it here.
Transform your garden with expert tips on planting and transplanting Haemanthus for vibrant blooms! 🌱✨
- 🌱 Plant new Haemanthus bulbs in late spring for optimal growth conditions.
- 🌞 Light needs vary; some Haemanthus prefer partial shade, others full sun.
- 💧 Maintain moist, well-draining soil to prevent waterlogging and promote healthy growth.
Planting vs. Transplanting Haemanthus
🌱 Key considerations for novice gardeners
When it comes to Haemanthus, understanding the difference between planting new bulbs and transplanting established plants is crucial. Planting new Haemanthus involves starting from scratch, while transplanting focuses on relocating existing plants to a new environment.
Each method has its own set of benefits and drawbacks. Planting new bulbs can be cost-effective and allows for greater control over the growing conditions. However, it requires patience as the plants take time to mature. On the other hand, transplanting established plants can yield quicker results, but it may also introduce stress to the plant during the move.
Consider your local conditions when deciding which method to pursue. New bulbs may adapt better to your specific climate, while established plants might struggle if they are moved too far from their original environment. Ultimately, the choice between planting and transplanting will depend on your gardening goals and the specific needs of your Haemanthus.
With this foundational knowledge, you're ready to explore the exciting world of planting new Haemanthus!
Planting New Haemanthus
🌱 Optimal timing for planting
The best time to plant Haemanthus is during late spring to early summer. This timing aligns with warm temperatures and minimizes the risk of frost exposure, creating ideal conditions for growth.
🪴 Selecting the right soil mix and containers
Haemanthus thrives in well-draining, sandy loam enriched with organic matter. When choosing containers, opt for pots with drainage holes, ensuring they are at least 6-8 inches deep to accommodate the roots.
📏 Proper depth and spacing for planting
For optimal growth, plant Haemanthus bulbs 2-3 inches deep. Maintain a spacing of 12-18 inches between plants to promote airflow and reduce competition for nutrients.
🌞 Maintaining ideal growing conditions for new plants
Light requirements vary by variety, ranging from partial shade to full sun. Keep the soil consistently moist but not waterlogged, and provide light feeding with a balanced fertilizer during the growing season to support healthy development.
🌳 Hardening off Haemanthus before outdoor planting
Acclimatizing your Haemanthus to outdoor conditions is crucial for their survival. Follow this simple hardening off process:
- Gradually expose the plants to outdoor conditions over 7-10 days.
- Start with 1-2 hours of outdoor exposure, increasing the time daily.
This gradual introduction helps your plants adjust, reducing the risk of shock when planted outside.
By following these guidelines, you’ll set your Haemanthus up for success as they transition into their new environment. Next, we’ll explore the process of transplanting established Haemanthus, ensuring they continue to thrive in their new home.
Transplanting Established Haemanthus
🌱 Optimal timing for transplanting
The best time to transplant Haemanthus is during late summer to early fall, right after the flowering period. This timing allows the plant to adjust with minimal stress, especially when considering local climate conditions.
🛠️ Step-by-step instructions for transplanting
Removing the plant from its current location
- Water the plant a day before you plan to transplant. This helps reduce stress on the roots.
- Carefully dig around the bulb, ensuring you maintain the integrity of the roots.
- Gently lift the plant from the soil, taking care not to damage the bulb.
Preparing the new planting site
- Choose a location that offers suitable light and soil conditions for Haemanthus.
- If necessary, amend the soil with organic matter to enhance its quality.
- Dig a hole that accommodates the size of the bulb and its root system comfortably.
Ensuring proper placement and spacing
Position the bulb at the same depth it was previously planted to ensure it thrives. Maintain a spacing of 12-18 inches between plants to promote optimal growth and airflow.
💧 Tips for watering, mulching, and providing support
Immediately after transplanting, water the plant to help settle the soil around the roots.
Applying a layer of mulch will retain moisture and suppress weeds, creating a healthier environment for your Haemanthus.
If you have taller varieties, consider providing support to prevent them from toppling over as they establish themselves.
Transplanting can be a rewarding experience, setting the stage for your Haemanthus to flourish in its new home. Next, let’s dive into troubleshooting common issues that may arise during this process.
Troubleshooting Common Issues
🌱 Identifying and Addressing Transplant Shock
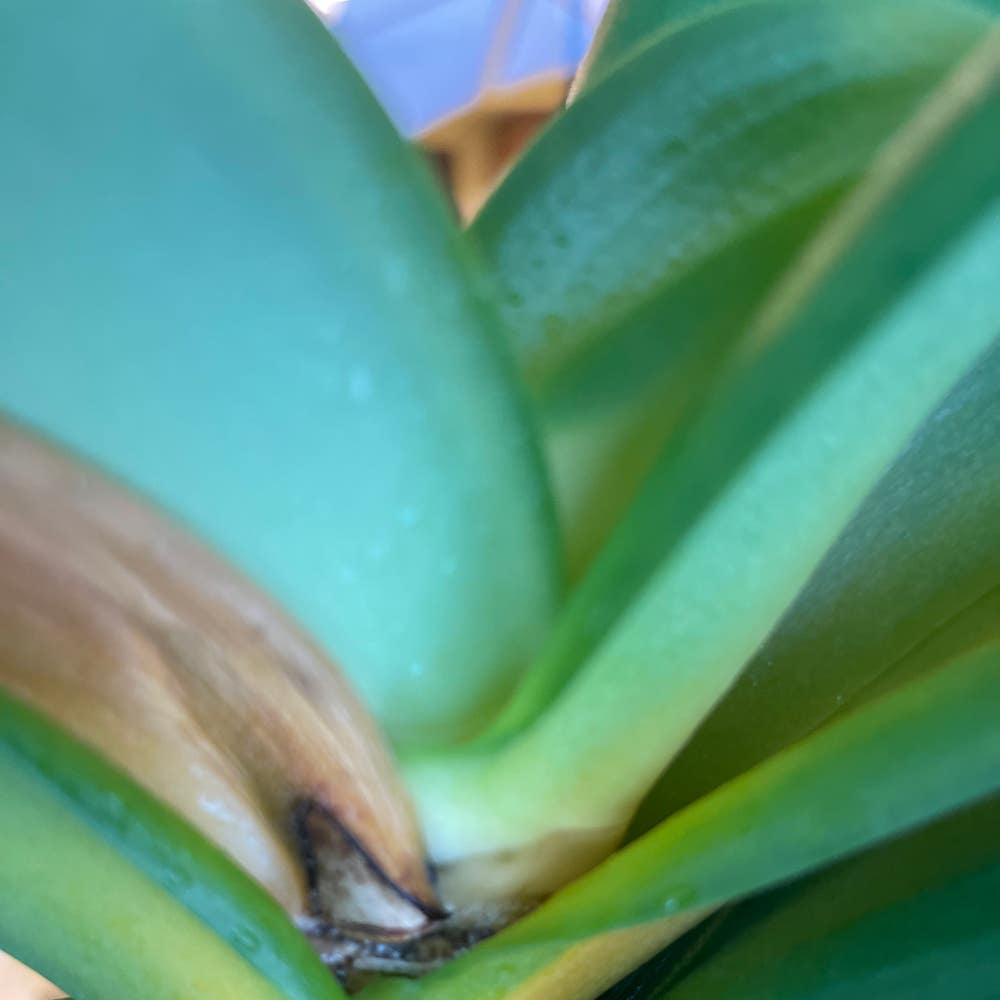
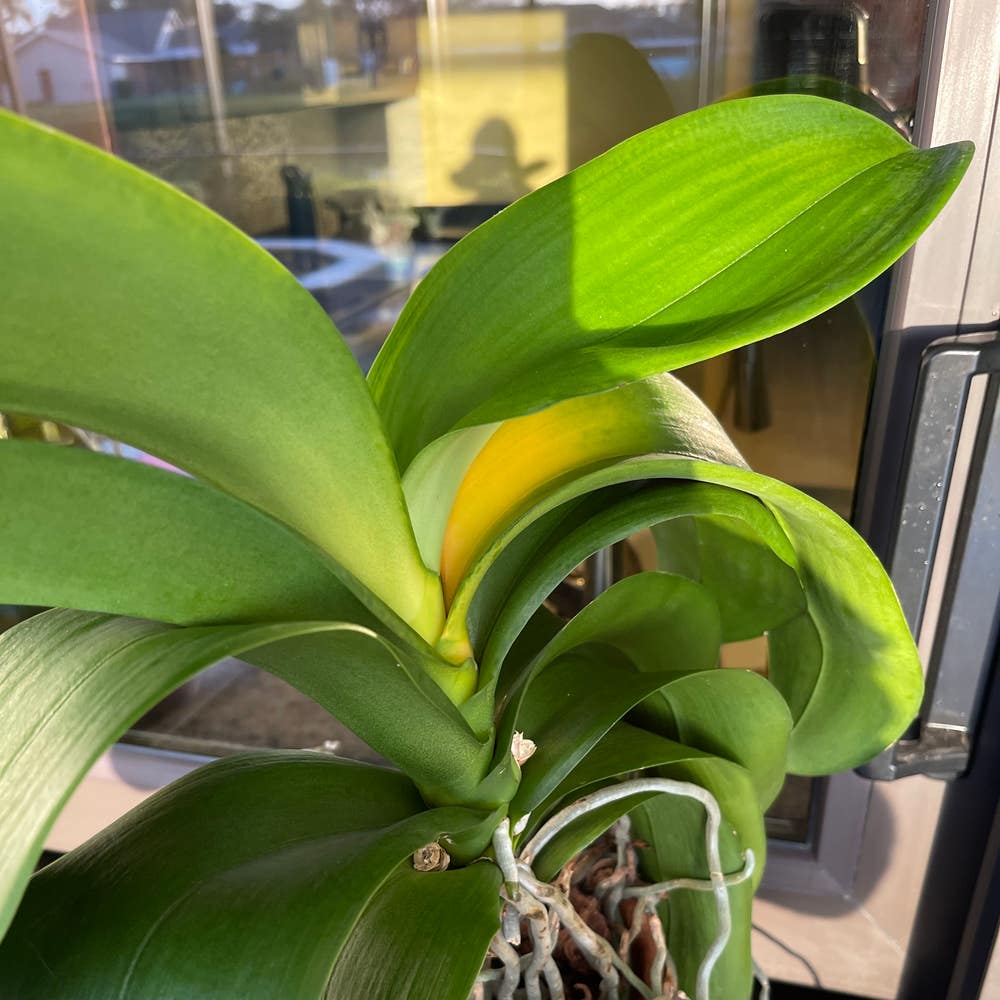
Transplant shock can be a frustrating experience for gardeners. Symptoms include wilting, yellowing leaves, and stunted growth, signaling that your Haemanthus is struggling to adjust.
To combat transplant shock, ensure consistent watering to keep the soil moist. It's also wise to avoid fertilizing immediately after transplanting, as this can stress the plant further.
🛠️ Solutions for Establishment Problems
Establishing your Haemanthus can sometimes hit a few bumps along the way. Common issues include poor drainage, inadequate light, and pest infestations that can hinder growth.
To improve soil conditions, consider amending with organic matter to enhance drainage and nutrient availability. Additionally, ensure your plants receive adequate light by relocating them if necessary.
🐛 Common Pests and Diseases Affecting Haemanthus
Keeping an eye out for pests is crucial for maintaining healthy Haemanthus. Common culprits include aphids, mealybugs, and snails, which can wreak havoc if left unchecked.
Preventing diseases starts with proper watering practices and maintaining soil health. For pest control, consider using organic methods like neem oil, insecticidal soap, or simply handpicking pests off your plants.
By addressing these common issues, you can help your Haemanthus thrive and enjoy a flourishing garden. Next, let’s explore how to ensure your plants are well-supported and cared for during their growth journey.
⚠️ Safety First
This content is for general information and may contain errors, omissions, or outdated details. It is not medical, veterinary advice, or an endorsement of therapeutic claims.
Always consult a qualified healthcare professional before using any plant as food, medicine, or supplement.
Never eat any plant (or feed one to pets) without confirming its identity with at least two trusted sources.
If you suspect poisoning, call Poison Control (800) 222-1222, the Pet Poison Helpline (800) 213-6680, or your local emergency service immediately.
Spotted an error? Please report it here.
Planting and transplanting Haemanthus is a breeze 🌱 with Greg's tailored care tips and reminders to help your garden flourish effortlessly!