Best Tips for Dealing with Black Spots on Haemanthus 🔍
Haemanthus virescens var. intermedius
By the Greg Editorial Team
Nov 24, 2024•6 min read
This article was created with the help of AI so we can cover more plants for you. May contain errors. See one? Report it here.
Revive your Haemanthus 🌿 and banish black spots with these essential diagnosis and treatment tips!
- 🔍 Regular inspections help identify black spots early on Haemanthus leaves.
- 🌱 Pests and overwatering are common causes of black spots; adjust care accordingly.
- 🌬️ Improve air circulation and use well-draining soil to prevent fungal infections.
Diagnosing Black Spots
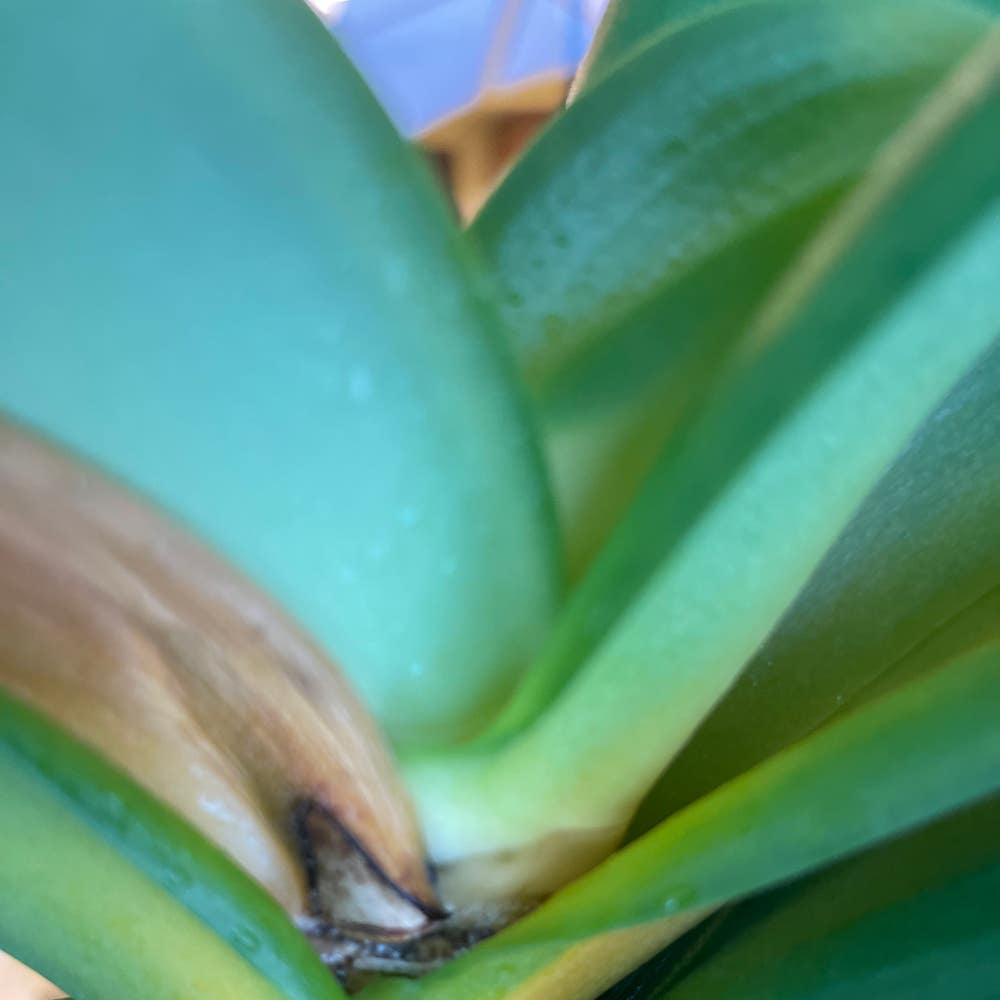
How to Inspect Leaves 🌿
To effectively diagnose black spots on your Haemanthus, start with a thorough visual inspection. Look for patterns of spots, discoloration, and assess the overall health of the leaves.
Next, perform a touch test. Gently press the leaves to check for any texture changes, such as softness or mushiness, which may indicate rot.
Common Pests That Cause Leaf Spots 🐜
Several pests can lead to unsightly leaf spots.
- Aphids: These small, sap-sucking insects often cause yellowing and spotting on leaves.
- Spider Mites: Tiny and often overlooked, they create stippling and webbing that can damage foliage.
- Scale Insects: With their hard, shell-like appearance, these pests can lead to significant leaf discoloration.
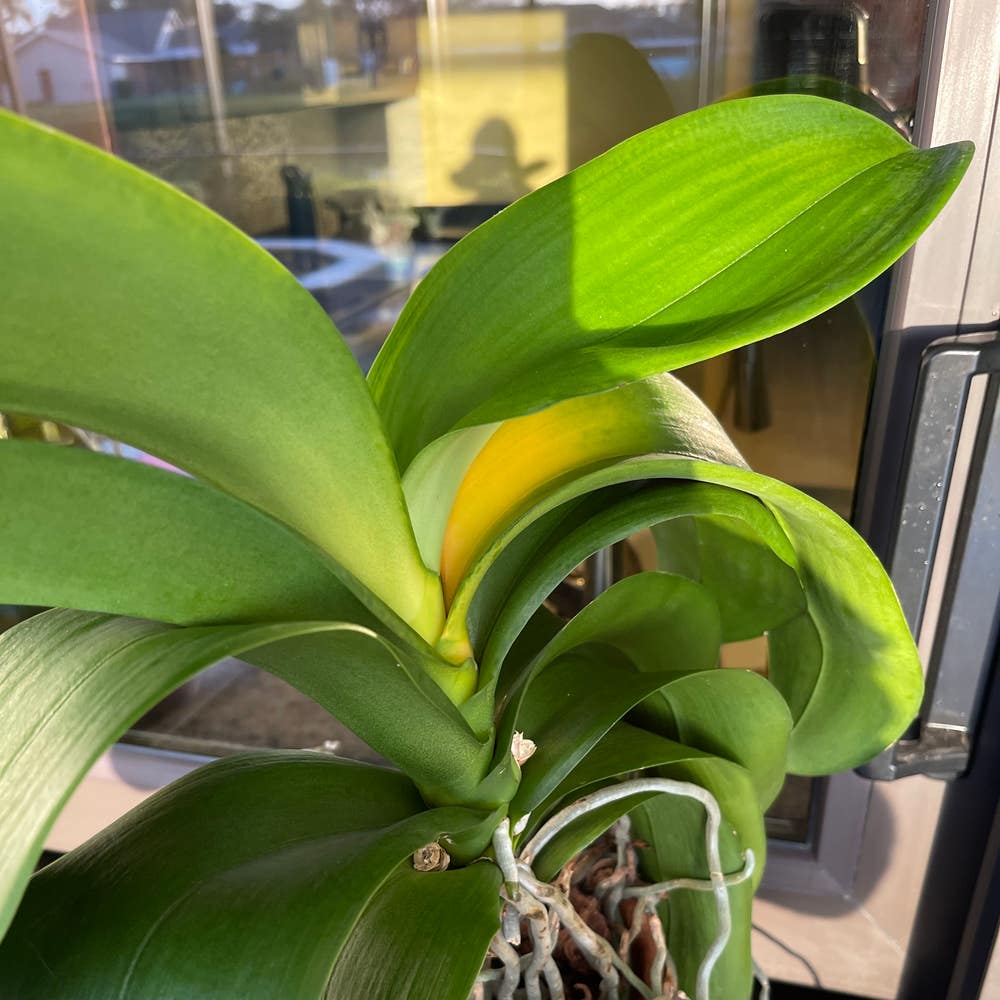
Environmental Factors Contributing to Black Spots 🌧️
Environmental conditions play a crucial role in the health of your Haemanthus.
- Watering Practices: Overwatering can lead to soggy soil and root rot, creating the perfect environment for black spots.
- Humidity Levels: High humidity can foster fungal infections, making your plant more susceptible to damage.
- Light Exposure: Insufficient light can weaken your plant, leaving it vulnerable to various issues, including black spots.
By understanding how to inspect leaves, recognizing common pests, and identifying environmental factors, you can take the first steps toward maintaining a healthy Haemanthus. This foundational knowledge will empower you as you move on to treating and preventing black spots effectively.
Treating Black Spots
🌱 Step-by-step treatment for fungal infections
Dealing with fungal infections on your Haemanthus can be straightforward if you follow these steps.
Remove affected leaves: Start by using sterilized scissors to cut away any leaves showing black spots. This helps prevent the spread of the infection.
Improve air circulation: Ensure your plants have enough space between them. Overcrowding can trap moisture and create a perfect environment for fungi.
Adjust watering schedule: Allow the top inch of the soil to dry out before watering again. This simple change can significantly reduce the risk of root rot.
🧪 Recommended fungicides
If the problem persists, consider using fungicides to tackle the issue effectively.
Copper-based fungicides: These are effective against a variety of fungal infections and can be a reliable choice for treatment.
Neem oil: This natural fungicide not only combats fungi but also repels pests, making it a dual-purpose solution.
Systemic fungicides: For severe infections, follow the label instructions carefully. These can penetrate the plant and provide longer-lasting protection.
🌿 Natural remedies for black spots
If you prefer a more organic approach, there are several natural remedies you can try.
Baking soda solution: Mix 1 tablespoon of baking soda with water and spray it on the affected areas. This can help to neutralize fungal spores.
Diluted milk spray: A mixture of 1 part milk to 10 parts water can be effective against fungal infections. Spray it on the leaves to promote healthier growth.
Essential oils: Tea tree or oregano oil diluted in water can provide antifungal properties. Just a few drops mixed in can make a difference.
By following these treatment options, you can effectively manage black spots on your Haemanthus and help your plant thrive.
🛡️ Transition to Prevention
Once you've treated the black spots, it's essential to focus on prevention strategies to keep your plant healthy and vibrant. Let's explore the best practices for preventing black spots from returning.
Preventing Black Spots
💧 Best watering practices
To keep your Haemanthus healthy, start with proper watering. Allow the top inch of soil to dry out before watering again to prevent soggy conditions that can lead to root rot.
Use room temperature water for your plants and avoid overhead watering. This method helps prevent water from sitting on the leaves, which can create a breeding ground for fungal infections.
☀️ Ideal light conditions to prevent leaf spots
Light plays a crucial role in preventing black spots. Aim for bright, indirect light to promote optimal growth and keep your Haemanthus thriving.
Be cautious of direct sunlight, as it can scorch the leaves and cause stress. Rotating your plants regularly ensures even light exposure, helping all sides of the plant receive the necessary light.
🪴 Soil and drainage requirements
The right soil and drainage are essential for preventing black spots. Use a well-draining potting mix, ideally with added perlite or sand to enhance aeration.
Maintain a slightly acidic to neutral pH level (6.0 to 7.0) for optimal nutrient uptake. Always choose pots with adequate drainage holes to prevent waterlogging, which can lead to root issues.
By following these preventive measures, you can significantly reduce the risk of black spots on your Haemanthus. Next, let’s explore ongoing care strategies to keep your plant in top shape.
Ongoing Care for Haemanthus
🌿 Regular maintenance tips to avoid black spots
Keeping your Haemanthus healthy is key to preventing black spots. Start with leaf cleaning; gently wipe the leaves with a damp cloth to remove dust, enhancing photosynthesis.
Next, establish a fertilization schedule. During the growing season, use a balanced fertilizer to provide essential nutrients that promote robust growth.
Don't forget about pruning. Regularly remove any dead or damaged leaves to encourage healthy new growth and improve overall plant vitality.
🍂 Seasonal care adjustments
As seasons change, so should your care routine. In winter, reduce watering frequency and provide cooler temperatures to mimic the plant's natural dormancy.
When summer arrives, increase humidity levels and keep a close eye on pests. This proactive approach helps maintain a thriving environment.
In spring, it's time to fertilize and consider repotting if necessary. This encourages new growth and prepares your Haemanthus for the warmer months ahead.
🐛 Monitoring for pests and diseases
Stay vigilant with regular inspections. Check both leaves and soil for any signs of pests or disease to catch issues early.
If you notice any problems, practice early intervention. Acting quickly can prevent minor issues from escalating into major concerns.
Finally, maintain a record-keeping system. Document your care practices and any observed problems to refine your approach over time and ensure your Haemanthus remains healthy and vibrant.
By following these ongoing care tips, you can keep your Haemanthus thriving and free from black spots. Next, let’s explore how to effectively treat any existing black spots and ensure your plant recovers swiftly.
⚠️ Safety First
This content is for general information and may contain errors, omissions, or outdated details. It is not medical, veterinary advice, or an endorsement of therapeutic claims.
Always consult a qualified healthcare professional before using any plant as food, medicine, or supplement.
Never eat any plant (or feed one to pets) without confirming its identity with at least two trusted sources.
If you suspect poisoning, call Poison Control (800) 222-1222, the Pet Poison Helpline (800) 213-6680, or your local emergency service immediately.
Spotted an error? Please report it here.
Combat black spots on your Haemanthus and boost its health 🌱 with Greg's tailored watering reminders and pest alerts, ensuring your plant thrives beautifully!