When and How to Repot Your Haemanthus
Haemanthus virescens var. intermedius
By the Greg Editorial Team
Nov 24, 2024•6 min read
This article was created with the help of AI so we can cover more plants for you. May contain errors. See one? Report it here.
Revitalize your Haemanthus 🌱 with expert repotting tips for vibrant growth and stunning blooms! 🌼
- 🌱 Repot when roots grow out of drainage holes or bulbs push through soil.
- ⏳ Best time to repot is late winter to early spring during dormancy.
- 🛠️ Gather supplies like pots and soil mix before starting the repotting process.
Signs That Your Haemanthus Needs Repotting
🌱 Root System Indicators
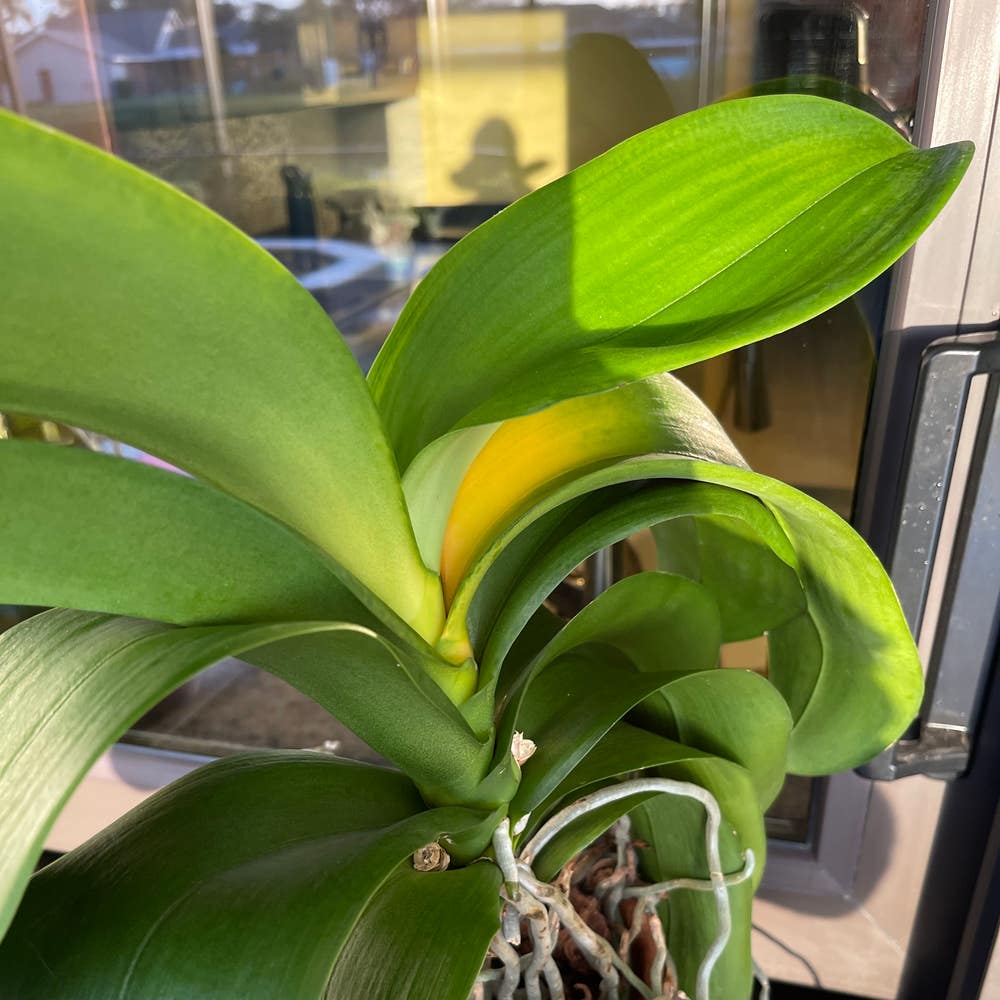
One of the first signs that your Haemanthus needs repotting is when you notice roots growing out of the drainage holes. This indicates that the plant is root-bound and requires more space to thrive.
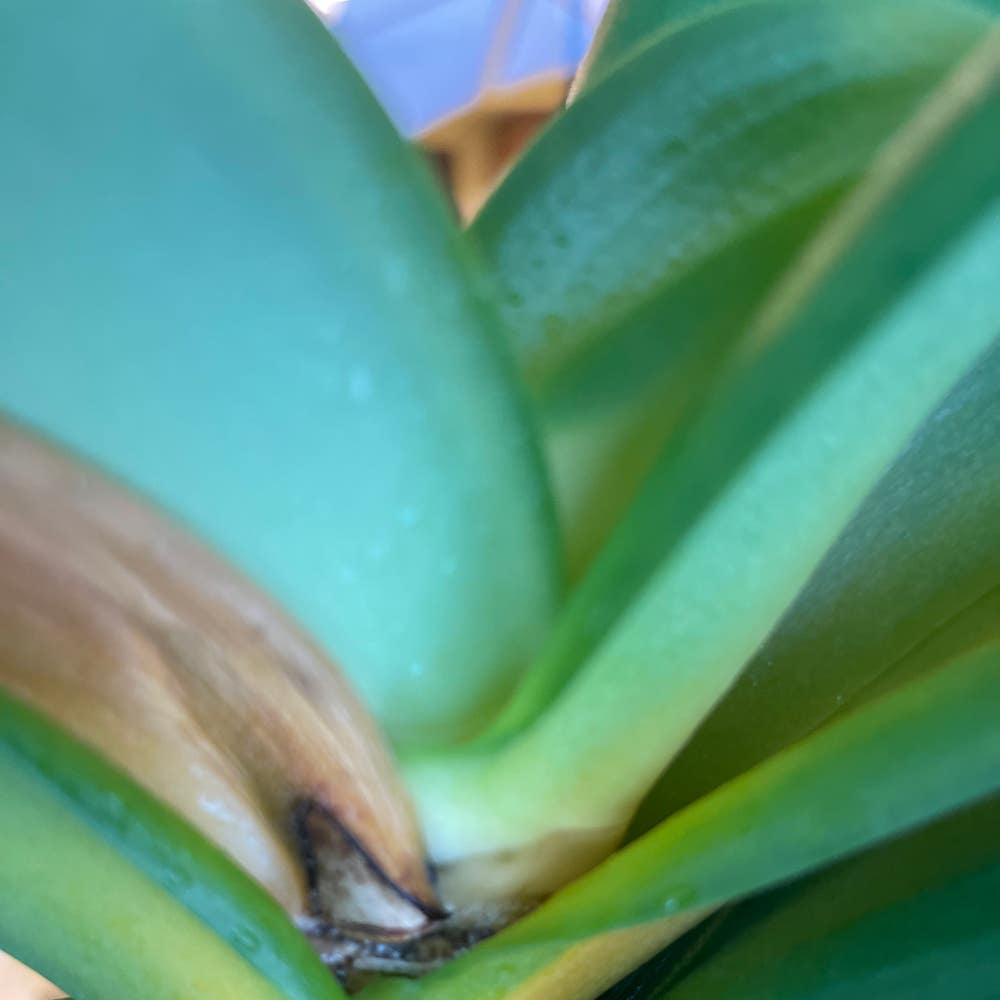
Another clear indicator is when the bulbs start pushing out of the soil. This suggests that the plant is outgrowing its current pot and needs a larger home.
📈 Growth Patterns
Stunted growth is another red flag. If your Haemanthus is lacking new leaves or flowers, it may be a sign that the roots are overcrowded and struggling for nutrients.
Additionally, yellowing leaves can signal poor soil conditions or underlying root health issues. If you see this happening, it’s time to assess the potting situation.
⏰ Timing Considerations
When it comes to timing, observing the plant's growth cycle is crucial. The best time to assess your Haemanthus for repotting is during its dormant period, typically in late winter or early spring.
This ensures that the plant can recover and adapt to its new environment without the stress of active growth.
Best Time of Year to Repot Haemanthus
🌱 Seasonal Timing
The best time to repot your Haemanthus is during late winter to early spring. This timing allows you to prepare the plant for new growth, ensuring it has the best chance to thrive.
🌡️ Environmental Conditions
When repotting, consider the temperature. Mild temperatures help prevent shock, allowing your plant to adjust smoothly to its new home.
Humidity also plays a crucial role in recovery. Optimal humidity levels can significantly aid your Haemanthus as it settles into its fresh potting mix.
In summary, aim for late winter to early spring, ensuring mild temperatures and adequate humidity for a successful repotting experience. This preparation sets the stage for vibrant growth in the coming months.
Next, let’s dive into the step-by-step guide for repotting your Haemanthus effectively.
Step-by-Step Guide to Repotting Haemanthus
Repotting your Haemanthus can seem daunting, but with the right approach, it’s a straightforward process. Follow these steps to ensure your plant thrives in its new home.
1. Gather Necessary Materials 🛠️
Start by collecting your supplies. You’ll need a new pot, a suitable soil mix, and tools like a trowel and gloves.
2. Prepare the New Pot 🪴
Before you dive in, prepare the new pot. Make sure it has adequate drainage holes to prevent water buildup, and choose a pot that is 1-2 inches larger in diameter than the current one.
3. Remove the Haemanthus from Its Current Pot 🚪
Next, it’s time to remove your plant. Gently loosen the soil around the edges of the pot, then carefully lift the plant by the base of the bulb to avoid any damage.
4. Inspect the Root System 🔍
Once out, take a close look at the root system. Check for any signs of rot or damage, and trim away any unhealthy roots using sterilized scissors to keep your plant healthy.
5. Place the Bulb in the New Pot 🌱
Now, it’s time to place the bulb in its new home. Position it at the same depth as before, then fill in with soil, ensuring the bulb remains partially exposed for optimal growth.
6. Water Lightly to Settle the Soil 💧
Finally, give your plant a light watering to settle the soil. Be cautious not to overwater, as this can lead to bulb rot, which is a common pitfall in repotting.
With these steps, your Haemanthus will be well on its way to thriving in its new pot. Next, let’s explore the best pot material options to enhance your plant’s growth.
Pot Material Options
Choosing the right pot material for your Haemanthus is crucial for its health and growth. Each material has its unique characteristics that can impact your plant's well-being.
🥇 Pros and Cons of Each Material
Ceramic
Ceramic pots are visually appealing and add a touch of elegance to your plant display. However, they can retain too much moisture, which might lead to bulb rot if not monitored closely.
Plastic
Plastic pots are lightweight and affordable, making them a popular choice among plant enthusiasts. They offer good drainage options but may not be as breathable, leading to overheating in direct sunlight.
Terracotta
Terracotta pots excel in drainage and allow for excellent air exchange, promoting healthy root growth. On the downside, they can dry out quickly, necessitating more frequent watering to keep your Haemanthus happy.
📏 Recommended Pot Sizes and Shapes
When repotting your Haemanthus, opt for a pot that is 1-2 inches larger in diameter than the current one. Shallow pots are preferable, as they accommodate the bulb's growth while ensuring proper drainage.
Choosing the right pot material and size is essential for your Haemanthus's success. With the right setup, your plant will thrive and bring beauty to your space. Next, let’s explore the ideal soil requirements for your Haemanthus to ensure it has the best growing conditions.
Soil Requirements
🌱 Ideal Soil Mix for Haemanthus
To keep your Haemanthus thriving, it's crucial to use the right soil mix. Aim for a blend of 50% potting soil, 30% perlite, and 20% sand to ensure proper drainage and aeration.
🚰 Importance of Drainage in Potting Mix
Good drainage is essential for preventing water retention, which can lead to bulb rot. A well-draining mix also promotes healthy root growth by allowing oxygen to circulate freely.
🛠️ How to Create a Custom Soil Mix for Haemanthus
Creating your own soil mix is simple and rewarding.
- Combine the ingredients in a large container.
- Mix thoroughly to ensure even distribution.
- Test drainage by adding water; it should flow freely without pooling.
By following these steps, you'll provide your Haemanthus with a nurturing environment that supports robust growth.
With the right soil mix in place, you're well on your way to ensuring your plant flourishes. Next, let's explore the various pot material options that can further enhance your Haemanthus care.
Common Mistakes in Repotting
Mistakes to Avoid When Repotting Haemanthus 🌱
Repotting your Haemanthus can be a rewarding experience, but there are pitfalls to watch out for. One major mistake is overwatering immediately after repotting, which can lead to bulb rot and ultimately harm your plant.
Another common error is using the wrong pot size. If the new pot is too large, it can retain excess moisture, creating an environment that encourages root rot.
How to Prevent Root Damage During Repotting 🛠️
To ensure a smooth repotting process, use sterilized tools. This simple step helps prevent disease transmission, keeping your plant healthy.
Additionally, handle the bulb gently. Avoid unnecessary stress on the roots, as this can lead to long-term issues for your Haemanthus.
By being mindful of these mistakes and taking precautions, you can help your Haemanthus thrive in its new home.
As you prepare for the next steps in caring for your plant, consider the importance of selecting the right pot material.
⚠️ Safety First
This content is for general information and may contain errors, omissions, or outdated details. It is not medical, veterinary advice, or an endorsement of therapeutic claims.
Always consult a qualified healthcare professional before using any plant as food, medicine, or supplement.
Never eat any plant (or feed one to pets) without confirming its identity with at least two trusted sources.
If you suspect poisoning, call Poison Control (800) 222-1222, the Pet Poison Helpline (800) 213-6680, or your local emergency service immediately.
Spotted an error? Please report it here.
Repot your Haemanthus like a pro 🌱 by using Greg's tailored reminders and expert tips to ensure your plant enjoys a thriving new home!