Best Tips for Propagating Cyperus
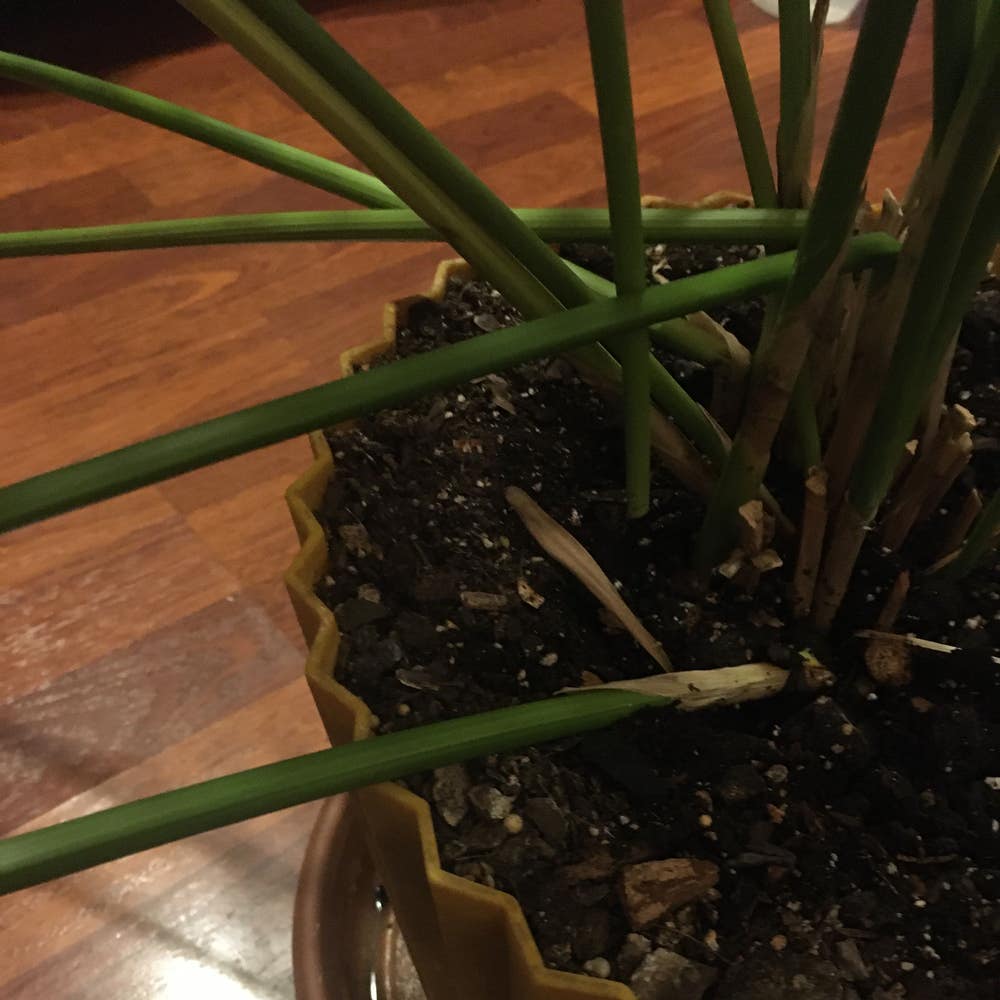
Cyperus aucheri
By the Greg Editorial Team
Nov 26, 2024•4 min read
This article was created with the help of AI so we can cover more plants for you. May contain errors. See one? Report it here.
- 💧 Water propagation is easiest; use healthy stems and a clear container.
- 🌡️ Maintain 70°F (21°C) and high humidity for optimal root development.
- 🌱 Choose the right method; each offers unique benefits for your gardening style.
Propagation Methods
🌊 Water Propagation (difficulty: easy)
Step-by-step instructions
- Select healthy stems: Choose stems that are at least 6 inches long. This ensures they have enough energy to grow roots effectively.
- Prepare a container: Use a clear glass or jar to monitor root growth easily. Transparency allows you to see the progress without disturbing the cuttings.
- Fill with water: Submerge the cut ends in water, ensuring no leaves are submerged. This prevents rot and promotes healthy root development.
- Place in indirect sunlight: Position the container in a location with bright, indirect light. Too much direct sunlight can harm the delicate cuttings.
- Change water regularly: Refresh the water every few days to prevent stagnation. Clean water is crucial for healthy root growth.
Ideal conditions for success
- Temperature: Maintain a warm environment (around 70°F or 21°C). This temperature range encourages optimal growth.
- Humidity: High humidity levels (above 50%) are beneficial. Consider using a humidity dome if your environment is too dry.
Common issues and solutions
- Root rot: Ensure water is changed regularly and avoid over-submerging leaves. This keeps the cuttings healthy and thriving.
- Slow root growth: Increase humidity or adjust light exposure. Sometimes, a little tweak can make a big difference.
🌱 Soil Propagation (difficulty: moderate)
Step-by-step instructions
- Prepare soil mix: Use a well-draining potting mix, ideally with added perlite or sand. This helps prevent waterlogging.
- Take cuttings: Snip healthy stems about 4-6 inches long. Healthy cuttings are key to successful propagation.
- Plant cuttings: Insert cut ends into the soil mix, burying them about 2 inches deep. This depth provides stability for the cuttings.
- Water thoroughly: Moisten the soil without making it soggy. Consistent moisture is vital for root establishment.
- Cover with plastic: Use a plastic bag or dome to maintain humidity. This creates a mini-greenhouse effect, promoting growth.
Soil type recommendations
- Well-draining potting mix: A mix that retains moisture but allows excess water to escape is ideal. This balance is crucial for healthy roots.
- pH level: Aim for a neutral pH (6.0 to 7.0). This range supports nutrient availability for the plant.
Watering and light requirements
- Watering frequency: Keep the soil consistently moist but not waterlogged. Overwatering can lead to root rot.
- Light exposure: Provide bright, indirect sunlight for optimal growth. Too much direct light can stress the young plants.
✂️ Division Method (difficulty: moderate)
How to divide plants
- Choose a mature plant: Select a healthy plant with multiple stems. This ensures each division has the potential to thrive.
- Remove from pot: Gently take the plant out of its container. Be careful not to damage the roots during this process.
- Separate the clumps: Use a sharp knife to divide the root ball into sections, ensuring each section has roots and stems. This promotes successful replanting.
- Replant immediately: Place each division into its own pot with fresh soil. Fresh soil provides nutrients for the new plants.
Timing for division
- Best time: Early spring or late summer when the plant is actively growing. This timing maximizes the chances of successful recovery.
Post-division care
- Watering: Water thoroughly after replanting and maintain consistent moisture. This helps the divisions establish quickly.
- Light: Provide bright, indirect light to encourage recovery. Proper light conditions support healthy growth.
🌿 Root Cuttings (difficulty: hard)
How to take root cuttings
- Select healthy roots: Choose thick, healthy roots from a mature plant. Healthy roots are essential for successful propagation.
- Cut into sections: Cut roots into 2-4 inch pieces, ensuring each piece has a growing tip. This increases the chances of sprouting.
- Prepare for planting: Allow cuttings to callous over for a few hours. This step helps prevent rot when planted.
Best practices for planting cuttings
- Planting depth: Bury cuttings about 2 inches deep in a well-draining soil mix. This depth provides stability and moisture access.
- Watering: Water lightly after planting to settle the soil. Avoid overwatering to prevent rot.
Expected growth timeline
- Germination time: Roots typically sprout within 4-6 weeks under optimal conditions. Patience is key during this process.
With these propagation methods, you can successfully grow your Cyperus plants. Each technique offers unique benefits, so choose the one that best suits your gardening style and environment. Happy propagating!
⚠️ Safety First
This content is for general information and may contain errors, omissions, or outdated details. It is not medical, veterinary advice, or an endorsement of therapeutic claims.
Always consult a qualified healthcare professional before using any plant as food, medicine, or supplement.
Never eat any plant (or feed one to pets) without confirming its identity with at least two trusted sources.
If you suspect poisoning, call Poison Control (800) 222-1222, the Pet Poison Helpline (800) 213-6680, or your local emergency service immediately.
Spotted an error? Please report it here.
Propagate your Cyperus like a pro 🌱 with Greg's tailored tips and reminders that ensure your cuttings grow strong and healthy!