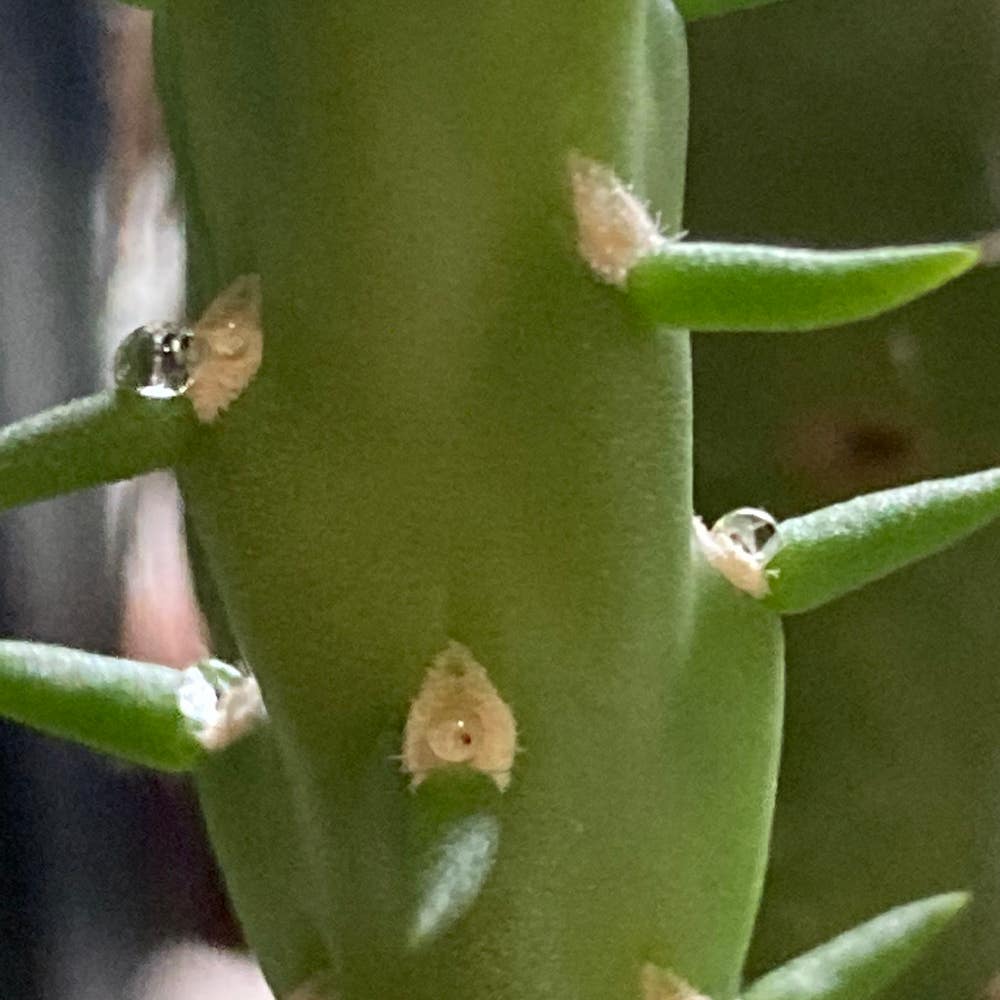
Should I Repot My Chain-Link Cholla?
Cylindropuntia cholla
By the Greg Editorial Team
Feb 13, 2024•4 min read
This article was created with the help of AI so we can cover more plants for you. May contain errors. See one? Report it here.
Boost your Cholla's zest for life 🌵 by mastering the timely art of repotting for vibrant growth!
- Root crowding and slowed growth signal it's repotting time.
- Early spring repotting aligns with the Cholla's growth cycle.
- Terracotta for breathability, plastic for moisture, choose wisely.
When Your Cholla Craves a New Home
🌵 Spotting the Telltale Signs
Root crowding is like a packed elevator; if you see roots peeking out of drainage holes or circling the pot's base, it's time for a change. Slowed growth in your Chain-Link Cholla isn't just a phase—it's a red flag that your plant's current pot is stunting its potential. Drainage issues can turn fatal; if water drains too quickly or not at all, your Cholla's roots might be suffering in silence.
🕰 Timing is Everything
The best time to repot is during the early spring, when the Chain-Link Cholla's growth cycle is just beginning. This timing allows the plant to settle into its new home with minimal stress, capitalizing on the natural surge of energy that comes with the growing season.
Picking the Perfect Pot
🌱 Material Matters
Terracotta pots are breathability champions, wicking away excess moisture which is a plus for your Chain-Link Cholla's delicate roots. But, they're also the gym weights of the pot world—heavy and breakable. Plastic, the lightweight contender, retains moisture like a sponge, which could spell disaster for those who are a bit too generous with the watering can. Ceramic pots sit pretty in the middle, less porous than terracotta but still offering some air flow—just make sure they've got drainage holes.
📏 Size and Shape Considerations
When it comes to size, think Goldilocks: not too big, not too small, just right. A pot that's too spacious might lead to waterlogged soil, while a cramped one can stunt your Cholla's growth. Shape-wise, go for a pot that complements the Cholla's vertical growth—tall and deep is the way to go. Remember, the right pot size encourages a healthy root system, which is the secret sauce for a thriving Chain-Link Cholla.
The Repotting Rodeo: A Step-by-Step Guide
🛠️ Preparing for the Move
Before you dive into the repotting process, assemble your toolkit. You'll need a new pot with drainage holes—slightly larger than the current one—and a screen to prevent soil escape. Ensure you have a quality potting mix, gloves for protection, and tools for cutting, like scissors or a knife. Don't forget the watering can for the grand finale.
🕺 The Delicate Dance
🌵 Removing Your Cholla Safely
It's go time. Water your Chain-Link Cholla lightly the day before to ease the transition. Tilt the pot and gently coax the plant out. If it resists, a subtle twist or tap should loosen things up. Inspect the roots carefully, trimming any that seem unhealthy to encourage a fresh start.
🌱 Transplanting Without Trauma
With the old pot behind you, it's time to introduce your Cholla to its new home. Place a base layer of potting mix in the new pot. Settle your plant in, ensuring it's at the same depth as before. Fill in around the roots with more mix, pressing slightly to eliminate air pockets but not so much as to compact the soil.
🎨 Finishing Touches
🏜️ Soil Selection and Filling Techniques
Choose a well-draining soil mix specifically for cacti. This will help prevent root rot and provide the right nutrients. When filling the pot, leave a small margin at the top to make watering easier and prevent overflow.
🌞 Positioning Your Plant for Success
Finally, place your newly potted Cholla in a spot where it will receive ample sunlight. The right location can make a significant difference in its growth and health. Keep an eye on it over the next few weeks to ensure it adjusts well to its new environment.
Post-Repotting Care for Chain-Link Cholla
🌱 The First Few Weeks
💧 Watering Dos and Don'ts
- Wait a week before the first watering to let any disturbed roots heal.
- Check the soil's moisture level—dry is the word before you water again.
Monitoring for Stress Signs
- Keep an eye out for drama like drooping or discolored leaves—adjust care as needed.
- Celebrate new growth; it's a sign your Cholla is giving you a green thumbs-up.
Long-Term Thriving
🌿 Fertilization and Sunlight Adjustments
- Hold off on fertilizing for a few months; let your plant settle in.
- Ensure your Cholla gets the right amount of sunlight—too much can be a stressor.
When to Resume Your Regular Care Routine
- Gradually return to your regular care routine, observing your plant's response.
- Consistency is key; establish a new normal for watering and sunlight exposure.
⚠️ Safety First
This content is for general information and may contain errors, omissions, or outdated details. It is not medical, veterinary advice, or an endorsement of therapeutic claims.
Always consult a qualified healthcare professional before using any plant as food, medicine, or supplement.
Never eat any plant (or feed one to pets) without confirming its identity with at least two trusted sources.
If you suspect poisoning, call Poison Control (800) 222-1222, the Pet Poison Helpline (800) 213-6680, or your local emergency service immediately.
Spotted an error? Please report it here.
By following these repotting tips, you can watch your Chain-Link Cholla flourish, with Greg 🌵 offering gentle reminders and sunlight tracking to ensure a seamless transition.