How Do I Propagate My Aglaonema rotundum?
Aglaonema rotundum
By the Greg Editorial Team
Feb 09, 2024•4 min read
This article was created with the help of AI so we can cover more plants for you. May contain errors. See one? Report it here.
- 🌱 Spring is best for division, but it's possible year-round.
- Look for overcrowded roots to know when to divide.
- Healthy stems are key for successful stem cutting propagation.
Getting Started with Division Propagation
🌱 Choosing the Right Time to Divide
Spring is prime time for division propagation, but don't sweat it; you can divide Aglaonema rotundum throughout the year. Look for signs like overcrowded roots or a plant that's bursting its pot's seams. That's nature's nudge telling you it's time to give your plant some breathing room.
🛠️ The Division Process Step-by-Step
Step 1: Prepare Your Plant
Water your Aglaonema a day before the big split. This preps the roots and makes the soil more pliable.
Step 2: Unpot and Inspect
Gently coax your plant out of its pot. Check for root rot or damage—healthy roots mean a smoother transition.
Step 3: Divide with Care
Now, get your hands dirty. Tease the roots apart or, if they're stubborn, use a clean, sharp knife. Aim for divisions with a balanced mix of roots, leaves, and stems.
Step 4: Pot Up
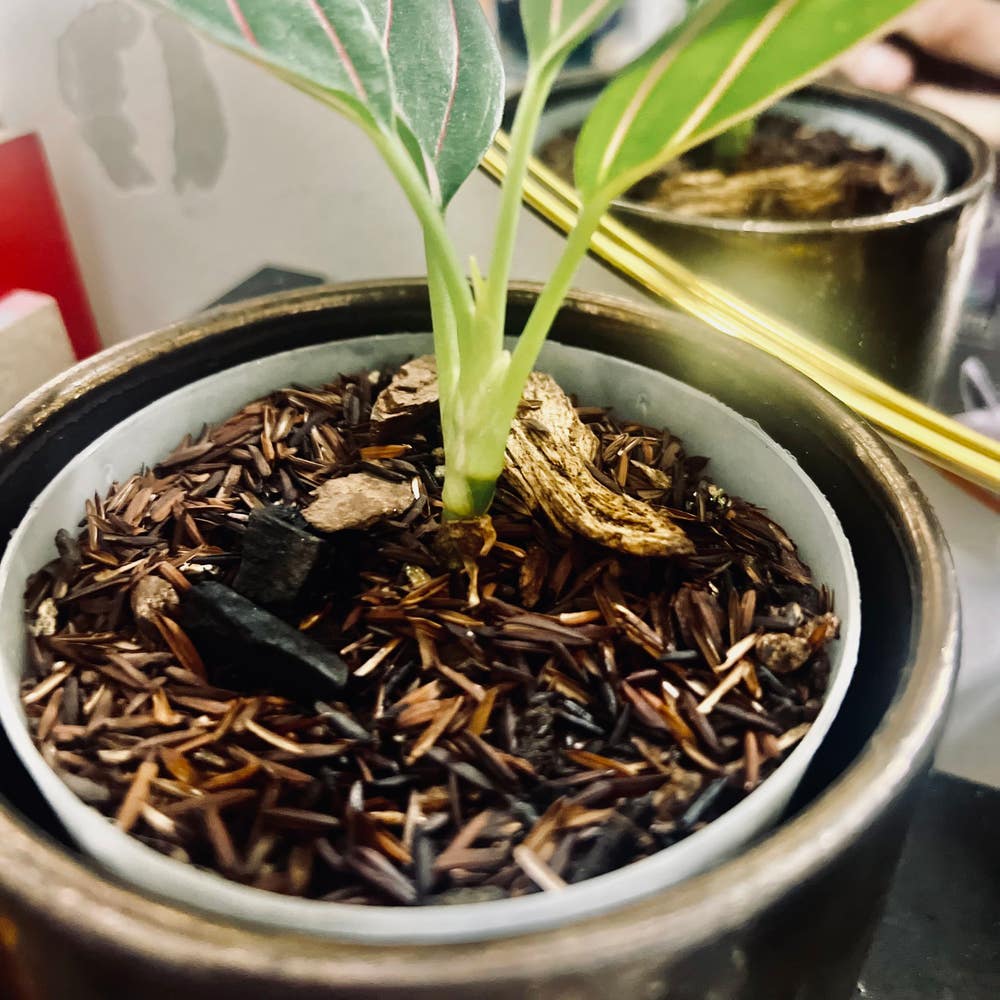
Plant each new section in its own pot with a similar potting mix to what it was in before. Keep the vibe the same; abrupt changes are a no-go.
🌿 Post-Division Care
Immediate Aftercare
Let your new plants settle in. Keep the soil moist but not soggy to encourage root growth without inviting rot.
Potting and Soil
After a couple of weeks, when you see new growth, it's time to pot. Use a well-draining mix and pots with drainage holes. Your Aglaonema's roots dislike wet feet.
Remember, each plant has its own personality. Pay attention to how your new Aglaonema rotundum plants are adjusting, and they'll thrive under your watchful eye.
Stem Cutting Propagation: A Detailed Walkthrough
🌱 Selecting and Preparing Stem Cuttings
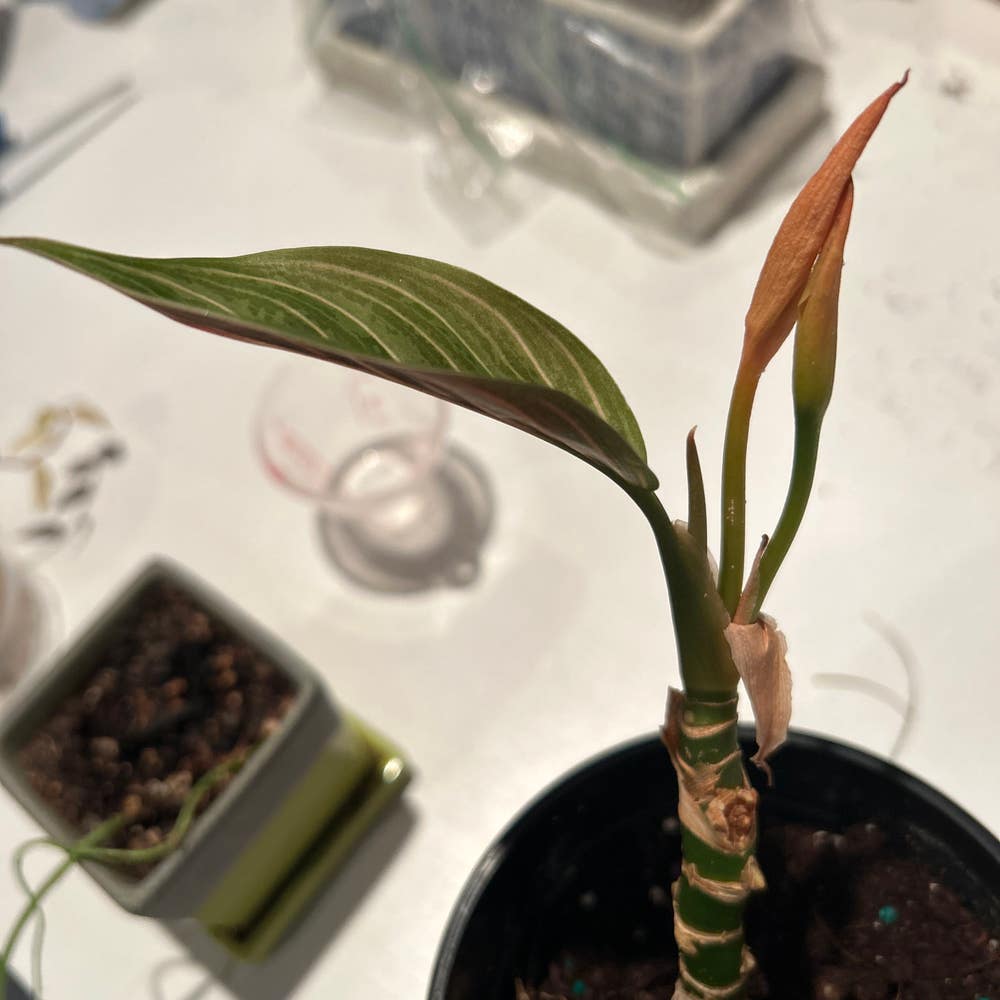
Identifying viable stems is your first step. Look for healthy, green, and blemish-free stems. Use a disinfected, sharp pair of shears for a clean cut below a node.
Strip lower leaves to prevent rot, leaving just a couple at the top to sustain photosynthesis. Allow the cutting to callous over for a few days before planting to create a protective barrier.
🌿 Rooting Your Stem Cuttings
Rooting hormone is like a success-boosting pep talk for your cuttings. It's not essential, but it can accelerate root development. Dip the cut end into the hormone before planting.
Create ideal conditions for rooting: consistent moisture and warmth, but avoid direct sunlight. Patience is key—nature can't be rushed.
🌱 Transitioning Cuttings to Soil
When roots peek out, it's time for the cuttings to gain independence. Transition gradually to avoid shock. Start by moving cuttings from water to a well-draining soil mix.
Ensure successful acclimatization by keeping the soil moist but not soggy. Watch for new growth as a sign of a happy, acclimatized plant ready to thrive.
Creating the Perfect Propagation Environment
💡 Light, Temperature, and Humidity
Setting up your propagation station is like prepping a nursery for plant babies. Bright, indirect sunlight is non-negotiable; it's the sweet spot between a sunburn and a shade-induced pout. Aim for a consistent temperature—think cozy, not tropical heatwave—and keep the humidity high enough to encourage growth but not so high you're growing mold instead of plants.
🚰 Watering and Feeding Your Propagations
Watering is a game of precision. Keep the soil moist as a wrung-out sponge, and resist the urge to drown your cuttings in love. Water balance is key, both in the substrate and the air around it. As for feeding, go easy. A light fertilizer snack can help, but don't overdo it—these are delicate times, and your propagations are not at an all-you-can-eat buffet.
Monitoring Growth and Solving Propagation Problems
🌱 Signs of Success and Growth Milestones
New roots sprouting? That's your high-five from Mother Nature. Transparent containers are great for this; they let you spy on those shy, white tendrils without disturbing the soil. No roots? Don't sweat it. Tweak one thing—light, water, whispers of encouragement—and watch closely. Patience is key; plants don't rush, and neither should you.
🚫 Common Propagation Pitfalls and Their Remedies
Root rot—the bane of propagation. If you're greeted by mushy, brown roots, it's time to dial back the waterworks. Overwatering is a common misstep, so let's not drown our green babies in love. Drainage holes are a must to avoid waterlogged soil. Encountering mold or fungus? Improve airflow and consider a fungicide. Remember, it's a learning curve, not a failure fest. Keep your eyes peeled for pests, too. If your plant's leaves are stickier than a cinema floor, you might have uninvited guests. Act fast—pests are like bad roommates; they invite friends and eat all your food (or in this case, your plant).
⚠️ Safety First
This content is for general information and may contain errors, omissions, or outdated details. It is not medical, veterinary advice, or an endorsement of therapeutic claims.
Always consult a qualified healthcare professional before using any plant as food, medicine, or supplement.
Never eat any plant (or feed one to pets) without confirming its identity with at least two trusted sources.
If you suspect poisoning, call Poison Control (800) 222-1222, the Pet Poison Helpline (800) 213-6680, or your local emergency service immediately.
Spotted an error? Please report it here.
Propagate your Aglaonema rotundum 🌱 with ease using Greg's personalized reminders and care tips to guide you through each step of the process.