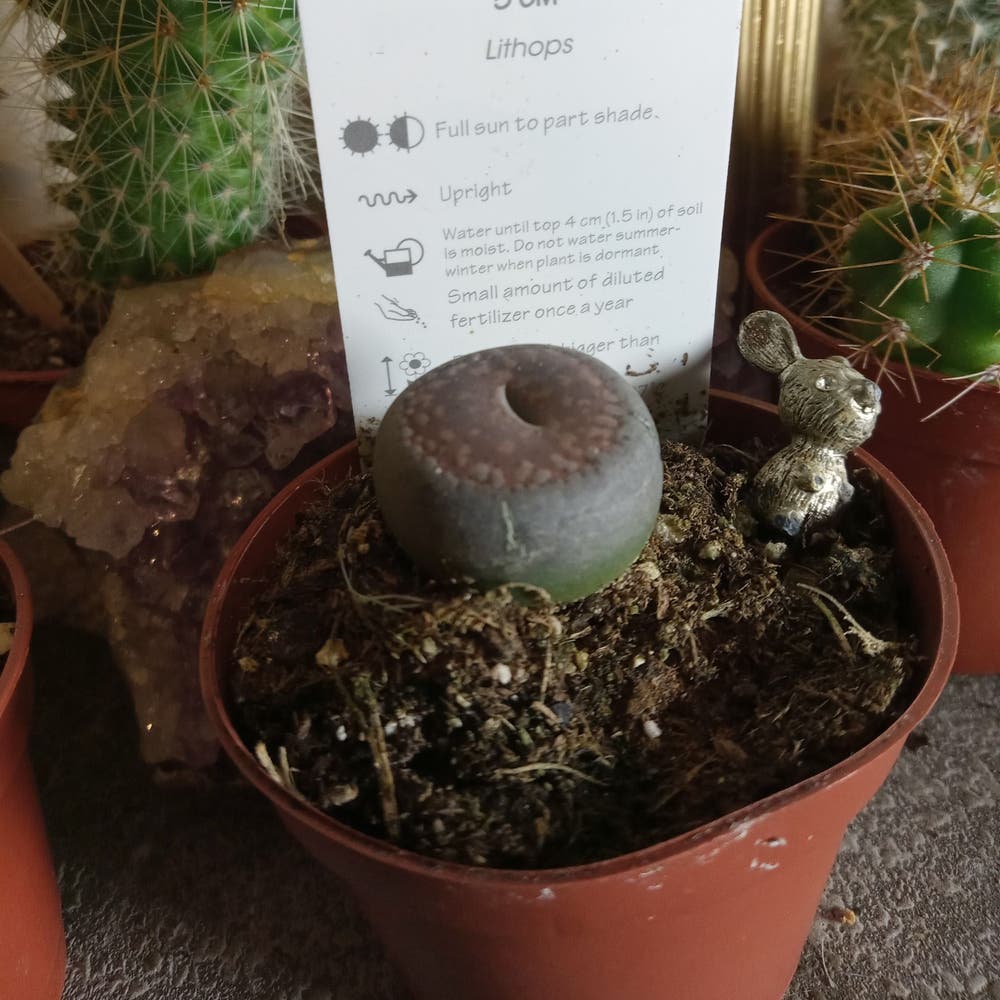
💧 What Do I Do About Lithops Bromfieldii Root Rot?
Lithops bromfieldii
By the Greg Editorial Team
Jun 18, 2024•6 min read
This article was created with the help of AI so we can cover more plants for you. May contain errors. See one? Report it here.
Rescue your lithops from root rot doom 🌵 with these essential detection and prevention strategies!
- Early signs like wilting, odor, and discoloration signal root rot in Lithops bromfieldii.
- Inspect and trim roots to confirm and treat root rot effectively.
- Prevent with proper soil, drainage, and watering to maintain healthy Lithops.
Identifying Root Rot in Lithops bromfieldii
Early detection is crucial when it comes to root rot in Lithops bromfieldii. Be on the lookout for tell-tale signs like a grayish-green discoloration in the leaves, which can indicate the onset of the condition. If your plant's leaves are wilting or if it emits an unpleasant odor, these are red flags.
🚨 Recognizing Symptoms
Root rot often manifests as dark, mushy roots. If the leaves of your Lithops bromfieldii start to appear droopy, yellow, or pale, it's time to take a closer look. A gentle tug on the leaves can also reveal the health of the plant; if they come off easily, it's a sign of advanced rot.
🔍 Confirming Root Rot
To confirm root rot, you'll need to inspect the roots directly. Gently remove your plant from its pot and examine the roots. Healthy roots should be firm and white, while rotted roots will be black or brown and feel soft or mushy. If the rot has spread to the stem, the situation is more dire, and immediate action is required.
👀 Visual Inspection
Keep an eye out for brown spots or splitting leaves, as these can be symptoms of overwatering and subsequent root rot. Remember, Lithops bromfieldii are succulents that store water in their leaves, so they require less frequent watering than other plants.
🛡️ Proactive Measures
Regularly checking your plant's roots can prevent a full-blown root rot crisis. If you spot any of the symptoms mentioned, it's time to take action and potentially save your Lithops bromfieldii from an untimely demise.

Causes and Contributing Factors
Root rot in Lithops bromfieldii doesn't just happen; it's usually a classic case of too much love in the form of water. Overzealous watering can drown these succulents' roots, creating a soggy, oxygen-starved environment where harmful fungi throw a party.
💦 Overwatering: The Prime Suspect
It's a simple equation: too much water plus succulent equals trouble. Lithops bromfieldii are drought-adapted, meaning they're more about the dry life than the wet one. When their roots get waterlogged, they start to decay, and that's when root rot moves in.
🚰 Poor Drainage: The Accomplice
Imagine wearing wet socks all day; your feet would be miserable, right? That's how Lithops feel with poor drainage. Whether it's due to compact soil or a pot without proper holes, bad drainage is like a broken umbrella in a rainstorm – utterly useless and kind of ironic.
🌱 Soil Composition: The Enabler
If your soil mix is more clay than a gritty, sandy loam, you're basically setting up a root rot spa. The right soil should be like a good thriller novel – gripping enough to keep you interested but loose enough to let air and water through without getting bogged down.
🌡️ Environmental Overkill
Sometimes, it's not just about the watering. If your Lithops are chilling in temperatures cooler than their African homeland, the soil stays wetter longer. Add in a pot that's too big for its britches, and you've got a classic case of environmental mismatch.
📝 The Takeaway
Keep it dry, keep it draining, and keep it in a snug pot with the right soil. Your Lithops bromfieldii will thank you by not rotting away. Remember, when it comes to watering these succulents, it's better to be a bit neglectful than over-attentive.

Treating Root Rot in Lithops bromfieldii
Root rot in Lithops bromfieldii can feel like a death sentence for your stone-like succulent, but with quick and decisive action, you can turn the tide. Here's a no-nonsense guide to getting your plant back on track.
🚑 Step-by-Step Rescue Operation
- Unpot and Inspect: Gently remove your lithops from its current pot. Shake off excess soil and take a hard look at the roots. Healthy roots are firm and light-colored, while rotten ones are mushy and dark.
- Trim the Damage: Using sterilized scissors or pruning shears, snip off the rotted roots. Be ruthless but careful; only healthy tissue should remain.
- Dry Out: Let the plant sit out in open air to dry. This helps the cuts callous over, reducing the risk of further infection.
- Repot: Choose a clean pot with a drainage hole and fill it with a well-draining soil mix. Replant your lithops, ensuring it's not sitting too deep to prevent future rot.
🌱 Best Practices for Repotting
- Soil Selection: Opt for a gritty, well-draining mix. Think cactus soil amped up with extra perlite or pumice.
- Pot Prep: Ensure your pot is squeaky clean to avoid introducing new pathogens.
- Root Placement: Position the lithops so the majority of it is above the soil line, reducing moisture contact and promoting air circulation.
- Post-Op Care: Resist the urge to water immediately. Give your plant a few days to acclimate and heal before introducing moisture to the equation.
Remember, Lithops bromfieldii is more drought-tolerant than aquaphilic. When in doubt, water less, not more. With these steps, your lithops should bounce back, ready to resume its role as a quirky conversation piece.

Preventing Future Root Rot
💧 Selecting the Right Pot and Soil Mix
Drainage is your Lithops bromfieldii's best friend. Choose a pot with adequate drainage holes—think Swiss cheese. The soil mix should be gritty and loose, allowing water to pass through without a second thought. A mix of sand, perlite, and a bit of organic material hits the sweet spot between drainage and moisture retention.
🚰 Watering Schedule and Environmental Conditions
Watering is not a "set it and forget it" game. Your Lithops bromfieldii craves a controlled watering schedule. Only water when the soil is dry a few inches down—use your finger, it's the best tool you've got. And remember, these succulents are sun worshippers; they thrive with plenty of light and airflow. Keep them in a bright spot with good circulation to ward off moisture-related woes.
🌬 Aeration and Cleanliness
Occasionally, let your Lithops bromfieldii breathe. A chopstick can be your aeration wand; gently poke the soil to invite air to the roots' party. And cleanliness is next to godliness—keep your tools sterilized and your pots clean to avoid introducing any nasty pathogens.
👀 Observing and Adjusting
Stay vigilant. Your plant's needs can change with the seasons or even with your room's humidity. Adjust your care routine accordingly. If you notice the soil staying wet for too long, it might be time to reassess your soil mix or watering frequency.
🌱 Pro Tips
- Use a well-draining potting mix; your Lithops bromfieldii will thank you.
- Water only when necessary, and then do it thoroughly—no sips here, we're talking full gulps.
- Keep an eye on the environment; these plants love stability.
- Aerate the soil now and then; it's like a mini spa day for the roots.
- Keep everything clean to prevent disease spread; your Lithops bromfieldii is a clean freak at heart.
⚠️ Safety First
This content is for general information and may contain errors, omissions, or outdated details. It is not medical, veterinary advice, or an endorsement of therapeutic claims.
Always consult a qualified healthcare professional before using any plant as food, medicine, or supplement.
Never eat any plant (or feed one to pets) without confirming its identity with at least two trusted sources.
If you suspect poisoning, call Poison Control (800) 222-1222, the Pet Poison Helpline (800) 213-6680, or your local emergency service immediately.
Spotted an error? Please report it here.
Prevent root rot 🛡 in your Lithops bromfieldii by letting Greg tailor a watering schedule and keep an eye on your succulent's health, ensuring it thrives under your care!