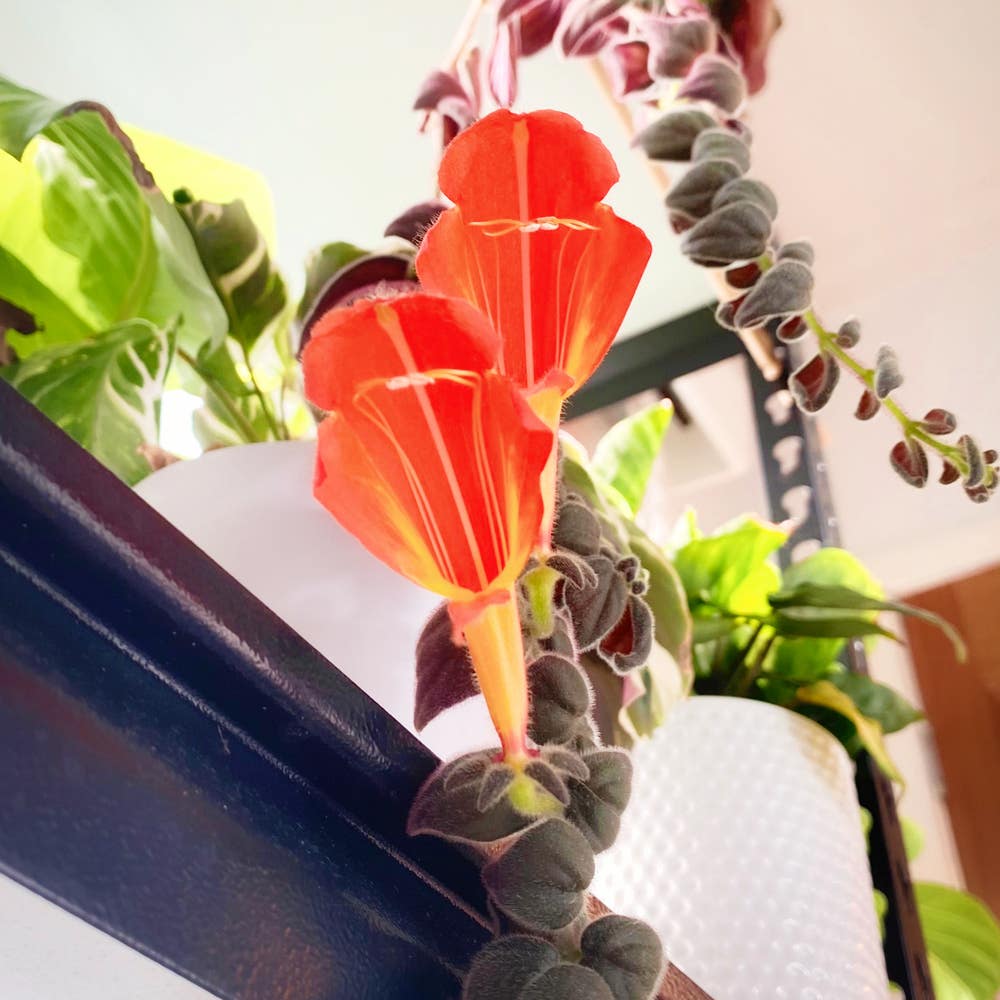
🐠 How Do I Propagate My Variegated Goldfish Plant?
Columnea hirta 'Variegata'
By the Greg Editorial Team
Mar 31, 2024•6 min read
This article was created with the help of AI so we can cover more plants for you. May contain errors. See one? Report it here.
- Choose healthy stems and sterilize tools for successful stem cutting propagation.
- Divide in spring/fall and water before splitting for easier, safer division.
- Air layering allows propagation while attached to the parent plant.
Snip & Plant: Stem Cutting Propagation
🌱 Choosing Your Champion: Selecting the best stems for propagation
To kick off your propagation journey, selecting the right stem is like choosing the lead in a play; it's got to be a showstopper. Look for stems that scream health—vibrant, sturdy, and absolutely no drama (aka pests or diseases). Think of it as a botanical audition where only the best get the part.
✂️ Making the Cut: How to properly cut and prepare stems
Once you've got your star stem, it's time to snip with purpose. Sterilize your scissors or shears—because cleanliness is next to plant-godliness. Make a confident cut just below a node, at a 45-degree angle, for maximum rooting potential. Strip the lower leaves to give your cutting a clean stem, ready for its rooting debut.
🌱 Rooting for Success: Planting the cuttings and providing the right conditions
Now, plant your cuttings in a well-draining mix; think of it as the cutting's first apartment—functional yet nurturing. If you're feeling fancy, a dip in rooting hormone can give your cuttings a leg up. Cover with plastic to create a mini greenhouse effect, because who doesn't love a bit of humidity? Keep the soil moist but not soggy—like a good sponge cake. And remember, patience is a virtue; roots take time to make their grand entrance.
Multiply by Dividing: Propagating through Division
🌱 When to Divide: Identifying the Right Time for Division
Spring or early fall are your go-to seasons for division. Plants are in their prime, ready to tackle new spaces post-split. Look for signs of crowding or when the center of the plant starts looking like a ghost town—that's your cue.
🌿 The Gentle Split: Techniques for Dividing the Plant Without Harm
First, water your plant a day or two before to make the soil more pliable. Gently coax the plant out of its pot, treating the roots like VIPs at a club—handle with care. Brush off the excess soil and look for natural separations. Use your hands or a knife for stubborn roots, making sure each new section has both roots and shoots.
🏡 Settling In: Potting and Caring for the New Divisions
Pot each new plant in fresh soil that drains like a dream. Replant at the same depth they were before to avoid the shock of change. Water them in to settle the roots and place them in bright, indirect light. Hold off on the fertilizer—let them find their feet first. Watch for new growth as a sign they're settling in just fine.
High in the Sky: Air Layering Technique
🌱 The Basics of Air Layering: What Makes It Different
Air layering is a propagation technique that allows you to start new plants while they're still attached to the parent. This method is perfect for the Variegated Goldfish Plant, which might not take kindly to the shock of being cut and stuck in water or soil without roots. It's like giving your plant a safety net while it learns to fly.
🛠 Step-by-Step Air Layering: Creating Air Layers on Your Goldfish Plant
- Select a healthy stem that's about the thickness of a pencil. This will be your propagation candidate.
- Make two parallel cuts about an inch apart around the stem and remove the bark between them to expose the inner layer.
- Apply rooting hormone to the exposed area to encourage root growth.
- Take pre-soaked sphagnum moss and form a moist pad around the wound.
- Wrap the moss with clear plastic wrap to retain humidity, and secure it with twist ties or string.
- Check the moisture level of the moss periodically, keeping it damp but not soggy.
🌍 From Air to Earth: Transitioning Air Layers to Soil
Once you see a healthy root system through the plastic, it's time for the big move. Cut below the new roots to separate your new plant from its parent. Pot it in a mix of well-draining soil, ideally with amendments like perlite and peat moss for breathability and moisture retention. Keep the new plant in a humid environment with indirect light and watch as it takes on a life of its own.
After the Cut: Caring for New Propagations
💧 Water Wisely: Balancing Moisture for Young Plants
Moist is your mantra when it comes to watering new propagations. Too much enthusiasm with the watering can, and you're on a one-way trip to Root Rot City. Too little, and your plant's wilting like a forgotten salad. Aim for that sweet spot where the soil feels like a wrung-out sponge.
🌱 First Food: Fertilizing Your New Propagations
Fertilizer is the secret sauce for growth, but don't go overboard. A half-strength, water-soluble fertilizer is like a light snack for your young plants. It's enough to give them a leg up without overwhelming their tender roots. Remember, you're nurturing, not force-feeding.
Oops, Did I Do That? Solving Propagation Problems
🌱 Common Hiccups: Identifying issues in the propagation process
Wilting cuttings are the plant world's white flag. They're either too thirsty or drowning in their own pot. Root rot is another common culprit, often a result of overwatering or poor drainage. Yellowing leaves? That's your plant's way of saying it's either getting sunburned or it's on a hunger strike for nutrients.
🛠 Quick Fixes: Addressing wilting, rot, and other challenges
If your cuttings are drooping, check the soil moisture. It should feel like a wrung-out sponge—moist, not soggy. If they're still sagging, consider if they're getting enough light. They might be craving some sunshine, so make sure they're not stuck in the dark.
Rot is the grim reaper of propagation. If you spot it, it's time to play surgeon. Trim off the dead parts with a sterilized blade and let the soil dry out. Then, reassess your watering routine. Your goal is a damp, not drenched, environment.
Got pests? They're the uninvited guests at your propagation party. Show them the door with a spritz of insecticidal soap. And remember, cleanliness is next to godliness—sterilize your tools to prevent the spread of disease.
If growth is stagnant, it's a sign to change the scenery. Ensure your cuttings are soaking up enough light and warmth to think they're on a tropical getaway. And if you're dealing with a fungal fiesta, crank up the airflow to crash their party.
Remember, every mishap is a lesson in disguise. Keep a close eye on your plants, and don't be afraid to adjust one variable at a time. Track what works and what doesn't. With a bit of patience and precision, you'll turn those propagation pitfalls into stepping stones to success.
⚠️ Safety First
This content is for general information and may contain errors, omissions, or outdated details. It is not medical, veterinary advice, or an endorsement of therapeutic claims.
Always consult a qualified healthcare professional before using any plant as food, medicine, or supplement.
Never eat any plant (or feed one to pets) without confirming its identity with at least two trusted sources.
If you suspect poisoning, call Poison Control (800) 222-1222, the Pet Poison Helpline (800) 213-6680, or your local emergency service immediately.
Spotted an error? Please report it here.
Embrace the joy of nurturing new life from your Goldfish Plant and watch your green family grow with Greg's guidance 🌿, offering tailored care and a supportive community every step of the way.