Propagating My Papyrus: Step-by-Step Guide
Cyperus papyrus
By the Greg Editorial Team
Jun 18, 2024•4 min read
This article was created with the help of AI so we can cover more plants for you. May contain errors. See one? Report it here.
- 🌱 Spring is prime for division, with new growth indicating readiness.
- ✂️ Sharp tools and hydration ensure successful Papyrus propagation.
- 🌾 Patience is key: weeks for division, consistent moisture for all methods.
Getting Started with Division Propagation
🌱 When to Divide Your Papyrus
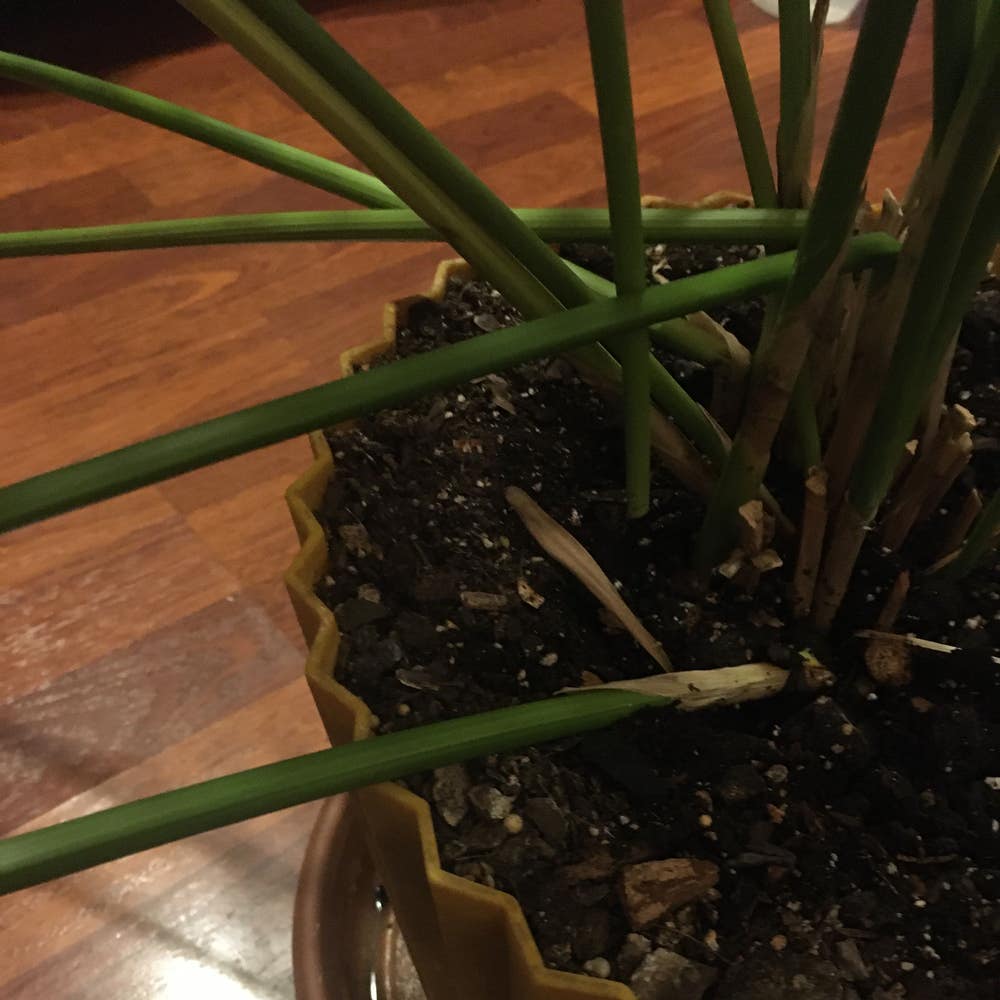
Springtime isn't just for cleaning; it's prime time for Papyrus division. Look for signs of new growth as your cue to get chopping. The plant should be mature enough to have several offshoots, ensuring each division has its own roots and shoots.
🕺 The Division Dance: Step-by-Step
🔪 Step 1: Gather Your Gear
Arm yourself with sharp tools—a knife or garden shears—and a clean container of water. No blunt instruments; we're not barbarians.
🌿 Step 2: Uproot with Care
Gently lift your Papyrus from its home. Be kind—those roots have feelings too.
👀 Step 3: Spot the Splits
Eyeball the root ball for natural divisions. No hacking required; follow the plant's lead.
✂️ Step 4: Make the Cut
With a surgeon's precision, separate the plant into sections. Each should have a healthy root system and foliage. Think clean cuts, not a horror movie.
💧 Step 5: Water World
Dunk the newly liberated sections in water. It's like a spa day for them—roots need to stay hydrated.
🌱 Post-Division: Ensuring Success
🔮 Step 1: Potting Party
Get those divisions into pots with nutrient-rich soil. Match the soil line to their previous one to avoid shocking their system.
💦 Step 2: Moisture Monitoring
Keep the soil consistently moist but not waterlogged. Think of it as a moist cake—deliciously damp.
🌞 Step 3: Location, Location, Location
Place your pots in a bright spot with indirect sunlight. Like a vampire, they dislike direct rays.
⏳ Step 4: Patience is a Virtue
Give it a few weeks, and you'll see new growth. It's a waiting game, but the reward is new Papyrus plants sprouting to life.

Rooting for Success: Rhizome Cuttings
🏆 Choosing Champion Rhizomes
Selecting the right rhizome is like picking the best player for your team. Look for sections with at least one growth point and a vibe of vitality. Vigorous rhizomes are your ticket to propagation success.
🔪 The Cutting Edge: Planting Your Rhizome
Grab a sterile knife—cleanliness is non-negotiable. Slice the rhizome with confidence, ensuring each piece has a growth point. Let the cut end callus over; it's like giving your cutting a mini shield against rot. Plant in a well-draining, peat-based mix with perlite. Think of it as the cutting's first-class seat to growth.
💧 Caring for Your New Cuttings
Humidity is your cuttings' best friend, but don't turn their world into a swamp. Keep the temperature around 25°C (77°F) to mimic their ideal tropical vacay. Soil moisture is key—consistently moist but never waterlogged. And for light, indirect is the way to go; no one likes a sunburn.

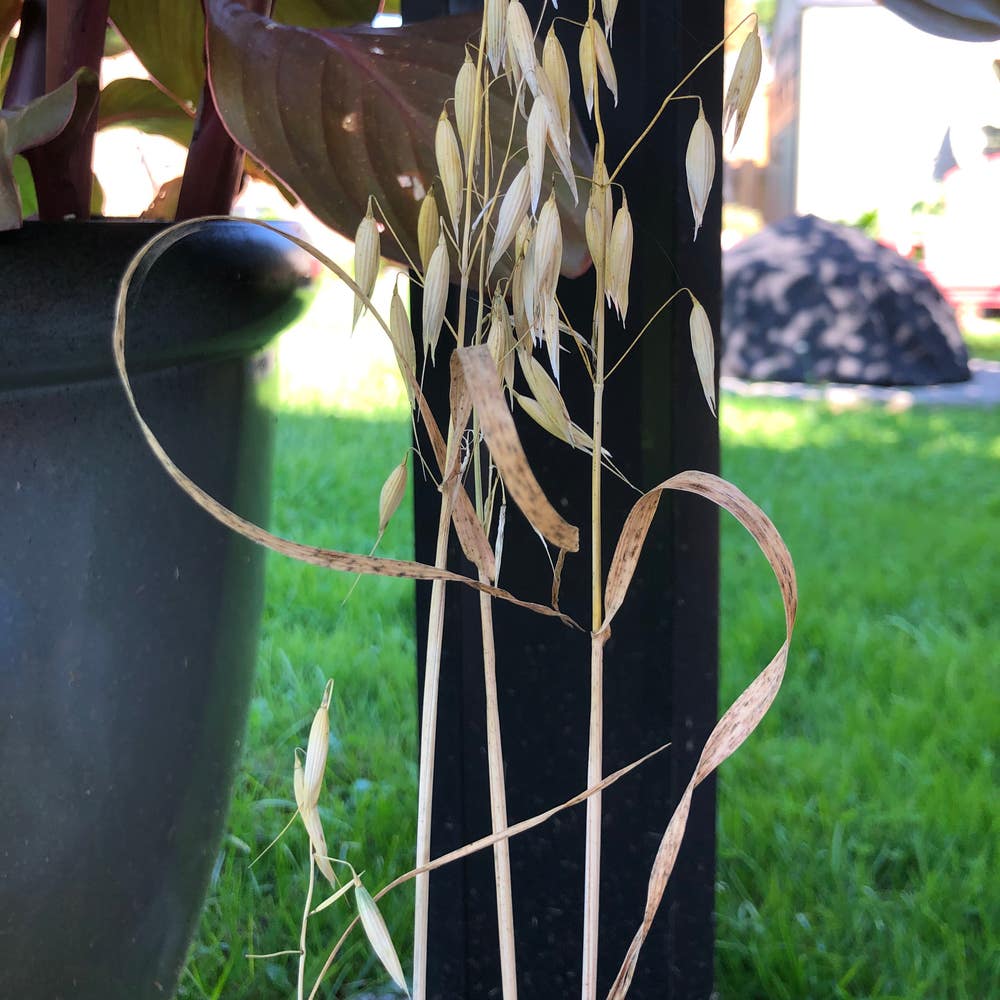
From Tiny Seeds to Tall Reeds: Seed Propagation
👩🌾 Harvesting Seeds with Potential
Harvesting Papyrus seeds requires impeccable timing. You'll want to collect them when they're ripe but haven't yet made their escape to the ground. To prepare the seeds, give them a scarification treatment. This involves a quick dip in almost-boiling water followed by a 12-24 hour soak in warm water. If they're stubborn and don't swell, gently nick the seed coat. Think finesse, not force.
🌱 Germination Station: Sprouting Seeds
Now, it's time to get those seeds into the soil. Whip up a mix of potting soil, coarse sand, and perlite for a well-draining home. Sow the seeds on the surface and dust them with a thin layer of soil. Keep the soil consistently moist, but not waterlogged. Remember, germination is not instant gratification—it's a waiting game.
🌿 Baby Steps: Nurturing Papyrus Seedlings
Once your Papyrus seeds have sprouted, it's all about the TLC. Ensure they have plenty of light and maintain soil moisture without creating a miniature swamp. As they grow, be vigilant about providing a stable environment—no dramatic temperature swings or gusty drafts. With patience and care, your seedlings will eventually mature into the majestic reeds they're destined to be.

⚠️ Safety First
This content is for general information and may contain errors, omissions, or outdated details. It is not medical, veterinary advice, or an endorsement of therapeutic claims.
Always consult a qualified healthcare professional before using any plant as food, medicine, or supplement.
Never eat any plant (or feed one to pets) without confirming its identity with at least two trusted sources.
If you suspect poisoning, call Poison Control (800) 222-1222, the Pet Poison Helpline (800) 213-6680, or your local emergency service immediately.
Spotted an error? Please report it here.
Turn your Papyrus propagation into a success story 🌱 with Greg's custom reminders and environmental tips, ensuring your new reeds flourish with ease.