Best Tips for Repotting Egyptian Papyrus 🪴
Cyperus papyrus
By the Greg Editorial Team
Jan 07, 2025•7 min read
This article was created with the help of AI so we can cover more plants for you. May contain errors. See one? Report it here.
- 🌱 Signs of pot-bound roots include roots out of drainage holes; repot if seen.
- 🌞 Repot in early spring for optimal growth; avoid winter and extreme heat.
- 🧰 Gather materials like a larger pot and well-draining soil before starting.
Signs That Your Papyrus Needs Repotting
🌱 Indicators of Pot-Bound Roots
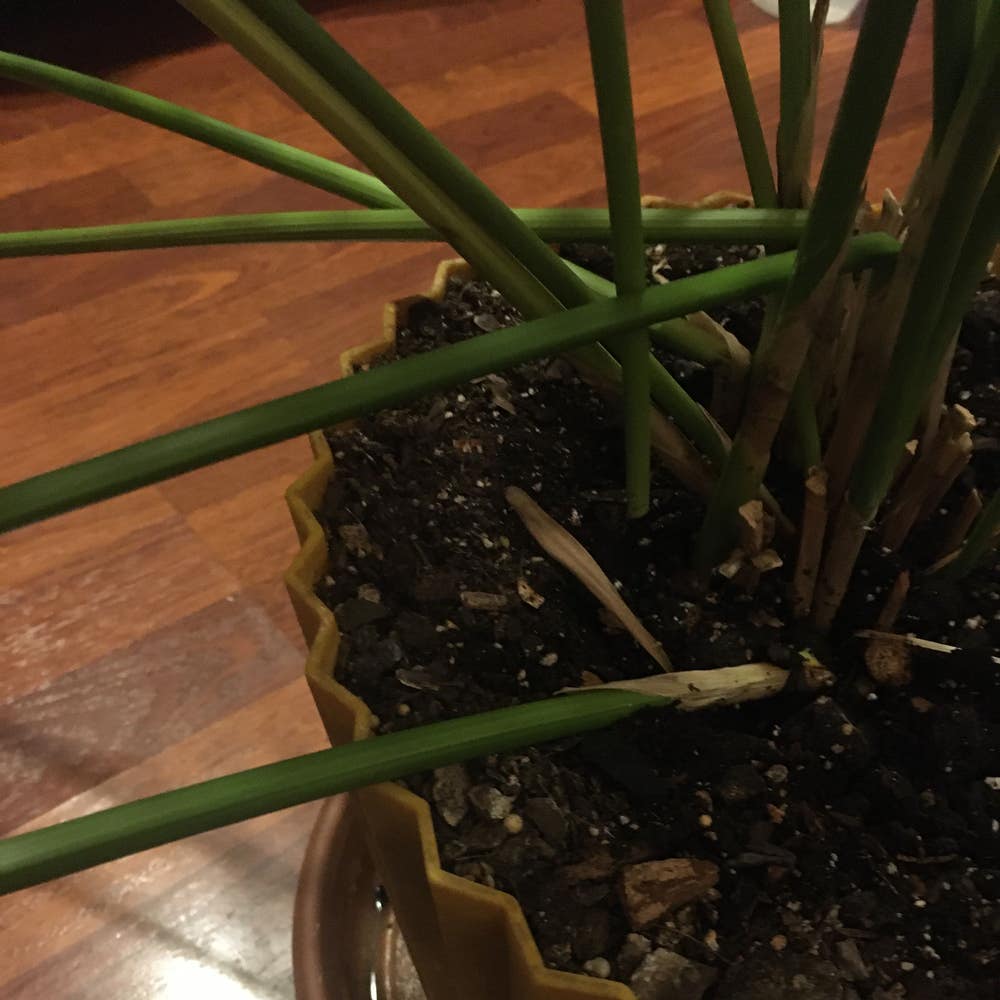
If your Egyptian Papyrus is showing signs of distress, it might be pot-bound. Look for roots growing out of the drainage holes; this is a clear indication that the plant has outgrown its current home.
Another sign is roots circling the pot. This behavior suggests limited space, which can lead to stunted growth or yellowing leaves, even when you’re providing proper care.
🌍 Environmental Changes
Environmental factors can also signal the need for repotting. If you notice water retention issues, such as the soil drying out too quickly, it’s time to reassess the pot size.
Additionally, decreased flowering or leaf production can indicate that your Papyrus is struggling. Visible signs of stress, like wilting or drooping, are also red flags that shouldn’t be ignored.
Recognizing these signs early can help ensure your Papyrus thrives in its new environment. Next, let’s explore the best time of year to repot your plant for optimal results.
Best Time of Year to Repot Papyrus
🌱 Seasonal Considerations
The best time to repot your Egyptian papyrus is early spring, just before the growing season kicks off. This timing allows the plant to settle into its new pot while it’s gearing up for growth.
Avoid repotting during winter dormancy when the plant is resting or during the extreme heat of summer. Both conditions can stress the plant and hinder its recovery.
☀️ Climate Impact
Warm and humid conditions are crucial for successful repotting. These environments help the plant adjust and thrive after the transition.
Keep an eye on local weather patterns to ensure you're repotting during optimal conditions. A little planning goes a long way in ensuring your papyrus flourishes in its new home.
Step-by-Step Guide to Repotting
Repotting your Egyptian Papyrus can seem daunting, but with a clear plan, it becomes a straightforward task. Follow these steps to ensure your plant thrives in its new home.
1. Gather Necessary Materials 🛠️
Before you start, collect all the essentials: a new pot, quality potting soil, water, and tools like a trowel and scissors. Having everything on hand will streamline the process.
2. Choose a New Pot 🪴
Select a new pot that is 1-2 inches larger in diameter than the current one. This extra space allows your Papyrus to grow without becoming pot-bound again.
3. Prepare the New Pot 🧱
Ensure the new pot has adequate drainage holes to prevent waterlogging. Adding a layer of gravel or small stones at the bottom enhances drainage, promoting healthy root growth.
4. Remove the Papyrus from Its Current Pot 🚪
Gently loosen the soil around the edges of the pot. Carefully slide the plant out, taking care not to damage the roots during this transition.
5. Inspect the Root System 🔍
Examine the roots for any dead or damaged sections. Use sterilized scissors to trim these away, and if the roots are pot-bound, gently tease them apart to encourage new growth.
6. Place the Papyrus in the New Pot 🌱
Position the plant at the same depth it was previously planted. Fill in with fresh potting soil, ensuring there are no air pockets that could hinder root development.
7. Water Thoroughly 💧
After planting, saturate the soil until water drains from the bottom. This step ensures the plant is stable and helps settle the soil around the roots.
8. Clean Up 🧹
Dispose of any old soil and clean your tools. A tidy workspace not only looks better but also prevents the spread of pests or diseases.
Following these steps will set your Egyptian Papyrus up for success in its new pot. Next, let’s explore the best pot material options to further enhance your plant's growth.
Pot Material Options
Best Pot Materials 🌱
When choosing a pot for your Egyptian Papyrus, consider the benefits of different materials. Clay pots are fantastic for moisture retention and allow for breathability, making them a popular choice among plant enthusiasts.
On the other hand, plastic pots are lightweight and easy to handle. Just be sure they have proper drainage holes to prevent water from pooling at the bottom.
Pot Materials to Avoid 🚫
While some materials are beneficial, others can be detrimental to your plant's health. Metal pots can heat up quickly, potentially damaging the roots and stressing the plant.
Additionally, avoid non-breathable materials, like glazed ceramic. These can retain too much moisture, leading to root rot and other issues.
Benefits of Using Clay vs. Plastic Pots ⚖️
Choosing between clay and plastic pots often comes down to your specific needs. Clay pots promote healthy root growth through evaporation, making them ideal for humid environments where your Papyrus thrives.
Conversely, plastic pots retain moisture longer, which is perfect if you prefer less frequent watering. Each material has its advantages, so consider your watering habits and environmental conditions when making your choice.
With the right pot material, your Egyptian Papyrus will have the best chance to flourish. Now that you know what to look for, let’s explore the recommended potting soil to ensure your plant has a solid foundation for growth.
Recommended Potting Soil
🌱 Soil Composition
Choosing the right potting soil is crucial for your Egyptian Papyrus's health. A well-draining, moisture-retentive mix is ideal, combining peat moss, perlite, and compost for optimal growth.
🚰 Importance of Drainage
Good drainage is essential to prevent root rot, which can be a death sentence for your plant. To ensure proper drainage during repotting, consider adding materials like gravel or small stones at the bottom of the pot.
🛠️ Tips for Ensuring Proper Drainage
- Check Drainage Holes: Always ensure your new pot has adequate drainage holes.
- Layering: Use a layer of gravel or stones to facilitate water flow.
- Soil Mix: Incorporate perlite into your potting mix to enhance aeration and drainage.
By focusing on the right soil composition and drainage techniques, you set your Egyptian Papyrus up for success. This foundation will help your plant thrive and flourish in its new home.
Next, let's explore the best pot materials to use for your Papyrus.
Post-Repotting Care
💧 Watering After Repotting
After repotting your Egyptian Papyrus, it's crucial to establish a proper watering routine. Keep the soil consistently moist, but avoid waterlogging, as this can lead to root rot.
☀️ Light Requirements Post-Repotting
Your Papyrus will thrive with bright, indirect sunlight during its recovery phase. This light exposure encourages healthy growth and helps the plant adjust to its new environment.
⚠️ Monitoring for Transplant Shock
Be vigilant for signs of transplant shock, which can manifest as wilting, yellowing leaves, or slowed growth. If you notice these symptoms, don’t panic; they’re common after repotting.
🛠️ Strategies to Mitigate Shock
To help your Papyrus bounce back, maintain humidity around the plant and avoid drastic temperature changes. A stable environment will support its recovery and promote robust growth.
By following these post-repotting care tips, you can ensure your Egyptian Papyrus thrives in its new home. Next, let’s explore common repotting mistakes to avoid, so you can keep your plant healthy and happy.
Common Repotting Mistakes to Avoid
🌱 Overpotting vs. Underpotting
Choosing the right pot size is crucial for your Egyptian Papyrus. Overpotting can lead to excess moisture retention, which may cause root rot.
On the flip side, underpotting restricts root growth, leading to stress and stunted development. Aim for a pot that is 1-2 inches larger in diameter than the current one to strike the perfect balance.
🧐 Ignoring Root Health
Don't overlook the importance of inspecting and trimming roots during repotting. Healthy roots are vital for your plant's growth and overall well-being.
Trimming away dead or damaged roots encourages new growth and helps your Papyrus thrive in its new environment.
🌡️ Not Acclimating the Plant
After repotting, it's essential to acclimate your Papyrus gradually. This process reduces stress and helps the plant adjust to its new surroundings.
To acclimate effectively, keep the plant in a stable environment with consistent humidity and temperature. Monitor its condition closely for signs of stress, and make adjustments as needed.
By avoiding these common mistakes, you'll set your Egyptian Papyrus up for success in its new pot. Next, let’s explore the best pot material options to ensure your plant thrives.
⚠️ Safety First
This content is for general information and may contain errors, omissions, or outdated details. It is not medical, veterinary advice, or an endorsement of therapeutic claims.
Always consult a qualified healthcare professional before using any plant as food, medicine, or supplement.
Never eat any plant (or feed one to pets) without confirming its identity with at least two trusted sources.
If you suspect poisoning, call Poison Control (800) 222-1222, the Pet Poison Helpline (800) 213-6680, or your local emergency service immediately.
Spotted an error? Please report it here.
Repot your Egyptian Papyrus like a pro 🌱 with Greg's tailored watering reminders and expert care tips to ensure it flourishes in its new pot!