Propagating Chamber Bitter: Step-by-Step Guide
Phyllanthus urinaria
By the Greg Editorial Team
Jun 18, 2024•5 min read
This article was created with the help of AI so we can cover more plants for you. May contain errors. See one? Report it here.
Propagate Chamber Bitter like a pro 🌿 and watch your garden thrive with our step-by-step guide!
- Choose healthy stems and use sterilized tools for successful cuttings.
- Rooting hormone boosts growth; place cuttings in warm, humid conditions.
- Soak seeds overnight for better germination; monitor and adjust environment as needed.
Getting Your Cuttings Ready
🏆 Choosing Your Champion
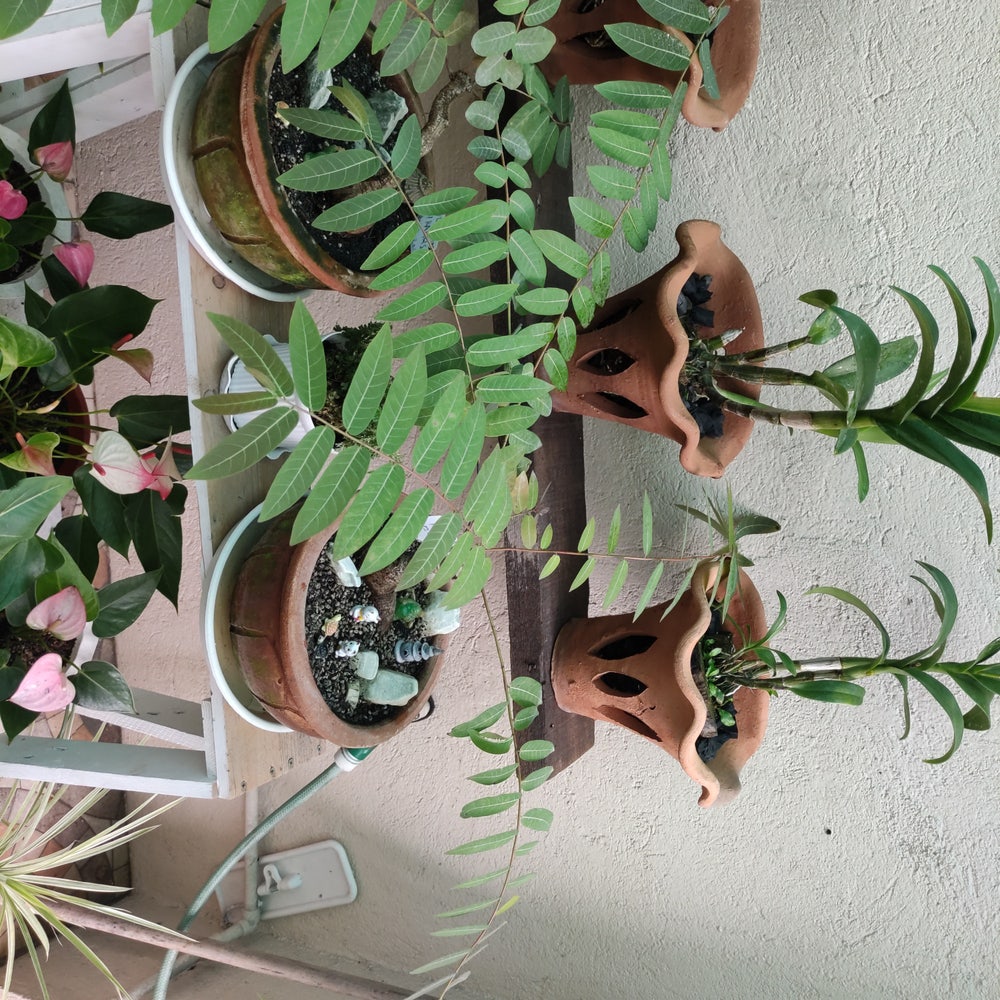
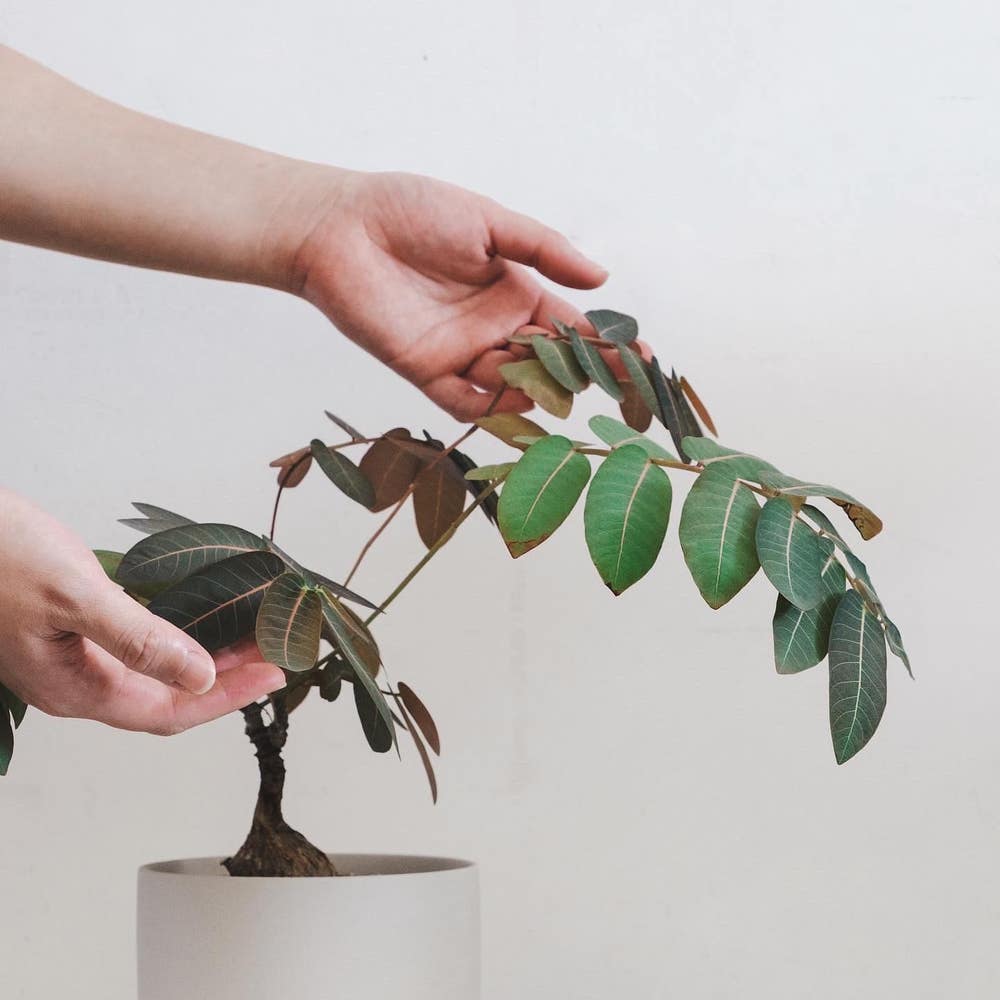
Selecting the best stems for cuttings is like picking your fantasy football team; you want the healthiest and most vigorous players. Look for stems that are free from pests and diseases, with a recent history of growth. Aim for a length of 4-6 inches, ensuring each cutting has several leaf nodes—those are the launch pads for new roots.
🛠 The Prep Work
🧼 Sterilize Your Tools
Before you start, sterilize your pruning shears or knife with rubbing alcohol or a bleach solution. Think of it as a hygiene ritual for the best start.
✂️ Make the Cut
Snip your chosen stem at a 45-degree angle just below a node to maximize the area from which roots can grow. Strip off the lower leaves, leaving just a few at the top to keep photosynthesis going without overwhelming the cutting.
💪 Hormone Boost
Dip the cut end into rooting hormone to encourage root development. It's like a pep talk for your cuttings, giving them a head start in the rooting race.
🎭 Setting the Stage
💡 Light and Temperature
Place your cuttings in a warm, brightly lit spot, but out of direct sunlight to avoid scorching. Think cozy, not tropical vacation.
🌡 Humidity Haven
Maintain high humidity around the cuttings to prevent them from drying out. A mini-greenhouse or a plastic bag with ventilation holes can create a humid microclimate. If you have a heating mat, use it to warm the rooting area, which should be between 65°F and 75°F—like a comfortable spring day.
🌱 Patience and Care
Keep an eye on your cuttings, ensuring they stay moist but not waterlogged. With the right conditions and a bit of patience, you'll soon see signs of growth.

Planting Your Future: Seed Propagation
🌱 Seed Collection and Prep
Harvesting Chamber Bitter seeds is a straightforward affair. Once the plant has bloomed and the seeds have formed, it's time to collect. Timing is crucial; you want to gather them before they disperse.
To prep, think of it as pre-gaming for seeds. Soak them overnight to soften their tough exterior, which can boost germination rates. No need for a lullaby, just let them soak in peace.
🌱 Germination Station
Creating a germination station is like setting up a nursery for your seeds. Moisture and warmth are your new best friends. Use a spray bottle to keep the soil just right—damp, not drenched.
For the soil mix, aim for a well-draining blend. A mix of potting soil, coarse sand, and perlite is the winning ticket. Sow the seeds on the surface and cover them with a sprinkle of soil, like a light dusting of snow.
Temperature matters. Keep the pot in a warm spot, but away from direct sunlight. Think of it as a cozy incubator for your future plants. Patience is key; germination can take time, but it's a rewarding wait.

Nurturing Your New Plants
🌱 The Waiting Game
After the initial excitement of propagation, the waiting game begins. Patience is not just a virtue; it's a necessity. Regularly monitor your Chamber Bitter's progress, looking for signs of life such as new leaves or roots. Remember, growth rates can vary, so don't be discouraged if your plant isn't following the textbook timeline.
🛠 Troubleshooting Tips
Encountering issues is part of the propagation process. If you notice stunted growth or discoloration, reassess your care routine. Ensure the plant is receiving the right balance of light and moisture. Overwatering is a common misstep, so let the soil dry out slightly between waterings. If root rot sets in, it's time to cut back on the H2O and maybe even start over with a new cutting. Remember, every challenge is an opportunity to learn and improve your green thumb skills.

Transplanting 101
🌱 From Small Beginnings
When your Chamber Bitter cuttings or seedlings are bursting with growth, it's time to give them more space. Rooted cuttings should be snug in their initial containers, but not so tight that they're forming a root ball. For seedlings, look for the emergence of true leaves—a sure sign they're ready to upgrade their living quarters.
🌱 How to Transplant Rooted Cuttings and Seedlings
- Choose a slightly larger pot to avoid overwhelming the young plant.
- Mix potting soil with some of the seed starting mix for a familiar yet fresh environment.
- Make a hole in the new soil, gently place the plant in, and fill in around it without compressing the soil too much.
- Water thoroughly but don't drown the little guys—they're tough, but they're not into swimming.
🏡 The Big Move
Acclimating Chamber Bitter plants to their new home requires finesse—it's like introducing your pet to a new housemate. Start by placing the plants in a similar light and temperature condition as before to avoid a botanical meltdown.
🏡 Acclimating Chamber Bitter Plants
- Begin by hardening off seedlings if they're moving from indoors to the great outdoors. A few hours of outside time each day should do the trick.
- For indoor moves, ensure the new spot has comparable light levels to avoid shocking your green buddies.
- Monitor closely for the first few weeks. New growth is a good sign; drooping or yellowing means it's time to reassess.
Remember, plants are like us—change is hard. But with a little patience and attention, your Chamber Bitter will be thriving in their new homes in no time.
⚠️ Safety First
This content is for general information and may contain errors, omissions, or outdated details. It is not medical, veterinary advice, or an endorsement of therapeutic claims.
Always consult a qualified healthcare professional before using any plant as food, medicine, or supplement.
Never eat any plant (or feed one to pets) without confirming its identity with at least two trusted sources.
If you suspect poisoning, call Poison Control (800) 222-1222, the Pet Poison Helpline (800) 213-6680, or your local emergency service immediately.
Spotted an error? Please report it here.