Propagating Your Zumula Cat Grass: Step-by-Step Guide
Cyperus alternifolius 'Zumula'
By the Greg Editorial Team
Mar 13, 2024•4 min read
This article was created with the help of AI so we can cover more plants for you. May contain errors. See one? Report it here.
Cultivate a cat paradise 🐾 with easy steps to multiply your Zumula Cat Grass at home! 🌿
- Choose healthy clumps for division; avoid disease or pests.
- Sow seeds properly with the right soil mix for germination.
- Cuttings need care: 45-degree cuts, callusing, and a warm environment.
Splitting Up: Division as a Propagation Technique
🌱 Choosing Your Champions
Selecting robust clumps for division is like picking an all-star team. Look for vigor in your Zumula Cat Grass—lush, green growth and a dense root system are your top draft picks. Avoid any clumps that show signs of disease or pest damage; they won't make the cut.
💃 The Division Dance
🎭 Preparing the Stage
Before you start the division, ensure you have clean tools and a workspace. This minimizes the risk of transferring any unwanted guests to your new plants.
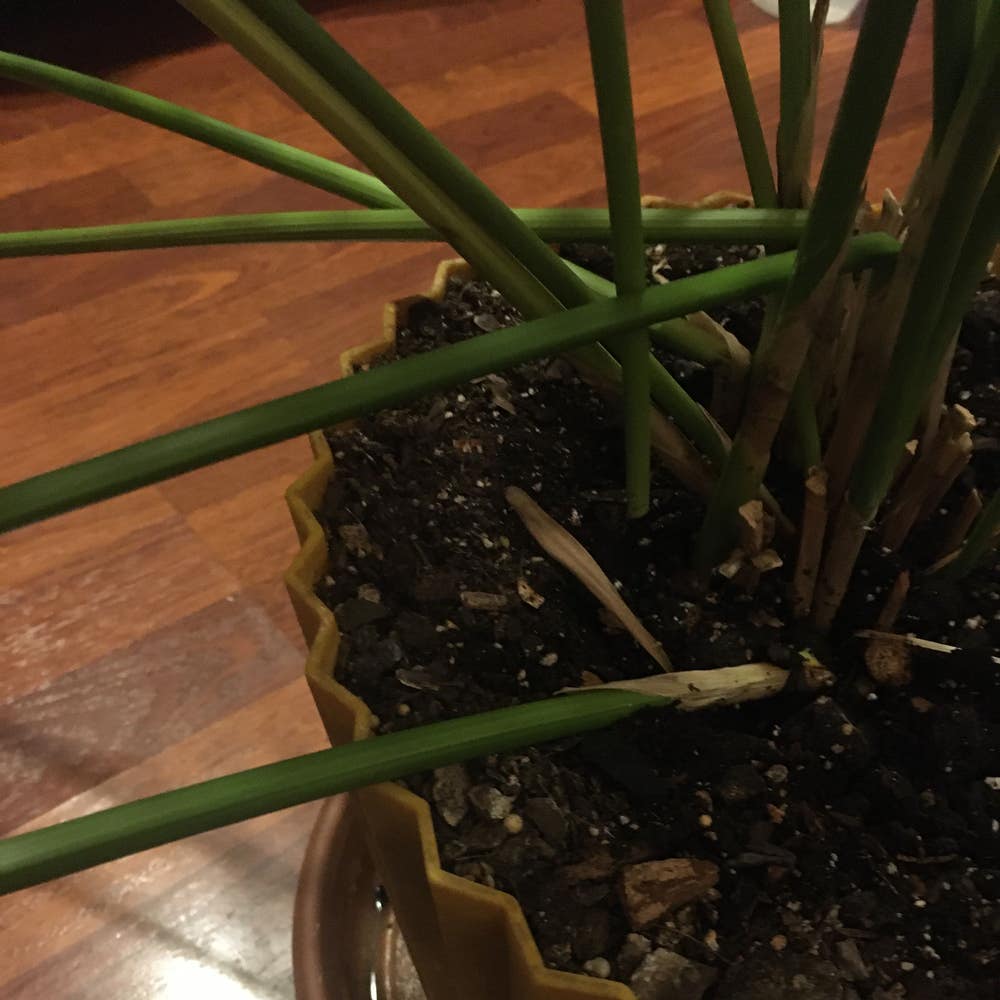
🕺 Step 1: Unpotting
Gently remove your Zumula Cat Grass from its container. Be mindful of the roots to avoid unnecessary damage.
🕵️ Step 2: Root Inspection
Examine the root ball. Healthy, white roots are a green light. Trim away any brown or mushy roots—they're benchwarmers that won't help in the game of growth.
✂️ Step 3: The Split
Identify natural divisions in the root clump. Use your fingers or a sharp knife to separate the plant into sections, ensuring each has a mix of roots and shoots.
🏺 Step 4: Potting Up
Plant each new section in its own pot filled with well-draining soil. Water them thoroughly to settle the roots and eliminate air pockets.
📣 Step 5: The Pep Talk
Place your newly potted divisions in a spot with indirect light and maintain consistent moisture. Cheer them on as they acclimate to their new homes and begin to grow.
From Tiny Seeds to Lush Greens: Seed Propagation
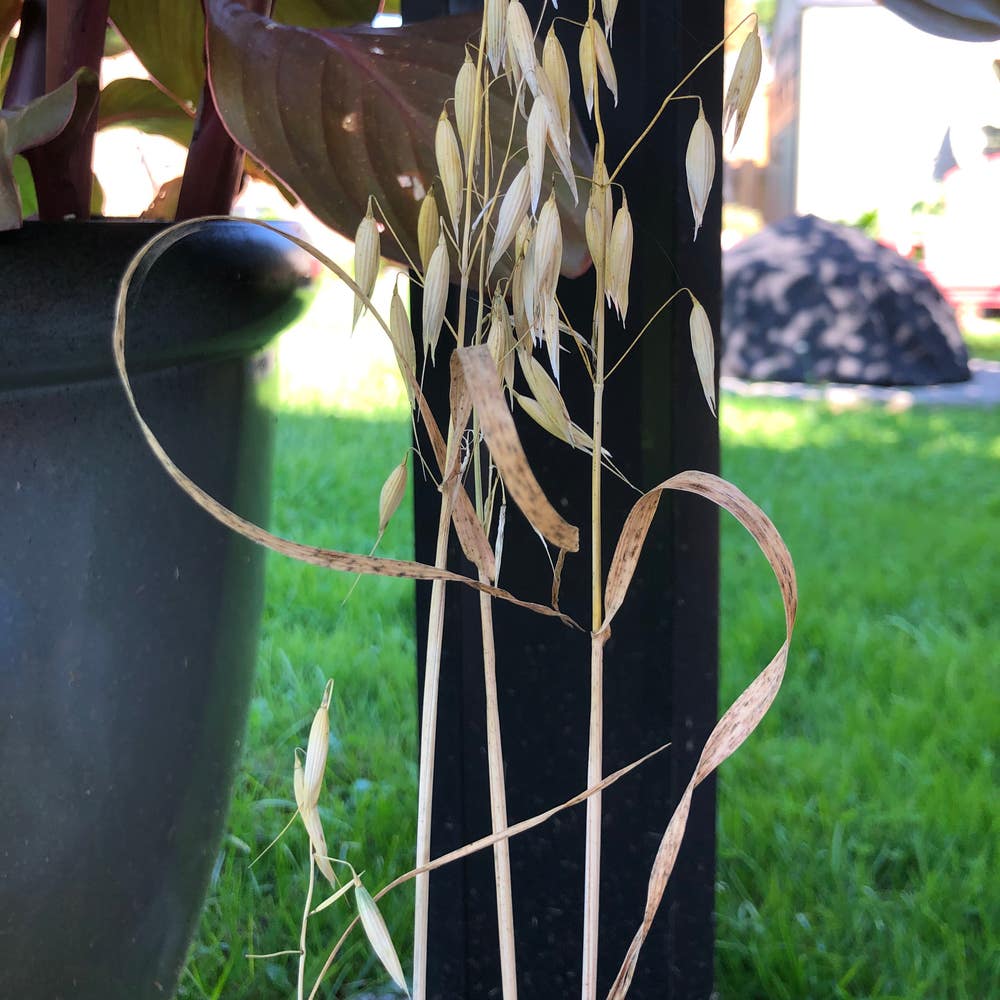
🌱 Seed Collection and Prep
Harvesting seeds from your Zumula Cat Grass is like hitting the jackpot in the plant world. Cleanliness is paramount; make sure seeds are free from plant gunk to dodge fungal nightmares. Some seeds need a pre-sowing spa treatment—a brief soak—to break their dormancy. Check if yours do.
🌱 Sowing the Seeds of Success
When it comes to planting, think of yourself as a soil mixologist. Whip up a blend of potting soil, coarse sand, and perlite for drainage that's on point. Sow seeds on the surface, then gently sprinkle them with soil—like a light frost, not a blizzard. Warmth and moisture are your seeds' BFFs, so keep conditions consistent. Remember, germination is a marathon, not a sprint; patience is your secret weapon.
Cut and Grow: Propagating with Stem Cuttings
✂️ Snip Snip! Taking the Perfect Cutting
Selecting a robust stem is your first order of business. Look for one that's full of life, free from the drama of pests and disease. With sterilized shears in hand, aim for a 45-degree angle cut just below a leaf node. This isn't just snipping for the sake of it—this angle increases the surface area for roots to emerge and party.
After the cut, it's time for your stem to chill out and callus over. Think of it as a short spa break before it gets down to the business of rooting. A few days should do the trick, creating a natural barrier against the world's woes, like rot.
🌱 Rooting for Growth
Now, let's talk about setting the stage for those roots. Moist soil is your cutting's new best friend—think of it as a damp sponge, welcoming yet not suffocating. If you're feeling fancy, rooting hormone is like the VIP pass to the root development show. Dip the callused end in and plant it in the soil, snug but not tight.
Keep the environment just right: warm, but not hot enough to fry an egg, and bright, but without the harsh glare of direct sunlight. Patience is your virtue here—roots might be fashionably late to the party, but they're worth the wait. Remember, water is essential, but too much is a one-way ticket to mold city. Keep the air moving, and if you're in a humid zone, a dehumidifier might be your new sidekick.
Aftercare for Your Newly Propagated Plants
💧 The First Few Weeks
Immediately after propagation, water is your new plant's best friend—but think Goldilocks: not too much, not too little. Moist soil is the goal; soggy conditions invite root rot, while dryness brings wilting and despair. For divisions and cuttings, mimic a mini-greenhouse with a plastic cover to maintain high humidity. Gradually introduce them to the real world by removing the cover over several days.
🛡️ Avoiding Early Pitfalls
Vigilance is key in early plant care. Pests like aphids and mealybugs love fresh growth; a preemptive dip in pesticide can save you a headache later. Keep your tools and watering practices clean—cross-contamination is a no-no. Watch for signs of new growth; it's the green light that your plants are on the right track. If you notice anything off, don't hesitate to adjust your care routine. Remember, these early weeks are critical, so keep your eyes peeled and your care consistent.
⚠️ Safety First
This content is for general information and may contain errors, omissions, or outdated details. It is not medical, veterinary advice, or an endorsement of therapeutic claims.
Always consult a qualified healthcare professional before using any plant as food, medicine, or supplement.
Never eat any plant (or feed one to pets) without confirming its identity with at least two trusted sources.
If you suspect poisoning, call Poison Control (800) 222-1222, the Pet Poison Helpline (800) 213-6680, or your local emergency service immediately.
Spotted an error? Please report it here.
Propagate your Zumula Cat Grass effortlessly 🌱 with Greg's custom care reminders, tailored to monitor growth and perfect your green thumb!