Should I Repot My Zumula Cat Grass And If So, How?
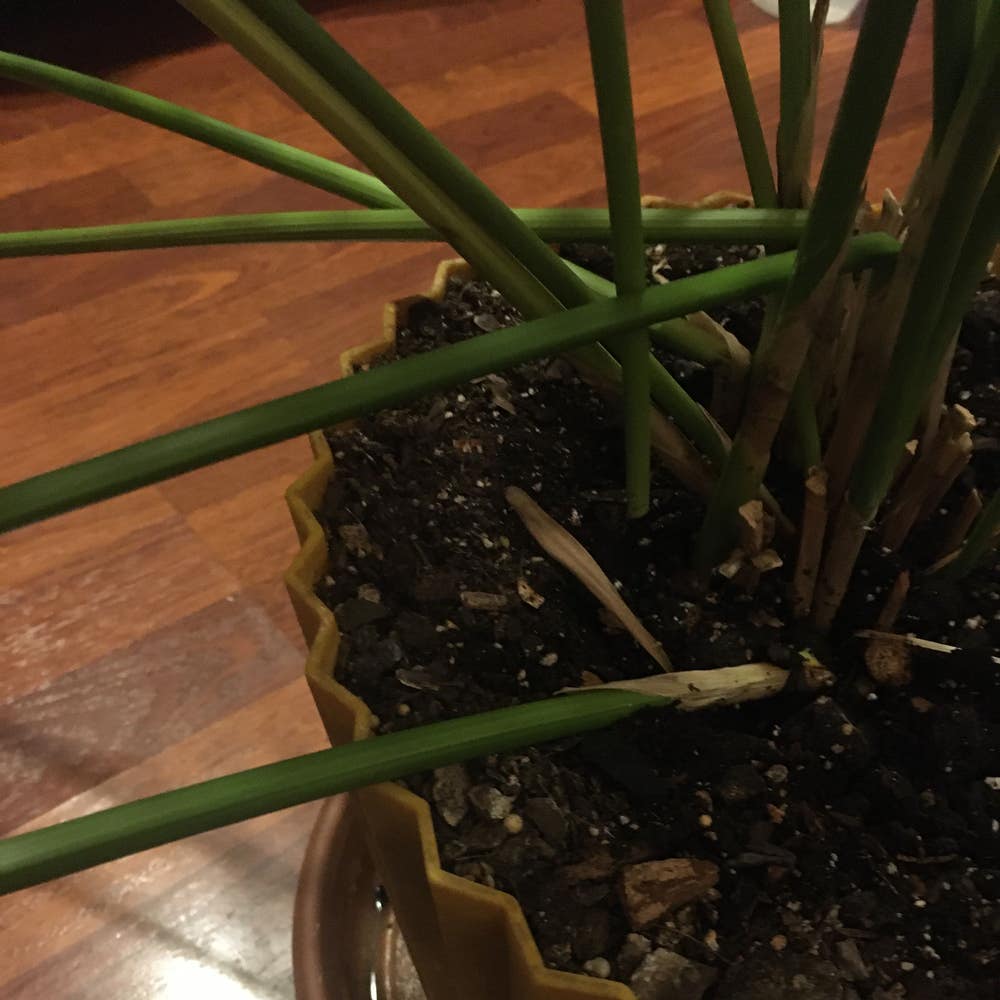
Cyperus alternifolius 'Zumula'
By the Greg Editorial Team
Mar 13, 2024•4 min read
This article was created with the help of AI so we can cover more plants for you. May contain errors. See one? Report it here.
Discover the secret to a lush Zumula Cat Grass 🌾 by mastering the timely art of repotting.
- Root-bound signs? Time to repot for healthy growth.
- 🌱 Choose terracotta for breathability, plastic for moisture.
- Post-repotting: Expect drooping, adjust care routine.
Spotting the Telltale Signs It's Time for a New Home
🌱 Root Tango: When Roots Out-Dance the Pot
Root-bound plants are like dancers with no room to move. If you notice roots escaping through the drainage holes or circling the topsoil, it's a clear sign your Zumula Cat Grass needs more space. This cramped situation can lead to stunted growth and reduced vitality.
📏 Growth Spurt Stalled
When your cat grass's upward climb seems to hit an invisible ceiling, it's likely not just a phase. A pot that's too small can restrict growth, leaving your plant's ambitions unfulfilled. Time to size up.
💧 Water Woes
If water rushes through the pot like it's late for an appointment, it's a red flag. Poor water retention means the roots have taken over, leaving little room for soil or moisture. This can lead to dehydration or, conversely, waterlogging if the water has nowhere to go.
Picking the Perfect Pot
🌱 Material Matters: Terracotta vs. Plastic vs. Ceramic
Terracotta is the breathable choice, perfect for Zumula Cat Grass, as it allows for air and water flow, reducing the risk of root rot. However, it means more frequent watering. Plastic is the low-maintenance buddy, retaining moisture longer, but beware of overwatering. Ceramic pots offer a stylish compromise, less porous than terracotta but still with some breathability. Drainage holes are a must, regardless of your choice.
📏 Size Up the Situation
When sizing up, bigger isn't always better. Choose a pot that's 1-2 inches larger in diameter than the current one. This gives your cat grass room to grow without drowning in soil. Too much space can lead to waterlogging, which is a no-go for your green friend's roots. Remember, snug but not tight is the mantra for a happy plant.
The Repotting Rundown
🛠️ Prep Work
Before diving into the repotting process, gather your materials. You'll need a new pot, fresh potting mix, and a clean workspace. Wash the new pot with soapy water to eliminate any lurking pathogens. Lay down newspaper or a tarp to catch spills, creating a mess-free zone.
🌱 The Main Event: Repotting Step-by-Step
- Water your Zumula Cat Grass lightly to make the roots more pliable and easier to work with.
- Turn the pot sideways, hold the plant gently by the base, and tap the bottom to loosen it.
- If the plant plays hard to get, roll the pot or tap the sides to encourage separation.
- Once out, inspect the root ball. Trim dead or excessively long roots, but handle the living ones with care—they're the lifeline of your plant.
- Place a layer of potting mix in the new pot to elevate the root ball to its previous height.
- Set the plant in the center of the pot and add more mix around the roots, tapping the pot to settle the soil without compacting it.
- Water thoroughly to help the plant settle in, but don't drown it—think of it as a welcome drink in its new home.
🌿 Keeping the Roots Happy
To minimize root disturbance and shock, be gentle during the entire process. Avoid yanking or pulling, and use your fingers to tease apart tangled roots. If you need to cut, do so with precision, as if you're a surgeon on the roots' payroll. After repotting, place your Zumula Cat Grass in a location where it can recover from the move without being stressed by extreme light or temperature changes.
Post-Repotting Care: The First Few Weeks
🏥 The Recovery Phase
After the repotting shuffle, your Zumula Cat Grass is like a groggy patient post-op—it needs time to recuperate. Expect a bit of sulking; leaves might droop as they adjust to their new digs. This is normal, just like us needing a moment to find our footing after a big change.
Tweaking the Care Routine
Watering is the first dance move to master post-repot. Start with a thorough soak and then let the soil approach dryness before the next encore. This isn't a time for a watering schedule set in stone—flexibility is key.
Lighting is next on the DJ's playlist. Your cat grass craves bright, indirect light, but direct sun is a party foul right now. Find a spot that's just right—not too shady, not a sunbeam spotlight.
Keep a watchful eye for the tell-tale signs of stress: yellowing leaves or a wilted vibe. If you spot these, don't panic—just tweak your care routine. Less water, a shift in the light, or a whisper of encouragement (hey, plants have feelings too).
Remember, your Zumula Cat Grass isn't on a sprint to recovery—it's more of a leisurely stroll. Give it time, and soon enough, it'll be back to sprouting with vigor.
⚠️ Safety First
This content is for general information and may contain errors, omissions, or outdated details. It is not medical, veterinary advice, or an endorsement of therapeutic claims.
Always consult a qualified healthcare professional before using any plant as food, medicine, or supplement.
Never eat any plant (or feed one to pets) without confirming its identity with at least two trusted sources.
If you suspect poisoning, call Poison Control (800) 222-1222, the Pet Poison Helpline (800) 213-6680, or your local emergency service immediately.
Spotted an error? Please report it here.
Repot your Zumula Cat Grass for unstunted growth 🌿 and rely on Greg to gently nudge you with custom care reminders as your plant settles into its new space.